

Best Practices for Applying Natural Aloe Vera Face Masks [Updated 2025]
Looking to give your skin a natural boost? Aloe vera is your go-to solution for radiant, healthy skin. Packed with vitamins, minerals, and antioxidants, this miraculous plant is known for its soothing, hydrating, and healing properties. Whether you’re dealing with acne, dryness, or even eczema, aloe vera can be a game-changer for your skincare routine.
This guide will walk you through the entire process of creating a natural aloe vera face mask at home. From harvesting the plant to mixing the perfect blend, you’ll discover an easy yet effective way to pamper your skin. Ready to dive into the benefits of nature’s green gem? Let’s get started!
The Benefits of Aloe Vera for Skin
Aloe vera isn’t just a trendy plant you see in skincare products—it has incredible benefits for your skin. This green, spiky plant is a powerhouse of soothing, hydrating, and healing properties. Let’s dive into how aloe vera can transform your skincare routine.
Hydration and Moisturization
 Photo by Dred Geib
Aloe vera is rich in water content, making it a perfect hydrating agent for dry and flaky skin. Its gel-like consistency allows it to penetrate deep into the skin, providing much-needed moisture without leaving a greasy residue. Imagine giving your skin a cool, refreshing drink— that’s what aloe vera does.
- Intense Moisture: The gel from aloe vera leaves quickly absorbs into the skin, helping to retain moisture.
- Non-greasy Formula: Ideal for oily skin types as it hydrates without clogging pores.
- Natural Humectant: Aloe vera attracts and holds water in the skin, keeping it plump and supple.
More about how aloe vera helps with moisturization can be found here.
Soothing Irritation and Redness
Aloe vera’s anti-inflammatory properties make it a go-to for reducing redness and calming irritated skin. If you’ve ever had a sunburn, you’ve probably reached for an aloe vera gel to soothe the burn. Its cooling effect feels like a gentle balm on the skin, providing instant relief.
- Calms Inflammation: Reduces the discomfort of irritated or inflamed skin.
- Heals Sunburnt Skin: The cooling properties of aloe vera make it an excellent remedy for sunburns.
- Helps with Acne: Its antibacterial properties can help soothe acne and prevent further breakouts.
Learn more about how aloe vera can soothe your skin here.
Healing Properties
One of aloe vera’s superpowers is its ability to accelerate wound healing. It’s not just a myth—scientific studies have shown that it can help heal minor cuts and abrasions. The gel’s compounds work to repair damaged skin and promote new cell growth.
- Speeds Up Recovery: Reduces healing time for minor cuts and scrapes.
- Reduces Scarring: Helps in minimizing the appearance of scars with regular use.
- Anti-bacterial and Anti-viral: Protects the skin from infections that can delay the healing process.
For a deep dive into aloe vera’s healing properties, check out this study.
Conclusion
While we won’t conclude this section, we can clearly see how aloe vera is a boon for skin care. So, the next time you reach for a skincare product, you might want to check if it contains this natural wonder. Ready to take your skin from ordinary to extraordinary? Aloe vera might be the key!

How to Harvest Aloe Vera
Harvesting aloe vera is a straightforward process, but it requires a bit of care to ensure you get the most out of your plant. Whether you’re a seasoned gardener or just starting, this easy guide will help you harvest aloe vera leaves effectively.
Choosing the Right Aloe Vera Plant
 Photo by Fernando Capetillo
Selecting a healthy aloe vera plant is the first step in the harvesting process. A healthy plant ensures that you get the best quality gel for your skincare needs. Here’s what to look for:
- Vibrant Green Leaves: The leaves should be a bright, vibrant green with no brown spots or drying edges. This indicates that the plant is well-nourished and hydrated.
- Firm Leaves: The leaves should be thick and firm to the touch, suggesting they are full of the precious aloe gel.
- Mature Plant: Opt for a plant that is at least 1-2 years old. Older plants have more established leaves that yield better quality and quantity of gel.
For a detailed look at how to care for your aloe plant, check out this guide.
Cutting the Leaves
Safe and effective leaf cutting ensures maximum gel extraction without harming the plant. Here’s how to do it right:
- Choose Outer Leaves: Select the larger, mature leaves on the outer part of the plant. These leaves contain the most gel.
- Use a Sharp Knife: Sterilize a sharp knife to make a clean cut. A clean cut prevents infection and helps the plant heal faster.
- Cut Close to the Base: Slice the leaf as close to the base of the plant as possible to get maximum gel. Avoid cutting too many leaves at once to allow the plant to regenerate.
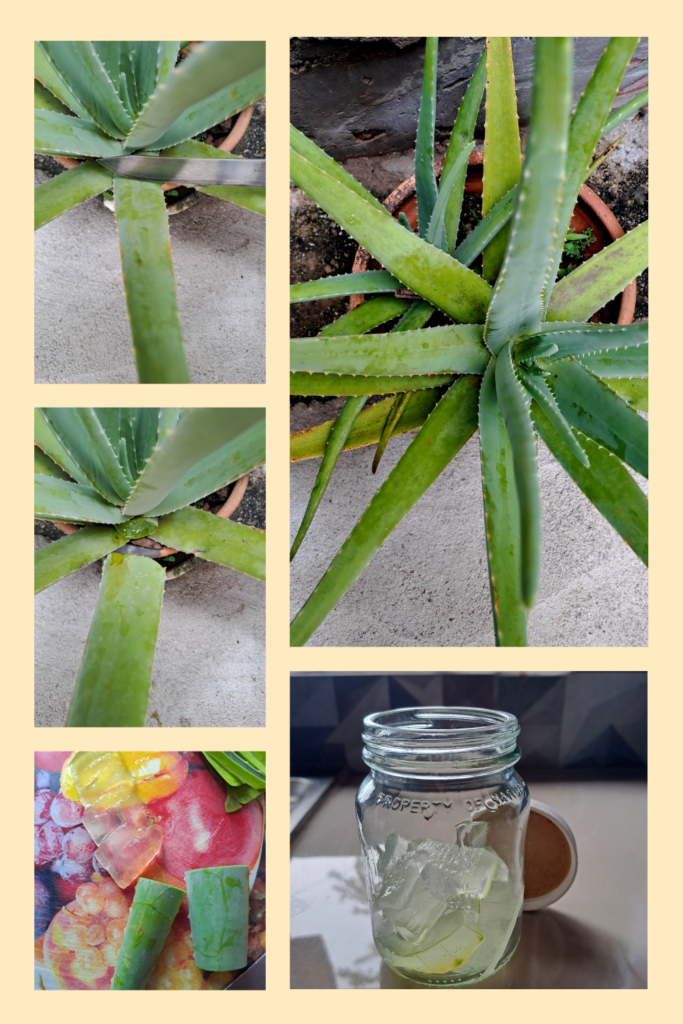
Extracting the Gel
Now that you have your aloe leaves, it’s time to extract the gel. This part is straightforward but requires a bit of patience and the right technique.
- Wash the Leaves: Rinse the leaves thoroughly under cold water to remove any dirt or contaminants.
- Cut Off the Edges: Trim off the jagged edges on both sides of the leaf using a knife.
- Separate the Gel: Slice the leaf open lengthwise or peel off the top layer to expose the clear gel inside.
- Scoop Out the Gel: Use a spoon to scoop out the gel, or carefully slice it out with a knife.
For a step-by-step visual guide, you can watch this video tutorial on how to make aloe vera gel in just 90 seconds!
Harvesting aloe vera at home is both rewarding and beneficial for your skincare routine. With these simple steps, you’ll have fresh, natural aloe vera gel ready to use whenever your skin needs a little TLC. Next, we’ll explore how to make a soothing aloe vera face mask using this gel.
Learn more about eating Aloe Vera here.
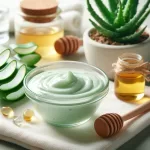
Ingredients for the Aloe Vera Face Mask
Creating a soothing and effective aloe vera face mask requires a few simple yet powerful ingredients. These components not only enhance the mask’s benefits but also cater to different skin needs. Let’s explore these ingredients in detail.
Aloe Vera Gel
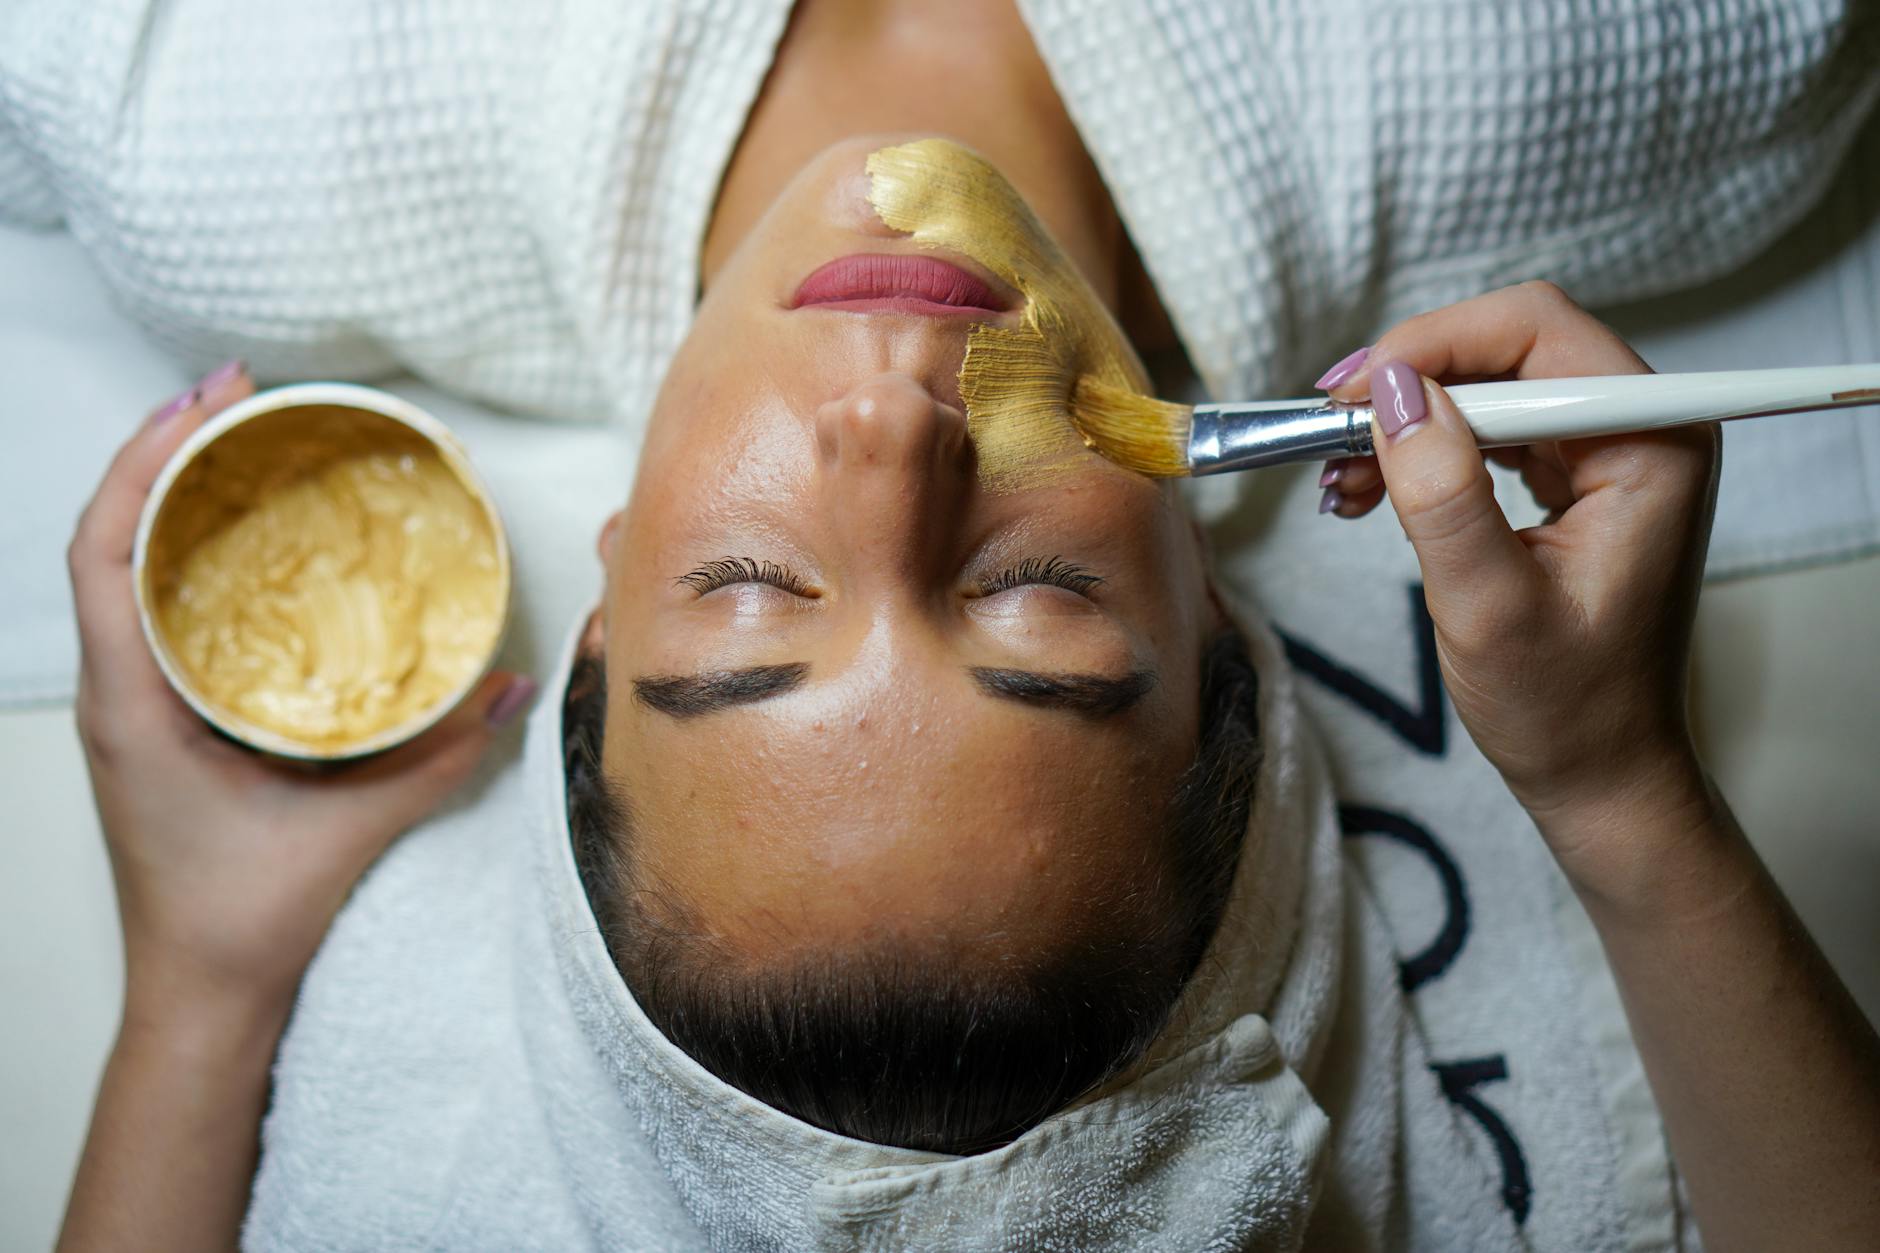 Photo by John Tekeridis
Aloe vera gel is the star ingredient of this face mask. Using fresh aloe vera gel ensures that you get the maximum benefits for your skin.
- Importance of Fresh Gel: Fresh aloe vera gel is rich in vitamins, minerals, and amino acids that nourish the skin. Unlike store-bought versions, fresh gel doesn’t contain preservatives or additives.
- Hydration and Healing: Aloe vera gel penetrates deep into the skin, providing hydration and healing properties. It soothes irritation, reduces inflammation, and accelerates the healing process for minor cuts and burns.
- Anti-aging Benefits: It helps in reducing the appearance of fine lines and wrinkles by boosting collagen production, giving you a youthful glow.
For more about the benefits of fresh aloe vera gel, you can read this article.
Additional Ingredients
To enhance the effectiveness of your aloe vera face mask, consider adding some of these beneficial ingredients:
- Honey:
- Moisturizing: Honey is a natural humectant, which means it attracts and retains moisture in the skin.
- Antibacterial: It has antibacterial properties that help fight acne and keep your skin clear.
- Anti-aging: Rich in antioxidants, honey helps to reduce the signs of aging.
- Lemon Juice:
- Brightening: Lemon juice contains vitamin C and citric acid, known for their skin-brightening properties.
- Exfoliating: Helps to slough off dead skin cells, revealing fresh, radiant skin beneath.
- Antioxidant: Fights free radicals that cause skin damage.
- Essential Oils:
- Lavender Oil: Soothes irritated skin and reduces redness.
- Tea Tree Oil: Known for its antibacterial and antifungal properties, making it great for acne-prone skin.
- Rosehip Oil: Rich in vitamins A and C, it helps with skin regeneration and reduces the appearance of scars and wrinkles.
Using these ingredients in your aloe vera face mask can cater to specific skin concerns, making your DIY skincare routine both personalized and effective. Stay tuned for more in the next section!
Step-by-Step Guide to Making the Aloe Vera Face Mask
Creating your own aloe vera face mask can be a rewarding experience. Not only do you get to enjoy the full benefits of fresh, natural ingredients, but you also have the chance to customize the mask to suit your specific skin needs.
Mixing the Ingredients
 Photo by Sachin Bharti
To make the perfect aloe vera face mask, you’ll need to blend the aloe gel with other beneficial ingredients. Here’s how:
- Measure the Aloe Vera Gel: Scoop out 2 tablespoons of fresh aloe vera gel into a clean bowl.
- Add Additional Ingredients: Depending on your skin type:
- For Dry Skin: Add 1 tablespoon of honey and mix well.
- For Oily Skin: Add 1 teaspoon of lemon juice.
- For Sensitive Skin: Add 1 tablespoon of mashed banana.
- Mix Thoroughly: Use a spoon or a small whisk to mix the ingredients until you get a smooth, consistent paste.
Find more detailed recipes here.
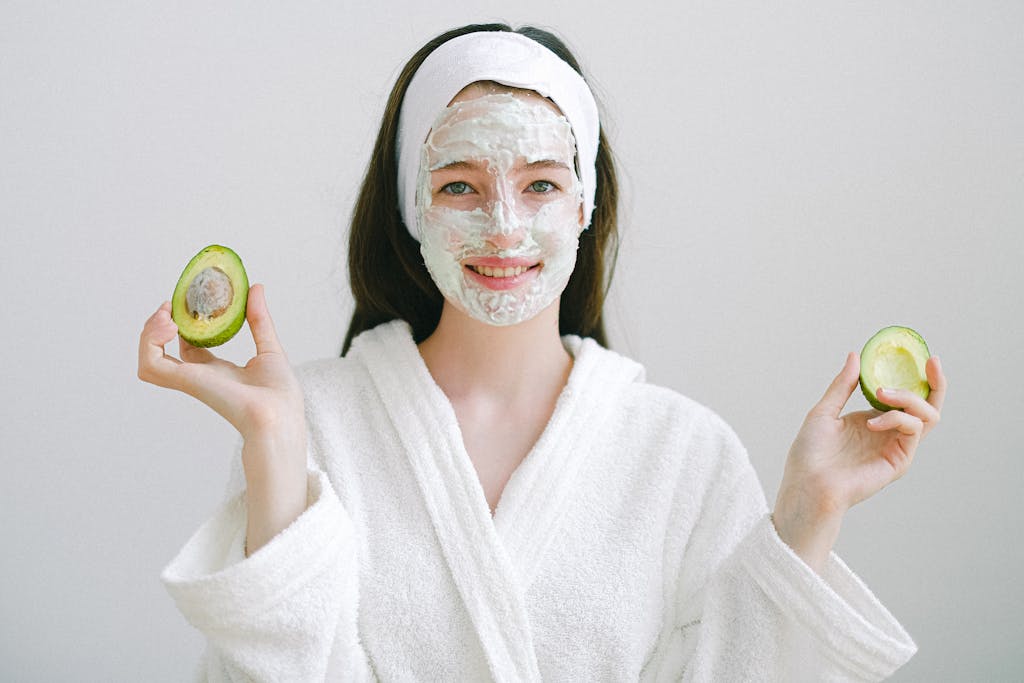
Application Process
To get the most out of your aloe vera face mask, applying it evenly is crucial. Here’s how you can achieve a flawless application:
- Cleanse Your Face: Start with a clean face by washing it with a gentle cleanser to remove any dirt and oil.
- Apply the Mask Evenly: Use a brush or your fingers to spread the mask evenly. Make sure to cover all areas, including your forehead, cheeks, and chin.
- Avoid Sensitive Areas: Be careful to avoid the eye and lip areas, as these are more sensitive.
Learn more about application techniques here.
Recommended Duration
For optimal results, you should allow the mask to stay on your face for the right amount of time. Here are some guidelines:
- Standard Duration: Leave the mask on for about 15-20 minutes.
- Consider Your Skin Type: If you have sensitive skin, you might want to start with 10 minutes.
- Listen to Your Skin: If you feel any discomfort, wash it off immediately.
Read up more on optimal durations.
Removing the Mask
Once the mask has done its magic, removing it properly is essential to avoid irritating your skin.
- Use Lukewarm Water: Splash your face with lukewarm water to gently remove the mask.
- Pat Dry: Use a soft towel to pat your face dry. Avoid rubbing, as this can cause irritation.
- Follow Up with Moisturizer: After drying your face, apply a gentle moisturizer suitable for your skin type to lock in the benefits.
For more tips, check out this detailed guide on removing face masks.
By following these steps, you can create a soothing and effective aloe vera face mask right at home. Enjoy the natural, radiant glow that comes with it!
Aftercare Tips
Once you’ve enjoyed the soothing benefits of your aloe vera face mask, it’s crucial to follow up with proper aftercare to maintain and enhance those benefits. Here are some essential tips to keep your skin looking and feeling its best.
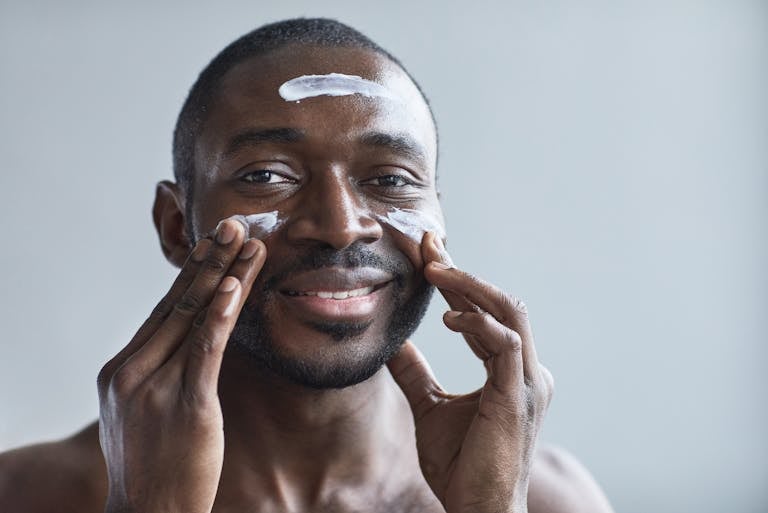
Moisturizing the Skin
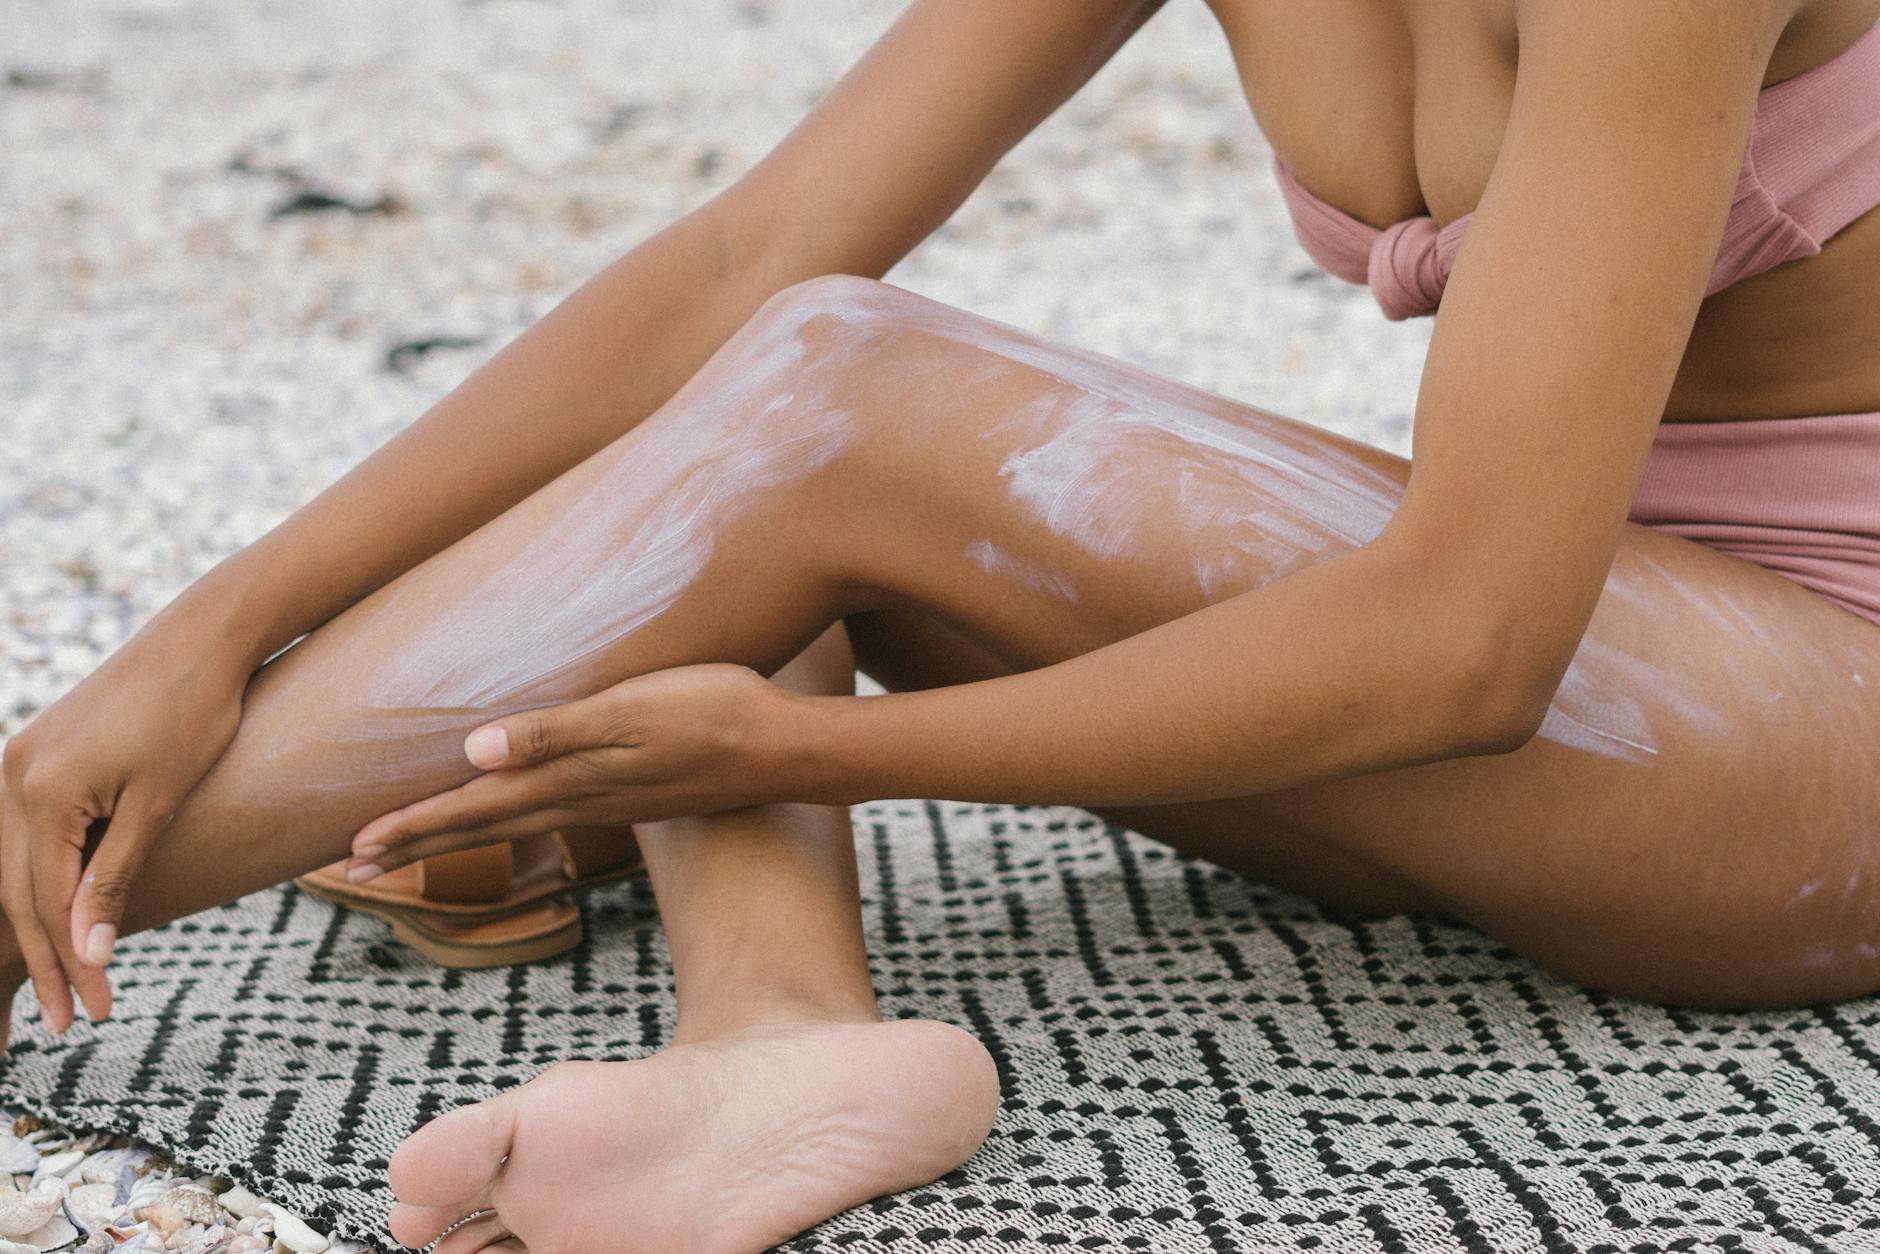 Photo by RF._.studio
Removing a face mask can leave your skin feeling soft and hydrated, but moisturizing afterward is essential to lock in that moisture. Here are some suitable moisturizers you can use post-mask:
- Creams: For those with dry to very dry skin, opt for a rich, creamy moisturizer. Creams are thick and create a barrier that helps to retain moisture longer. More about creams.
- Gel Moisturizers: Ideal for oily or acne-prone skin, gel moisturizers are lightweight and non-greasy. They hydrate without clogging pores.
- Balms: If your skin feels particularly tender or has dry patches, a multipurpose balm can provide soothing relief and deep hydration. Balms are excellent for areas that need extra care. Learn about the best skincare treatments with balms here.
Hydration and Protection
Keeping your skin hydrated and protected after mask application ensures that the benefits of the mask last longer and your skin stays healthy.
- Hydrating Toners: Applying a hydrating toner after removing the mask can help to balance your skin’s pH and provide an extra layer of moisture. Toners also prepare your skin to better absorb the moisturizer. The step-by-step benefits of using toners can be found here.
- Spritzing Mist: A quick spritz of hydrating mist can refresh your skin throughout the day, especially if you’re in a dry environment. It keeps your skin plump and prevents it from drying out.
- Sunscreen: Protecting your freshly pampered skin from the sun is critical. Always apply a broad-spectrum sunscreen with an SPF of 30 or higher if you plan to go outside. This helps in preventing sun damage and keeps your skin youthful.
Following these aftercare tips can significantly enhance the effectiveness of your aloe vera face mask, giving you that radiant, well-hydrated skin you’re aiming for.
Common Questions and Troubleshooting
Using a natural aloe vera face mask is a delightful way to pamper your skin. But questions and concerns often arise during the process. Let’s address some of the most common questions and troubleshoot any issues you might encounter.
Can I Store Extra Mask?
 Photo by mehrab zahedbeigi
It’s common to have leftover mask after preparation, so the question arises: can you store it? Absolutely, but with a few caveats.
- Short-term Storage: Store any extra mask in an airtight container and refrigerate. It will typically stay fresh for up to one week.
- Check Before Use: Always check for any signs of spoilage, such as discoloration or an off smell, before using the stored mask.
- Use Fresh if Possible: For the best results, it’s always ideal to use freshly made masks. The active ingredients are most effective when fresh.
For more on storing homemade skincare products, you can read this article.
Possible Allergic Reactions
Despite its many benefits, aloe vera can cause allergic reactions in some individuals. It’s important to test for any allergies before applying the mask to your face.
- Patch Test: Apply a small amount of the mask to a patch of skin, such as the inside of your wrist or elbow. Wait 24 hours to see if any reaction occurs.
- Symptoms of Allergies: Look out for signs like redness, itching, or swelling. If these symptoms appear, do not use the mask on your face.
- Mild Discomfort: Some tingling might be normal due to the active ingredients, but severe discomfort indicates an allergy.
More about how to perform a patch test can be found here.
Customization for Different Skin Types
Aloe vera masks can be tailored to suit various skin types. Here’s how you can modify the mask to better address your specific skin needs:
For Oily Skin
- Add Lemon Juice: The citric acid in lemon juice helps to control oil production and reduce shine. Mix 1 teaspoon of lemon juice into the mask.
- Include Tea Tree Oil: Known for its antibacterial properties, tea tree oil can help with acne-prone skin. Add a few drops to your mask.
For Dry Skin
- Incorporate Honey: Honey is a natural humectant that retains moisture. Add 1 tablespoon of honey to the mask to provide deeper hydration.
- Use Olive Oil: A small amount of olive oil can add extra nourishment to dry skin. Mix in 1 teaspoon of olive oil.
For Combination Skin
- Yogurt Blend: Yogurt can balance the skin by hydrating dry areas and controlling oily zones. Add 1 tablespoon of yogurt to the aloe vera gel.
- Optional Essential Oils: Lavender oil can soothe and balance combination skin. Add a few drops to your mixture.
For a deeper dive into DIY aloe vera masks suited to various skin types, check out this guide.
When making or using an aloe vera face mask, these tips can help you handle common questions and avoid potential issues. Your skin’s needs are unique, and with a bit of customization and care, you can enjoy the full benefits of this natural remedy.
Conclusion
Making your own aloe vera face mask is not only simple but also incredibly beneficial for your skin. By following the step-by-step guide, you can create a personalized skincare routine that addresses your specific needs, whether it’s hydration, soothing irritation, or healing minor skin issues.
Natural skincare has significant advantages. Aloe vera is packed with vitamins, antioxidants, and anti-inflammatory properties that offer a wide range of benefits. From hydrating and moisturizing to soothing inflammation and aiding in healing, aloe vera can transform your skincare routine.
Encourage your skin to glow naturally by trying this homemade face mask. Embrace the power of natural ingredients and enjoy the many benefits they bring. Your skin will thank you!
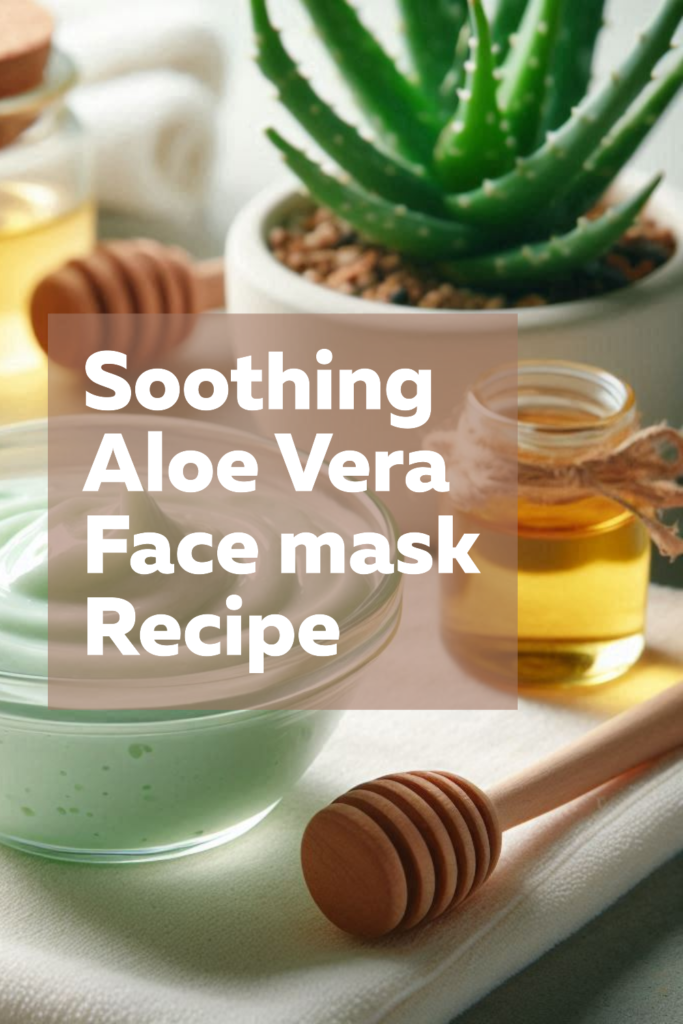
Soothing Aloe Vera Face Mask
Equipment
- Small mixing bowl
- – Measuring spoons
- – Stirring spoon or small whisk
- – Clean washcloth or face towel
Materials
- – 2 tablespoons fresh aloe vera gel
- – 1 teaspoon honey
- – 1/2 teaspoon vitamin E oil optional
Instructions
- In a small bowl, combine the fresh aloe vera gel and honey. Mix well.
- If using, add the vitamin E oil and stir to incorporate.
- Cleanse your face and pat dry.
- Apply the mask evenly to your face, avoiding the eye area.
- Leave the mask on for 15-20 minutes.
- Rinse off with lukewarm water and pat your face dry.
- Follow up with your regular moisturizer.
Notes
- – Use fresh aloe vera gel from a plant if possible, or use a high-quality, pure aloe vera gel.
- – This mask can be used 1-2 times per week for best results.
- – If you have sensitive skin, do a patch test before applying the mask to your entire face.
- – Store any leftover mask in the refrigerator and use within 3 days.


Great post about the Best Practices for Applying Natural Aloe Vera Face Masks. This is a great guide with detailed information. Thank you!
Very interesting information. I will definitely start my journey with Aloe Vera