DIY Oil Cleansing Method: Discover the Science and Craft Your Perfect Blend
Ever wondered why the oil cleansing method is taking the skincare world by storm? It’s not just a trend; it’s a science-backed approach that’s transforming skin routines for many. Using oils to clean your skin might seem counterintuitive, especially if you struggle with oily skin, but it’s actually a game-changer. The oil cleansing method works by dissolving impurities and excess oil, leaving your skin balanced and nourished.
Creating your own blend tailored to your skin type can amplify these benefits. Whether you’re aiming to combat acne, soothe dryness, or maintain a natural glow, there’s an oil mix for you. Ready to unlock the secrets of flawless skin? Let’s dive into how you can harness the power of the oil cleansing method and make your own blend.
Understanding the Oil Cleansing Method
The oil cleansing method is a skincare trend that has quickly gained popularity. This method relies on oils to clean the skin, remove makeup, and keep the skin hydrated. But how does it actually work?

The Science Behind Oil Cleansing
Have you ever heard the saying “like dissolves like”? This is the core of how the oil cleansing method works. Our skin naturally produces oils to protect and hydrate. When we use harsh cleansers, they can strip these natural oils away, leading to dryness and irritation.
The oil cleansing method uses specific oils to dissolve the dirt and impurities on your skin. By massaging these oils into your skin, you can break down and remove excess oil, makeup, and any pollutants you’ve picked up throughout the day. The oils in the cleanser bind to these impurities, and when you wipe away the oil cleanser, you wipe away the dirt with it.
It’s a simple yet effective explanation of basic chemistry: oil can attract and remove oil without harming your skin’s natural barrier. This method can be especially beneficial for those with acne-prone skin, as it doesn’t strip the skin of its essential oils, preventing the skin from producing even more oil to compensate.
Benefits of the Oil Cleansing Method
Why should you consider switching to the oil cleansing method? There are several benefits that make this skincare routine stand out:
- Hydration: Many traditional cleansers can leave your skin feeling dry and tight. Oil cleansing helps to maintain moisture and keeps your skin hydrated.
- Balanced Oil Production: Over-washing your face can cause your skin to produce more oil. Using oils to clean your face helps balance oil production, making it suitable even for oily skin types.
- Suitability for All Skin Types: Whether you have dry, sensitive, or acne-prone skin, oil cleansing can be adjusted to fit your unique needs. You can mix different oils to create a blend that’s perfect for your skin type.
- Removing Makeup: Oil cleansers are excellent at breaking down and removing makeup, even waterproof mascara, without the need for harsh rubbing or multiple products.
With benefits like these, it’s no wonder the oil cleansing method has become a favorite for many. If you’re curious to know more or to try some oil types perfect for beginners, check out this comprehensive guide on oil cleansing.
Embarking on the oil cleansing journey can be your next big skincare win. Are you ready to give it a try?
Choosing the Right Oils for Your Blend
Selecting the right oils for your oil cleansing method can make a huge difference in how your skin looks and feels. The key is to choose oils that match your skin type. Whether you have oily, acne-prone, dry, sensitive, or combination skin, we’ve got you covered. Let’s find the perfect oils for your unique needs!
Best Oils for Oily and Acne-Prone Skin
Do you struggle with oily or acne-prone skin? Don’t worry, some oils are specially suited to help balance your skin without clogging your pores.
- Jojoba Oil: This oil is a superstar for oily skin because it closely resembles your skin’s natural sebum. It regulates oil production and helps clear out your pores. Plus, it’s non-comedogenic, meaning it won’t clog your pores!
- Grapeseed Oil: This lightweight oil is high in linoleic acid, which research shows may help reduce clogged pores. It’s a great option for people with acne-prone skin.
Both of these oils are excellent choices for keeping your skin clear and balanced. Using them in your oil cleansing method can help you achieve a glow without the grease.
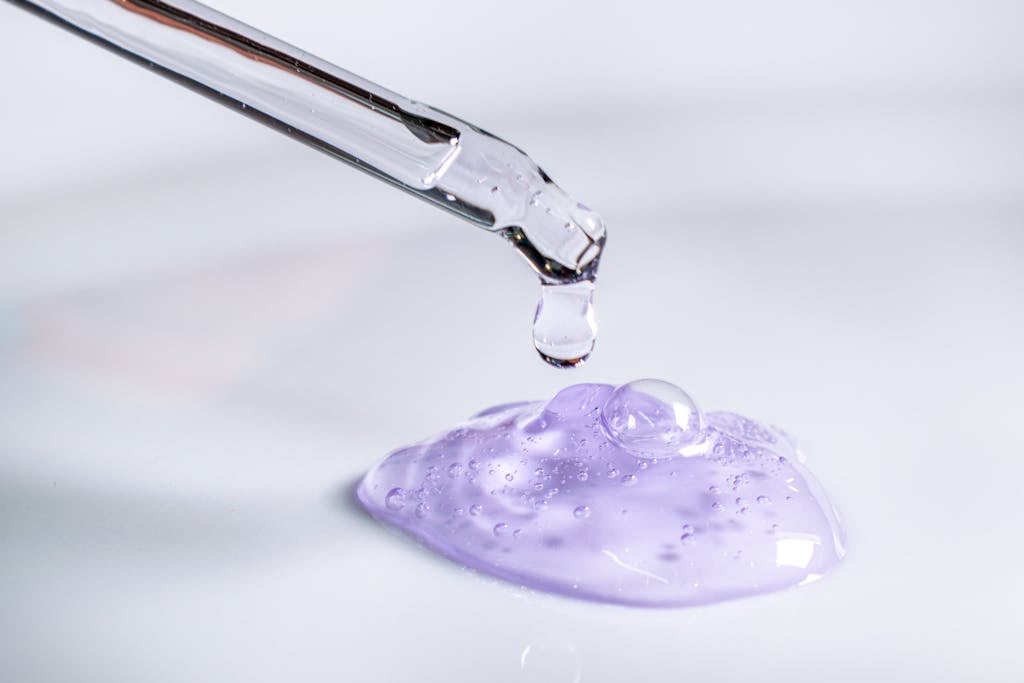
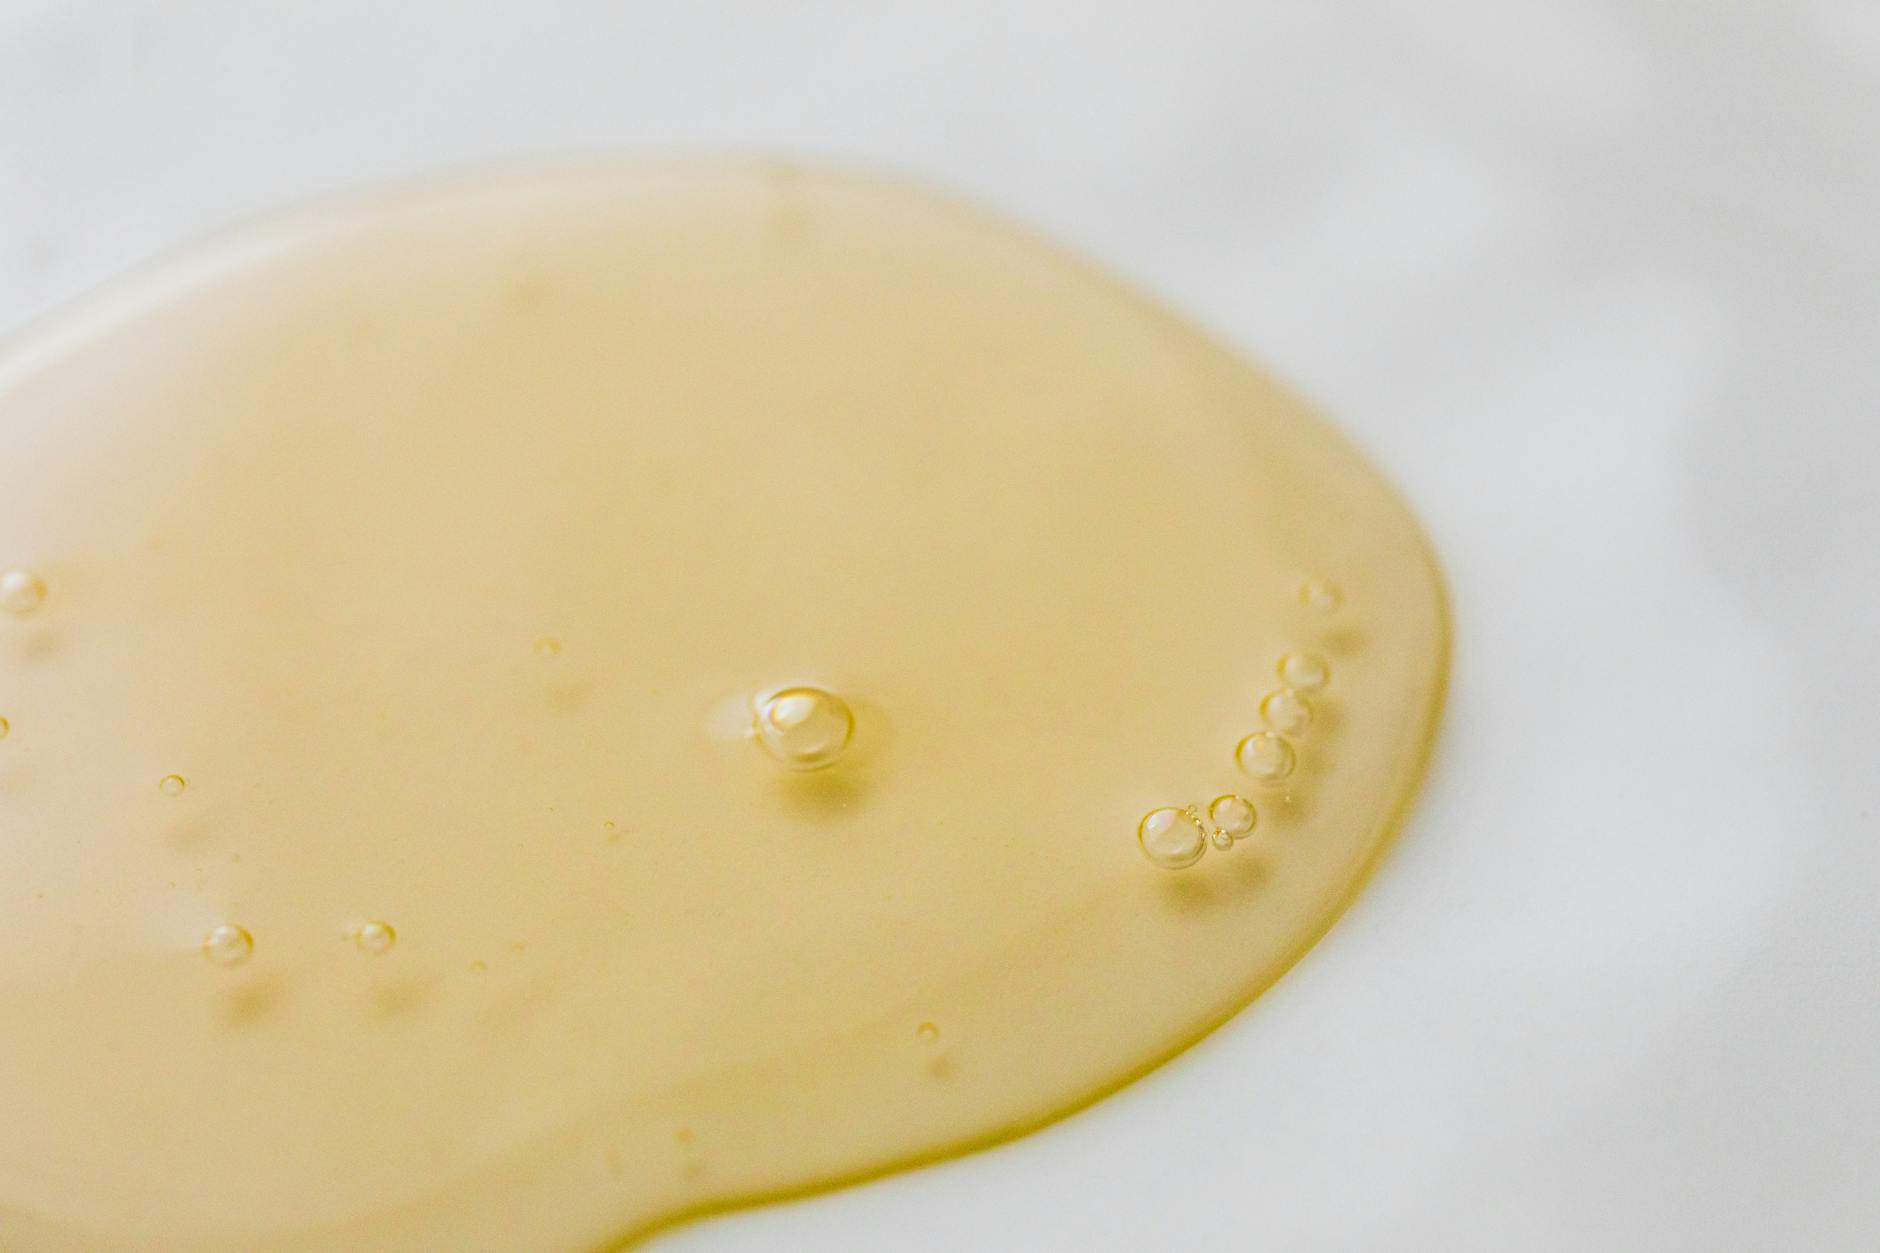 Photo by Karolina Kaboompics
Best Oils for Dry and Sensitive Skin
If your skin tends to be dry and sensitive, you’ll want oils that are deeply nourishing and soothing.
- Almond Oil: Rich in vitamins A and E, almond oil is fantastic for moisturizing and soothing irritated skin. It’s gentle and absorbs easily, making it a wonderful option for dry skin.
- Avocado Oil: Packed with fatty acids and antioxidants, avocado oil offers intense hydration and can help heal cracked, flaky skin. It’s also great for sensitive skin that needs a bit of extra love.
These oils can provide the hydration your skin needs, making it feel soft and supple. Try incorporating them into your oil cleansing method to give your skin the nourishment it craves.
Best Oils for Combination Skin
Combination skin can be tricky, as you’re dealing with both oily and dry areas. The key is to choose versatile oils that can balance your skin.
- Sunflower Oil: High in linoleic acid, sunflower oil helps to moisturize without leaving a greasy feel. It’s great for balancing the different areas of your skin, making it perfect for combination skin.
- Fractionated Coconut Oil: Unlike regular coconut oil, fractionated coconut oil stays liquid at room temperature and is less pore-clogging. It’s light and can help manage both dry and oily zones.
These versatile oils can help you achieve balanced skin, ensuring that neither dryness nor oiliness takes over. Using these oils in your oil cleansing method can help manage your combination skin effectively.
Choosing the right oils is crucial for making your oil cleansing method work for you. By picking oils tailored to your skin type, you set yourself up for the best results. Happy cleansing!
How to Make Your Own Oil Cleansing Blend
Creating your own oil cleansing blend at home is easier than you think! Following a few simple steps, you can tailor a mixture that suits your skin type and personal preferences. Ready to dive in? Let’s get started.

Ingredients You’ll Need
To get started, you’ll need a combination of essential oils and carrier oils. The essential oils bring added benefits like soothing, anti-inflammatory properties, and a pleasant scent, while the carrier oils provide the base of your cleansing blend.
Essential Oils:
- Tea Tree Oil: Great for acne-prone skin.
- Lavender Oil: Soothing and calming, suitable for all skin types.
- Rosehip Oil: Packed with vitamins A and C, ideal for anti-aging.
Carrier Oils:
- Jojoba Oil: Mimics the natural sebum of the skin.
- Sweet Almond Oil: Rich in vitamins E and D, good for dry skin.
- Argan Oil: Hydrates and softens skin.
Optional Ingredients:
- Vitamin E Oil: Adds anti-aging benefits.
- Aloe Vera Gel: For extra hydration and soothing effects.
Including these ingredients allows you to customize a blend that’s perfect for your skin care needs.
Step-by-Step Guide to Mixing Your Blend
Once you have all your ingredients, it’s time to mix your custom oil cleansing blend. Follow these simple steps to ensure a well-balanced and effective mixture.
- Measure Your Oils: For a small batch, start with 2 tablespoons of your chosen carrier oil. Add 5-10 drops of essential oil.
- Combine the Ingredients: Pour the oils into a clean, dry glass bottle with a dropper. This helps to keep the blend fresh and easy to use.
- Mix Well: Gently shake the bottle to mix the oils. Ensure the blend is well combined.
- Store Properly: Store your oil blend in a cool, dark place to preserve its quality. Avoid direct sunlight.
There you have it! A personalized oil cleansing blend made right at home to fit your skin’s unique needs.
The science behind the oil cleansing method is fascinating, isn’t it? By using the right combination of oils, you can effectively cleanse your skin while maintaining its natural balance.
How to Use the Oil Cleansing Method
Understanding how to use the oil cleansing method properly can change how you think about skincare. This method isn’t just about applying oil and washing it off; it’s an experience that can transform your complexion.
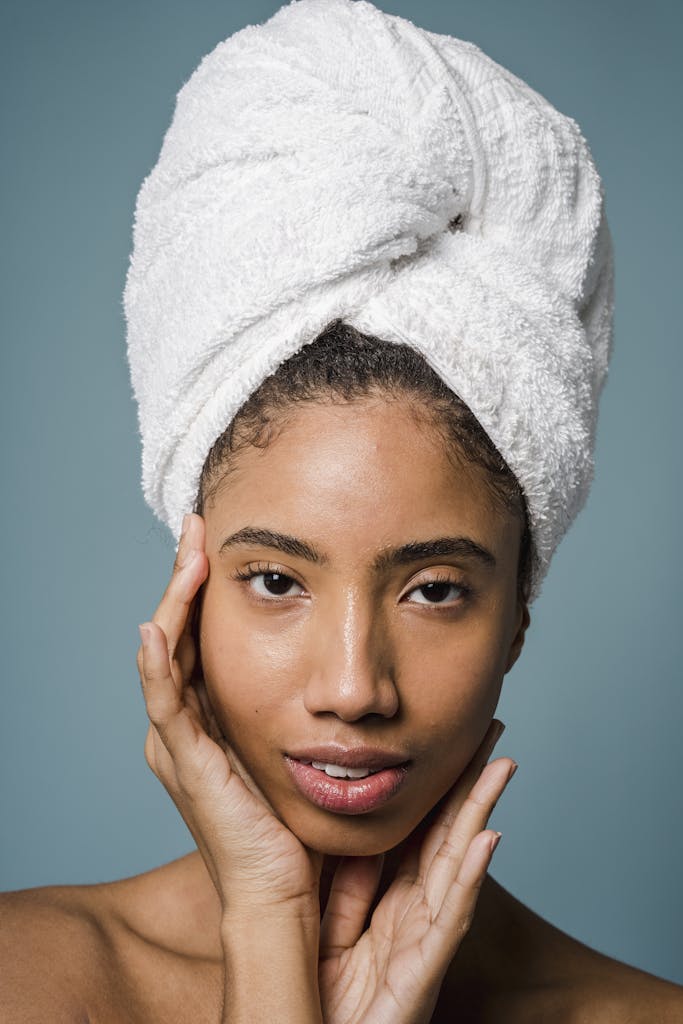
 Photo by Monstera Production
Application Techniques
Applying the oil cleansing method correctly is key to all its amazing benefits. Here’s how you can optimize your application:
- Start with Dry Skin: Apply your oil blend to a dry face. This helps break down makeup and excess sebum effectively.
- Use Enough Oil: Use about a quarter-sized amount. Make sure it’s enough to cover your entire face.
- Massage Techniques: Gently massage the oil into your skin for 1-2 minutes. Focus on areas with makeup, dirt, or oil buildup.
- Circular Motions: Use firm but gentle circular motions with your fingertips.
- Pressure Points: Apply a little extra pressure on spots prone to blackheads and congestion, like the nose and chin.
- Hot Towel Method: Soak a clean washcloth in hot water, wring it out, and place it over your face. Leave it on until it cools. This step opens up your pores, allowing impurities to escape.
- Wipe Gently: Use the washcloth to gently wipe away the oil. Repeat the hot towel step if necessary until all oil is removed.
Follow-Up Care After Oil Cleansing
Completing your skincare routine after oil cleansing ensures that your skin stays balanced and nourished.
- Toning: Use a gentle toner to restore your skin’s pH balance. Toners with natural ingredients like rose water or witch hazel are great options.
- Optional Treatments: If you use serums or treatments (like for acne or anti-aging), now is the perfect time to apply them.
- Moisturizing: Finish with a light moisturizer to lock in hydration. Even oily skin types can benefit from this step, preventing your skin from overcompensating by producing more oil.
Including these follow-up steps can greatly enhance your skin’s health and appearance.
By taking proper care during and after the oil cleansing process, you’re not just cleaning your skin – you’re making it glow. This practice doesn’t just cleanse; it pampers and nurtures your face, leaving you with a clear and radiant complexion.
Common Questions About the Oil Cleansing Method
The oil cleansing method is more than just a trend; it’s a skincare routine that many people swear by. By using oils to clean your face, you can remove dirt, makeup, and impurities without drying out your skin. But, like any skincare technique, it’s natural to have questions. Below, we’ll tackle some of the most common questions people have about this method.
Can Oil Cleansing Help with Acne?
A frequent concern is whether the oil cleansing method can help with acne. The idea of putting oil on already oily and acne-prone skin might sound counterintuitive. However, many people have found that it can actually help balance the skin’s natural oil production.
Scientific research and personal anecdotes reveal a mixed bag of results. Here’s why oil cleansing might help with acne:
- Oil Dissolves Oil: The principle that “like dissolves like” applies here. Cleansing oils can dissolve the excess sebum that clogs pores.
- Gentle on Skin: Harsh cleansers can strip your skin of its natural oils, leading to overproduction of oil. Using a gentle oil cleanser can prevent this cycle.
- Anti-inflammatory Properties: Many oils used in cleansing, like tea tree and jojoba oil, have anti-inflammatory and anti-bacterial properties that can reduce acne symptoms.
That said, oil cleansing may not work for everyone. Some people might experience breakouts due to certain oils, so it’s important to find the right blend for your skin. If you’re curious, you might want to read more about how oil cleansing can affect acne.
Is Oil Cleansing Suitable for All Skin Types?
Another common question is whether the oil cleansing method is suitable for all skin types. The short answer is yes, but with some considerations based on your specific skin needs.
- Dry Skin: Using oils like argan or avocado can be very hydrating, making the oil cleansing method an excellent option for those with dry skin.
- Oily Skin: It might seem odd, but even oily skin can benefit. Oils like grapeseed and jojoba can help balance oil production.
- Sensitive Skin: Gentle oils such as chamomile or almond oil can be soothing and minimize irritation.
- Combination Skin: A blend of oils tailored to address both dry and oily areas can work wonders.
Despite the general suitability, it’s crucial to listen to your skin. Some oils can be comedogenic (pore-clogging), so it’s essential to choose non-comedogenic oils and do a patch test first.

In conclusion, the oil cleansing method can benefit various skin types when done correctly. For detailed guidance, check out this article on choosing the right oils for your skin type.
By understanding how the oil cleansing method can affect different skin types and conditions, you can better tailor your routine to meet your needs. Stay tuned for more detailed sections on how to create your own custom oil blend for the perfect cleanse!
Conclusion
Understanding the science behind the oil cleansing method empowers you to make a personalized blend that suits your skin’s needs. By exploring the benefits of different oils, you can create a natural, effective skincare solution.
Ready to give it a try? Experiment with your own oil blends and see the difference it makes!
Your skin deserves the best, so start your oil cleansing journey today. Have any questions or want to share your experience? Drop a comment below!