5 Easy DIY Homemade Makeup Remover Recipes for 2024: Gentle on Skin, Tough on Makeup!
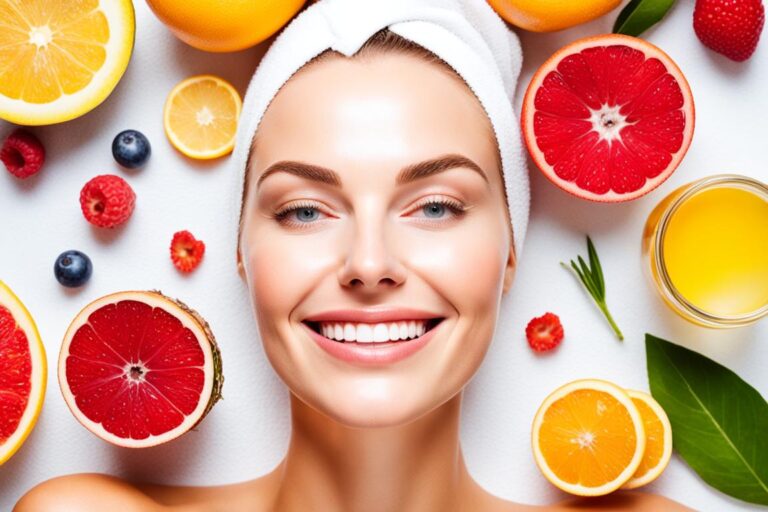
Tired of harsh makeup removers that leave your skin feeling dry and irritated? You’re not alone! More and more skincare enthusiasts are turning to homemade makeup removers for a gentle, natural alternative. These DIY solutions not only cleanse effectively but also promote skin health by using nourishing ingredients you likely already have in your kitchen. 🥑🌿
In this post, we’ll explore 5 simple and soothing homemade makeup remover recipes you can whip up in no time. Whether you’re looking to save money, avoid chemicals, or just try something new, these DIY options are a perfect fit. Ready to give your skin the love it deserves? Let’s dive in! 🌸✨
P.S. Don’t forget to download your free recipe guide below and subscribe to our blog for more natural skincare tips! 📬💌
Why Choose Homemade Makeup Removers?
Makeup removal is a crucial step in any skincare routine. 💁♀️ Not taking off your makeup before bed can lead to clogged pores, skin irritations, and even premature aging. Let’s dive into why it’s so important to remove makeup and how it affects your skin.

Prevents Clogged Pores
When makeup is left on overnight, it mixes with oils and dirt on your skin, leading to clogged pores. This is a common cause of acne and blackheads. It’s like leaving the cap off a marker; it dries out and becomes useless. For your skin, it means blocked pores and blemishes.
Avoids Skin Irritations
Makeup products can be harsh on the skin, especially when left for too long. Leaving makeup on can irritate the skin, causing redness, itchiness, and even allergic reactions. Think of it as wearing tight shoes all day; eventually, it will hurt and cause blisters.
Prevents Premature Aging
Sleeping with makeup can accelerate the aging process. Makeup traps free radicals, which can damage healthy skin cells and lead to wrinkles and fine lines. It’s like leaving food out in the open; it spoils faster. Your skin, too, needs to breathe and rejuvenate.
Promotes Healthy Skin
Regular removal of makeup helps maintain healthy skin. It allows your skin to rejuvenate overnight, making it look fresh and glowing in the morning. Imagine it like watering a plant — regular care keeps it vibrant and growing.
Enhances the Effectiveness of Skincare Products
Removing makeup allows other skincare products like moisturizers and serums to work more effectively. Clean skin can better absorb these products, giving you maximum benefits. It’s like cleaning a canvas before painting; it ensures a smoother and better-looking result.
Tips for Effective Makeup Removal
- Use a Gentle Cleanser: A mild cleanser helps remove makeup without stripping your skin of its natural oils. This article has some good tips on choosing the right cleanser.
- Avoid Rubbing: Rubbing can cause irritation. Gently wipe off makeup to keep your skin happy.
- Double Cleanse: If you wear heavy makeup, consider double cleansing to make sure everything is removed. Check out this double cleansing guide.
- Use Soft Towels: Pat your skin dry with soft towels to avoid any roughness.
- Hydrate: After removing makeup, always moisturize to keep your skin hydrated.
Regularly removing makeup not only keeps your skin clean but also ensures that you always look and feel your best. Don't underestimate the power of good skincare habits! 🌟
Benefits of Using Natural Makeup Removers
When it comes to taking care of our skin, choosing natural options is always a smart move. Using natural makeup removers not only helps keep our skin healthy but also benefits the environment. Let’s dive into some of the key benefits you can enjoy when you make the switch to natural, homemade makeup removers.
Gentle on Skin
One of the major benefits of natural makeup removers is their gentle nature. Unlike many commercial products, which contain harsh chemicals, natural removers are made from ingredients you can find in your kitchen. This means they are less likely to cause irritation or allergic reactions. For instance, coconut oil and aloe vera are two common ingredients in homemade makeup remover recipes and are known for their soothing properties.
Environmentally Friendly
Natural makeup removers are not only great for your skin but also better for the planet. Commercial makeup removers often come in plastic packaging and contain synthetic chemicals that can harm the environment. By making your own makeup remover, you reduce waste and avoid contributing to pollution. Plus, you can reuse containers and opt for eco-friendly packaging for even more green benefits.
Cost-Effective
Switching to natural makeup removers can also save you money. Many natural ingredients like olive oil, cucumber, and honey are inexpensive and offer multiple uses besides cleansing your face. Instead of spending on multiple skincare products, you can create an all-in-one solution at home. This is a win-win for both your wallet and your beauty routine.
Nourishing Ingredients
Natural makeup removers often contain nourishing ingredients that provide additional benefits for your skin. For example, oils like jojoba and sweet almond help to moisturize and soften your skin while removing makeup. Ingredients like green tea and chamomile can offer anti-inflammatory benefits and help reduce redness and puffiness.
Chemical-Free
Commercial makeup removers can contain a slew of chemicals that may strip your skin of its natural oils, causing dryness and irritation. Switching to a natural makeup remover means you know exactly what you’re putting on your skin. No mystery ingredients, no unwanted side effects—just wholesome, skin-loving goodness.
 Photo by Thể Phạm
Customizable
Another great benefit is that you can customize your homemade makeup remover to fit your specific skin type and needs. Whether your skin is oily, dry, or sensitive, you can adjust the ingredients to create a solution that works best for you. This level of personalization is hard to find in store-bought products, making homemade options stand out.
Free from Synthetic Fragrances
Many commercial makeup removers contain synthetic fragrances that can cause headaches and skin irritation. Natural ingredients often have mild, pleasant scents or are unscented, making them suitable for sensitive skin and noses. Essential oils like lavender or tea tree can be added for a touch of fragrance and extra skincare benefits, making your beauty routine feel like a spa experience at home.
Switching to natural makeup removers is a step towards a more sustainable, healthier, and cost-effective skincare routine. With benefits like being gentle on skin, environmentally friendly, and customizable, it’s easy to see why more people are making the switch.
Essential Ingredients for Homemade Makeup Remover
Creating your own makeup remover at home is easier than you might think. Plus, it’s a great way to ensure you know exactly what you’re putting on your skin. Here are some essential ingredients you’ll need to get started.
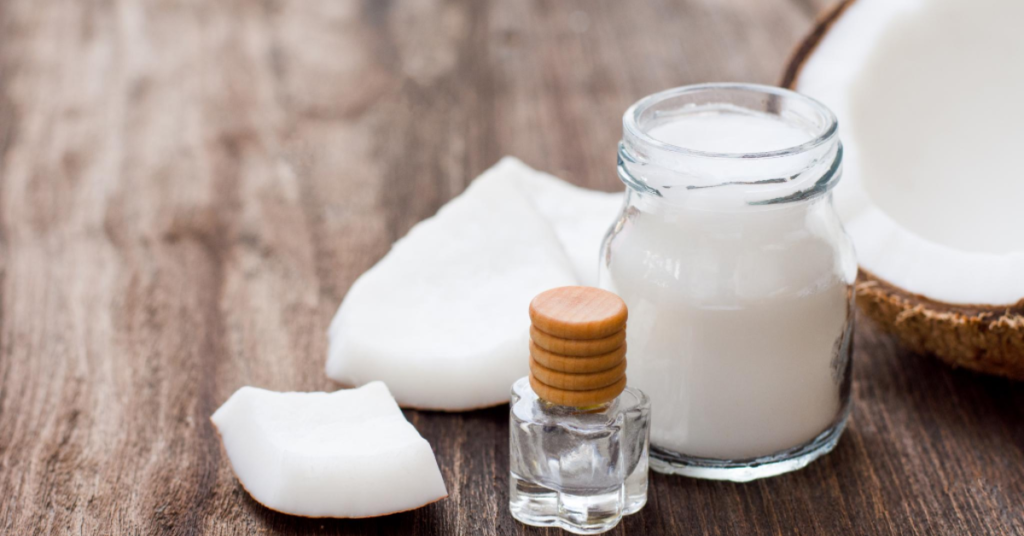
Coconut Oil
Coconut oil is like magic when it comes to removing makeup. 🥥 This tropical oil is not only effective at breaking down stubborn makeup, but it also moisturizes your skin at the same time. Just a small amount can dissolve even waterproof mascara! Imagine cleansing your face without the harshness of some commercial products.
Unlike many over-the-counter removers, coconut oil doesn’t strip away your skin’s natural oils. Instead, it helps maintain a healthy balance. As an added bonus, coconut oil has antibacterial properties, which make it a great option for preventing breakouts.
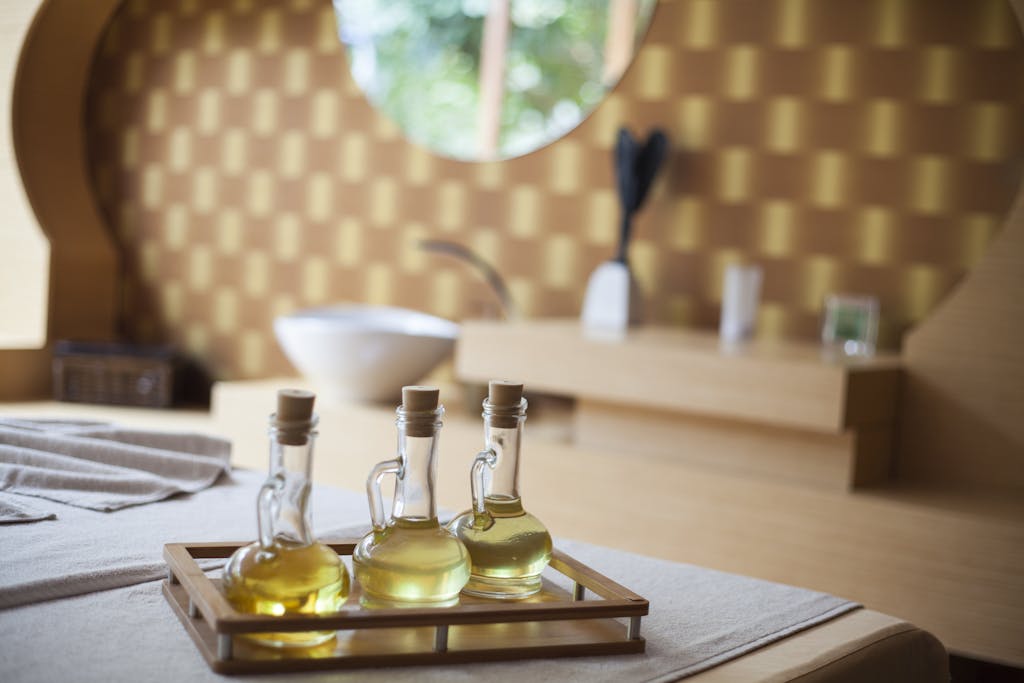
Photo by RF._.studio
Almond Oil
Almond oil is another fantastic choice for homemade makeup removers. 🌰 It’s rich in vitamins and nutrients that nourish the skin, making it perfect for people with sensitive skin. The light, non-greasy texture ensures that it won’t clog your pores or leave your skin feeling oily.
Almond oil is known for its ability to soothe irritated skin and reduce puffiness, thanks to its high vitamin E content. This is especially beneficial if you’re prone to sensitive or acne-prone skin. And let’s not forget, it’s hypoallergenic! So, it’s gentle enough for daily use.
Aloe Vera
Aloe vera is a superstar ingredient in skincare, and it also works wonders in makeup removers. 🌿 Known for its soothing properties, aloe vera can help calm any irritation or redness you might experience from wearing makeup all day. It’s like a breath of fresh air for your face!
Aloe vera gel is incredibly hydrating, meaning it helps lock moisture into your skin without making it feel oily. This makes it an excellent choice for people with dry or sensitive skin. Plus, it has natural antibacterial properties that help keep your skin clear and healthy.
Incorporating these natural ingredients into your homemade makeup removers can transform your skincare routine. Give them a try and enjoy the benefits of cleaner, healthier skin!
5 DIY Homemade Makeup Remover Recipes
Are you tired of chemical-laden makeup removers that leave your skin irritated? Switch to homemade makeup removers for a gentler, natural alternative! 🍃 These DIY solutions are not only effective but also easy to make. Here are five recipes you can try at home.
Coconut Oil and Honey Makeup Remover

Photo by Anete Lusina
Instructions:
- Mix 2 tablespoons of coconut oil with 1 tablespoon of honey.
- Apply the mixture to your face using a cotton pad.
- Gently massage in circular motions and then rinse with warm water.
Benefits: Coconut oil is known for its moisturizing properties, while honey has natural antibacterial benefits. This combo not only removes makeup but also leaves your skin super soft and hydrated.
Almond Oil and Lavender Essential Oil Remover
Instructions:
- Combine 3 tablespoons of almond oil with 4-5 drops of lavender essential oil.
- Shake well and apply with a cotton pad.
- Massage gently and rinse off with lukewarm water.
Benefits: Almond oil is rich in vitamins and great for sensitive skin. Lavender essential oil provides a calming effect, making your makeup removal process a relaxing ritual. 🌿
Aloe Vera and Rose Water Cleanser
Instructions:
- Blend 2 tablespoons of aloe vera gel with 2 tablespoons of rose water.
- Apply to your face using a cotton pad.
- Gently wipe away makeup and rinse with water.
Benefits: Aloe vera has cooling and anti-inflammatory properties, while rose water helps to balance the skin’s natural oils. This mixture is perfect for those with sensitive or irritated skin.
Witch Hazel and Olive Oil Makeup Remover
Instructions:
- Mix 2 tablespoons of witch hazel with 2 tablespoons of olive oil.
- Apply using a cotton pad.
- Massage gently on the skin and rinse off.
Benefits: Witch hazel acts as an astringent, tightening your pores and removing excess oil. Olive oil is a great natural moisturizer, making this combo very effective for all skin types.
Cucumber Infusion Makeup Remover
Instructions:
- Blend half a cucumber and strain the juice.
- Mix the cucumber juice with an equal amount of water.
- Apply with a cotton pad and massage gently before rinsing.
Benefits: Cucumber is incredibly hydrating and soothing for the skin. This remover is light and refreshing, leaving your skin feeling cool and moisturized.
Each of these homemade makeup remover solutions is not only simple to make but also beneficial for your skin. Try these recipes and enjoy the natural glow! ✨
How to Use Your Homemade Makeup Remover Effectively
You’ve crafted your homemade makeup remover, bravo! Now it’s time to put it to use. Using these gentle DIY solutions is as easy as pie. Follow these simple steps to ensure you’re getting the most out of your natural skincare routine.
Gather Your Supplies
Before diving into your makeup removal regime, make sure you have everything you need on hand. Here’s a quick checklist:
- Cotton pads or soft cloths: These are gentle on your skin and work perfectly with homemade removers.
- A clean, soft towel: Use this to pat your face dry afterward.
- Your homemade makeup remover: Well, of course!

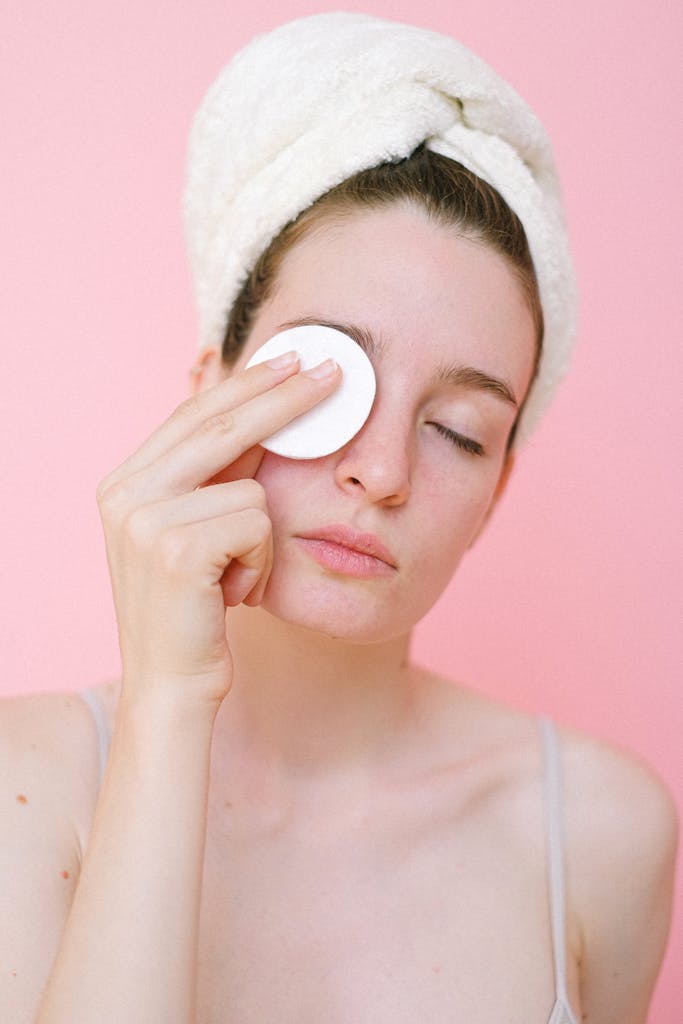
Photo by Monstera Production
Shake It Up
If you’ve made an oil-based makeup remover, give the bottle a good shake. This ensures the ingredients are well-mixed and ready to work their magic on your skin.
Apply to Cotton Pad or Cloth
Pour a small amount of the homemade makeup remover onto a cotton pad or soft cloth. You don’t need much—a little goes a long way! If you’re using a solution like coconut oil or aloe vera gel, just scoop out a pea-sized amount.
Gentle, Circular Motion
Gently press the soaked cotton pad or cloth against your skin and use small, circular motions. Focus on one area at a time, starting with your lips and eyes, then moving to your cheeks, forehead, and neck.
Rinse or Wipe Off
Depending on the type of homemade remover you’ve made, you may need to rinse your face with lukewarm water afterward. Oil-based removers can often be wiped off with a damp cloth, leaving your skin hydrated and nourished.
Pat Dry
Use a clean, soft towel to pat your face dry. Avoid rubbing as it can irritate the skin. Patting helps absorb excess moisture without causing any damage.
Moisturize
After removing your makeup, it’s a good idea to moisturize your skin. Use your favorite natural moisturizer, like aloe vera gel or coconut oil, to keep your skin hydrated and happy.
Extra Tips for Best Results
Here are a few additional tips to help you get the best results from your homemade makeup remover:
- Store properly: Keep your homemade remover in a cool, dark place to maintain its freshness.
- Patch test: Always do a patch test when trying a new recipe to ensure you don’t have any adverse reactions.
- Stay gentle: Your skin is delicate, so always use soft, gentle motions when applying and removing makeup.
Using your homemade makeup remover properly will ensure your skin stays clean, healthy, and radiant. Ready to try it out tonight? Your skin will thank you!
Tips for Choosing the Right Recipe for Your Skin Type
Oily skin considerations
- Opt for lightweight, non-comedogenic oils like jojoba or grapeseed
- Incorporate astringent ingredients like witch hazel or green tea
- Use a water-based micellar solution instead of heavy oil cleansers
- Consider adding a small amount of tea tree oil for its antibacterial properties
- Avoid coconut oil, as it may clog pores in oily skin types
Dry skin solutions
- Choose rich, nourishing oils such as avocado or argan oil
- Add natural humectants like honey or glycerin to attract moisture
- Incorporate soothing ingredients like chamomile or calendula
- Avoid alcohol-based ingredients that can further dry out the skin
- Consider adding a few drops of vitamin E oil for extra hydration
Sensitive skin precautions
- Stick to gentle, hypoallergenic ingredients like aloe vera and cucumber
- Avoid essential oils, which can be irritating to sensitive skin
- Use colloidal oatmeal or chamomile for their calming properties
- Always perform a patch test before trying a new recipe
- Opt for fragrance-free formulations to minimize potential irritation
Combination skin balancing act
- Create a customized blend targeting different areas of your face
- Use lighter formulations on oily areas (T-zone) and richer ones on dry patches
- Incorporate balancing ingredients like jojoba oil or hazelnut oil
- Consider using two different removers for different parts of your face
- Add a touch of rose water for its balancing and toning properties
Universal tips for all skin types
- Always remove makeup gently, avoiding harsh rubbing or tugging
- Follow up with a gentle cleanser to ensure all makeup and oil residue is removed
- Use lukewarm water instead of hot water to avoid stripping natural oils
- Apply a moisturizer immediately after removing makeup to lock in hydration
- Adjust recipes based on seasonal changes in your skin’s needs
By tailoring your homemade makeup remover to your specific skin type, you’ll ensure that you’re not only effectively removing makeup but also nourishing and caring for your skin in the process. Remember, what works for one person may not work for another, so don’t be afraid to experiment and tweak recipes until you find your perfect match!
Storing and Preserving Your DIY Makeup Removers
Creating your own homemade makeup remover can be a fun and rewarding experience! However, knowing how to store and preserve your DIY solutions is just as important. Proper storage ensures that the ingredients remain effective and safe for use. So, let’s dive in! 🏊♀️
Choose the Right Containers
First things first — you need to use the right containers. Not all materials are suitable for storing natural products.
- Glass Bottles: These are highly recommended as they do not react with the natural ingredients. Plus, they are reusable!
- Dark Containers: Use dark-colored containers to protect your makeup removers from light, which can degrade the ingredients.
- Airtight Seals: Make sure your containers have airtight seals to prevent contamination and prolong the shelf life.
Keep It Cool and Dark
Heat and light are the enemies of natural makeup removers. They can speed up the degradation process, making your DIY solutions less effective.
- Store in a Cool Place: Keep your containers in a cool, dry place. A bathroom cabinet or a drawer works perfectly.
- Avoid Sunlight: Never place your homemade makeup removers in direct sunlight. The UV rays can deteriorate the ingredients.
 Photo by Sarah Chai on Pexels
Track Expiry Dates
Even though you’ve created a natural product, it doesn’t last forever. Keeping track of expiry dates can save you from using a spoiled solution.
- Label Containers: Write expiration dates on labels and stick them on your containers.
- Use Fresh Ingredients: Always use fresh ingredients to extend the longevity of your makeup remover. For instance, coconut oil can last up to two years if stored correctly.
Preserve with Natural Additives
Adding natural preservatives can extend the life of your homemade makeup remover without compromising on the natural goodness.
- Vitamin E Oil: A few drops of Vitamin E oil can act as an antioxidant to keep your solution fresh.
- Essential Oils: Oils like tea tree or lavender have antimicrobial properties that help preserve your makeup remover.
Regularly Inspect and Sniff
For the sake of safety, it’s vital to inspect your homemade makeup remover regularly.
- Check for Changes: Look out for changes in color, texture, or smell. If anything seems off, it’s better to discard the solution.
- Smell Test: Give it a sniff! A foul or rancid smell is a clear indicator that it’s time to make a new batch.
Storing and preserving your DIY makeup remover may require a bit of effort, but it ensures that your natural solution remains effective and safe to use. Who wouldn’t want a skincare routine that’s both economical and earth-friendly? 🌍
Stay tuned for more tips in our next sections!
Common Mistakes to Avoid When Making DIY Makeup Removers
| Category | Common Mistakes to Avoid |
|---|---|
| Ingredient Proportions and Measurements | • Using too much oil, leading to greasy residue • Not adding enough emulsifier, causing separation • Overdiluting active ingredients, reducing effectiveness • Eyeballing measurements instead of using precise tools • Forgetting to adjust recipes for batch size |
| Potential Allergic Reactions and Patch Testing | • Skipping the crucial patch test before full application • Ignoring mild irritation or redness during initial use • Using known allergens without considering alternatives • Not researching potential cross-reactions between ingredients • Failing to list all ingredients when sharing recipes with others |
| Proper Sanitization of Tools and Containers | • Using unclean utensils or containers, introducing bacteria • Neglecting to sterilize bottles and jars before use • Cross-contaminating ingredients during the mixing process • Touching product with unwashed hands during application • Storing homemade removers in humid environments, promoting bacterial growth |
| Overuse of Essential Oils | • Adding too many drops, which can irritate skin • Not properly diluting essential oils before use • Using photosensitive oils without considering sun exposure • Combining multiple essential oils without understanding interactions • Neglecting to research contraindications for certain essential oils |
| Additional Common Mistakes | • Not considering the pH balance of the final product • Using ingredients past their expiration date • Storing DIY removers for too long without preservatives • Neglecting to shake or mix well before each use • Using water-based recipes without proper preservatives |
Comparing Homemade vs. Store-Bought Makeup Removers
| Aspect | Homemade Makeup Removers | Store-Bought Makeup Removers |
|---|---|---|
| Effectiveness | • Often gentler, may require more time/reapplication • Customizable for specific makeup types • May leave slight residue depending on ingredients | • Quick removal of various makeup types • Contains stronger solvents for efficiency • Generally leaves no residue |
| Cost | • High initial investment in ingredients • Cheaper per use over time • Cost-effective for frequent use • Allows bulk purchases for multiple products | • Convenient, ready-to-use with upfront cost • Often more expensive per use • May require multiple products for different makeup types |
| Environmental Impact | • Reduces plastic waste • Allows use of reusable application pads • Lower carbon footprint • Customizable with local, organic ingredients | • Contributes to single-use plastic waste • Often contains microplastics • Higher carbon footprint from manufacturing/transport • Limited sustainable packaging options |
| Long-term Skin Health | • Control over ingredients • Adaptable to changing skin needs • Often contains natural, nourishing ingredients • Minimizes exposure to irritants/preservatives | • Formulated for stability and long shelf life • May contain exclusive active ingredients • Consistent formulation • Some include patented beneficial compounds |
| Additional Factors | • Requires preparation time • Shorter shelf life • Highly customizable • Full ingredient transparency • Often multi-use (e.g., cleansers as moisturizers) | • Ready-to-use convenience • Longer shelf life • Limited customization • Ingredient lists may be unclear • Usually single-purpose products |
Conclusion: Natural Makeup Removers – 5 Gentle DIY Solutions
We’ve explored some wonderful DIY solutions for removing makeup naturally. These options not only help you maintain your skin’s health but also offer an eco-friendly way to care for your skin. Let’s summarize what we’ve learned and how you can incorporate them into your daily routine.
The Benefits of Homemade Makeup Removers
There are many benefits to using homemade makeup removers:
- Safe Ingredients: Unlike commercial removers loaded with chemicals, these DIY options use natural, skin-friendly ingredients.
- Eco-Friendly: Reducing plastic waste and avoiding harmful chemicals is beneficial for the planet 🌍.
- Cost-Effective: These natural solutions often cost less than store-bought products.
Easy Steps to Create Your Own Remover
Making your own makeup remover is simple. Here are a few easy steps:
- Choose Your Base: Coconut oil, olive oil, or witch hazel are great options.
- Add Extra Ingredients: Aloe vera and essential oils can provide added benefits.
- Mix and Store: Combine ingredients and store in a reusable container. Shake before each use.
Why Switching to Natural Products is Important
Consider this: if you wouldn’t eat it, why put it on your skin? Many commercial products contain harsh chemicals that can irritate your skin. Plus, synthetic fragrances and preservatives can cause allergic reactions. By switching to natural options, you can avoid these risks and enjoy healthier skin.
Free Recipe Download and Subscribe to Our Blog
If you loved learning about these natural solutions, download our free recipe guide below for more DIY skincare tips. Also, don’t forget to subscribe to our blog for regular updates on natural beauty and skincare.
 Photo by Karolina Kaboompics
Join the Natural Skincare Movement
By incorporating these homemade makeup remover solutions into your routine, you’re not only treating your skin better but also making a positive impact on the environment. 🌿 Why not give it a try? Your skin will thank you, and so will the planet!
Download Free DIY Makeup Remover Recipe Guide
- Want to have these DIY makeup remover recipes at your fingertips? Click the button below to download our free, printable recipe guide! It’s perfect for keeping in your bathroom or sharing with friends who love natural beauty solutions.