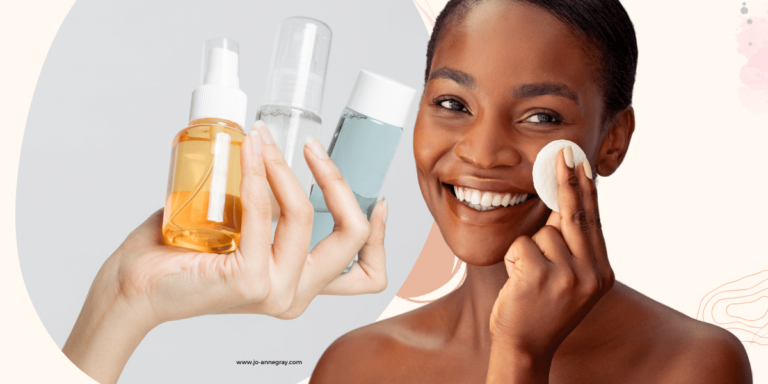
Rosemary DIY Toner: Clarify & Tighten Pores Easily

Have you ever wished for a skincare routine that not only clarifies and tightens your pores but also gives you a sense of connection to nature? Well, look no further because a rosemary DIY toner might be just what you need.
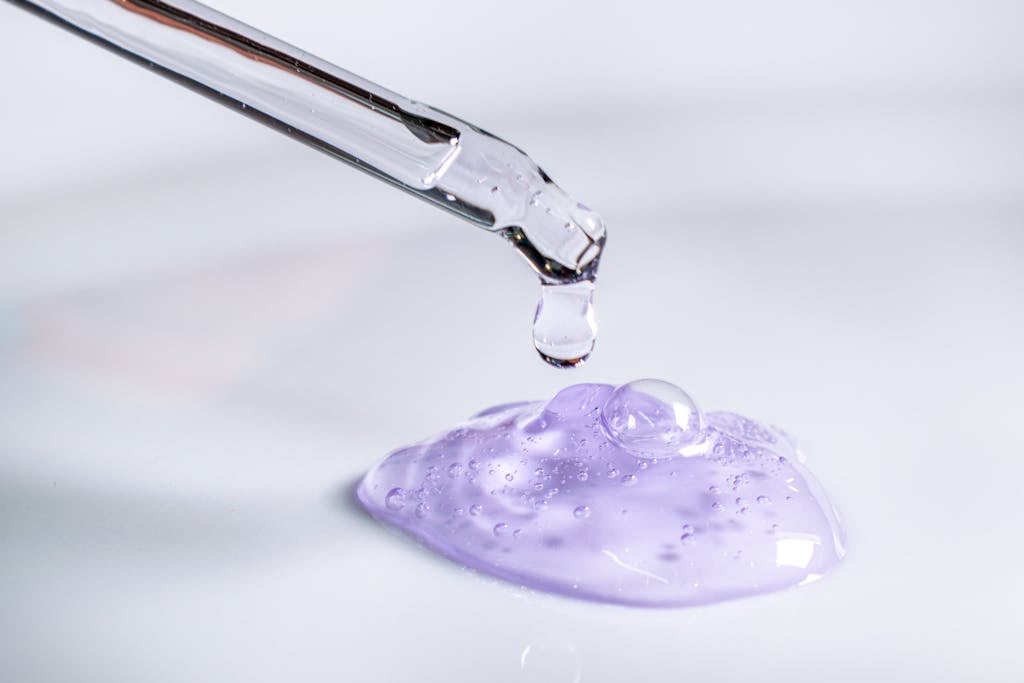
This simple and natural toner recipe harnesses the power of rosemary to deliver beautiful results for your skin. Imagine the refreshing aroma of rosemary, the soothing sensation as you apply the toner, and the confidence that comes with knowing you can achieve clear and radiant skin right at home.
Rosemary, a beloved herb in the culinary world, also holds immense benefits for the skin. Its clarifying properties help to unclog pores, minimize their appearance, and reduce excess oil production. Additionally, rosemary is known for its toning effect, which can leave your skin looking tighter and more youthful.
By incorporating a DIY rosemary toner into your skincare routine, you can elevate your self-care ritual and reap the rewards of this herbal treasure.
Whether you’re a skincare enthusiast or someone looking to explore the world of DIY beauty products, making your own rosemary toner is a rewarding experience.
Not only can you customize the ingredients to suit your specific needs, but you also have the satisfaction of creating a natural skincare product that is free from harsh chemicals and artificial additives. It’s time to embark on a journey towards healthier, glowing skin with the power of rosemary.
- A DIY rosemary toner can clarify and tighten your pores, giving you clear and radiant skin.
- Rosemary has natural clarifying and toning properties that benefit the skin.
- Making your own rosemary toner allows you to customize the ingredients and prioritize natural skincare.
- Using a DIY rosemary toner is a rewarding and eco-friendly addition to your skincare routine.
- Get ready to embrace the natural power of rosemary and experience the transformative effects on your skin.
The Benefits of Using a Rosemary Toner
Rosemary is a versatile herb that offers numerous benefits for the skin. Its antioxidant and antibacterial properties make it effective for treating acne and reducing inflammation. Additionally, rosemary can help protect the skin from UV damage and promote collagen formation, resulting in a healthier and more youthful complexion.
When used in a toner, rosemary has specific advantages that can aid in clarifying and tightening the pores. The astringent properties of rosemary help to minimize the appearance of pores, giving the skin a smoother and more refined texture. By regulating sebum production, rosemary toners can also help control excess oil, preventing clogged pores and breakouts.
The natural skincare benefits of rosemary go beyond its pore-refining properties. Rosemary toner provides a refreshing and invigorating sensation, reviving the skin and leaving it feeling revitalized. This herb is rich in antioxidants, which fight free radicals and protect the skin from environmental damage.
Moreover, the soothing and anti-inflammatory properties of rosemary can help calm irritated skin and reduce redness. It’s a great option for those with sensitive or acne-prone skin, as it can help alleviate inflammation and promote a more balanced complexion.
In summary, incorporating a rosemary toner into your skincare routine can bring about a multitude of benefits. From clarifying and tightening the pores to providing antioxidant protection, rosemary toner is a natural and effective way to enhance your skincare regimen and achieve healthier-looking skin.
How to Make a DIY Rosemary Toner

Making your own DIY rosemary toner is simple and cost-effective. By following this easy recipe, you can create a natural toner that promotes healthy and radiant skin. Here’s what you’ll need:
- Fresh rosemary
- Witch hazel
- Rosewater
- Essential oils (optional)
Instructions:
- Start by gathering a handful of fresh rosemary leaves.
- Next, combine the rosemary leaves with witch hazel in a glass jar.
- Let the mixture steep for at least 24 hours, allowing the rosemary to infuse into the witch hazel.
- After steeping, strain the mixture to remove the rosemary leaves.
- Add an equal amount of rosewater to the infused witch hazel, ensuring the toner is well-balanced.
- Optionally, you can add a few drops of your favorite essential oil for a pleasant fragrance and added benefits.
- Shake the jar well to mix all the ingredients thoroughly.
- Your DIY rosemary toner is now ready to use! Store it in a clean, airtight container for future use.
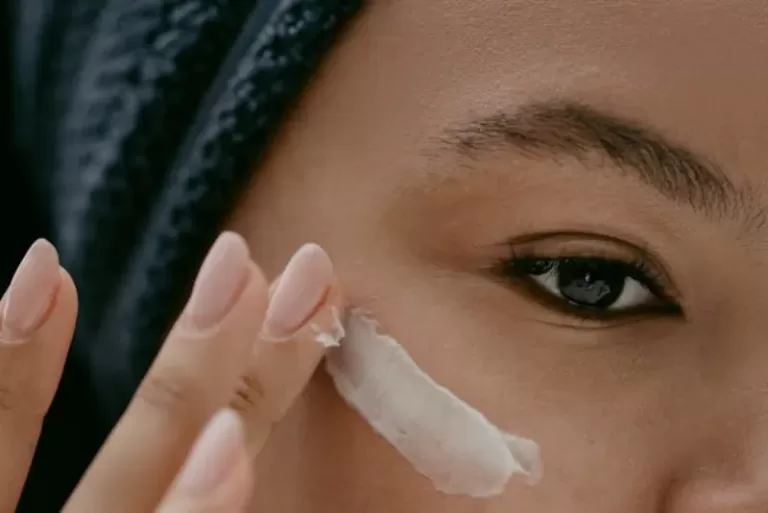
This homemade toner with rosemary is gentle yet effective in balancing the skin’s pH, removing impurities, and providing a boost of antioxidants and vitamins. Incorporate this natural toner into your skincare routine by applying it to clean skin twice a day. Simply spritz it directly onto your face, neck, and chest, or apply it with a cotton ball or your hands. Let the toner absorb for a minute before following with your favorite serums or moisturizers.
For an extra refreshing touch throughout the day, transfer some of the DIY toner to a small spray bottle and use it as a facial mist. Simply spritz it whenever your skin needs a quick pick-me-up!
How to Use Rosemary Toner Effectively

To maximize the benefits of your rosemary toner, follow these simple steps for effective application:
- Step 1: Cleanse your face
Start by washing your face with a gentle cleanser suitable for your skin type. Pat your skin dry with a clean towel. - Step 2: Shake the toner bottle
Give the toner bottle a good shake to ensure that all the ingredients are well mixed. - Step 3: Spritz or apply with cotton
There are two ways to apply the rosemary toner. You can either spritz it directly onto your face, neck, and chest or apply it using a cotton ball. Choose the method that feels most comfortable for you. - Step 4: Allow the toner to absorb
After applying the toner, allow it to sink into your skin for about a minute. This will give the toner enough time to effectively balance your skin’s pH and prepare it for the next steps in your skincare routine. - Step 5: Follow with serums and moisturizers
Once the toner has absorbed, continue with your regular skincare routine. Apply serums, moisturizers, and any other products you usually use to complete your regimen. - Step 6: Use as a refreshing facial mist
Throughout the day, you can also use the rosemary toner as a facial mist to refresh and hydrate your skin. Keep a small travel-size bottle with you for a quick pick-me-up.
By following these steps, you can ensure that the rosemary toner is used effectively, allowing you to enjoy its clarifying and pore-tightening benefits to the fullest.
Rosemary DIY Toner for Different Skin Types

Rosemary toner can be beneficial for different skin types. Whether you have oily, dry, or acne-prone skin, incorporating rosemary toner into your skincare routine can help address your specific concerns.
Rosemary DIY Toner for Oily Skin
If you have oily skin, rosemary toner can be a game-changer. Its balancing properties help regulate oil production, reducing excess shine and controlling sebum levels. By incorporating rosemary toner into your routine, you can enjoy a clearer and more mattified complexion.
Rosemary DIY Toner for Dry Skin
For those with dry skin, rosemary toner can offer much-needed hydration and nourishment. Its moisturizing properties help replenish and restore the skin’s moisture barrier, providing a boost of hydration. Incorporating rosemary toner into your daily skincare routine can leave your skin feeling refreshed and rejuvenated.
If you struggle with acne-prone skin, rosemary toner can be a powerful ally in your battle against blemishes. The antibacterial properties of rosemary help fight acne-causing bacteria, reducing breakouts and inflammation. By using rosemary toner regularly, you can promote a clearer complexion and minimize the appearance of acne scars.
Experiment with different rosemary toner recipes or look for commercially available options that cater to your specific skin type. Remember to patch test any new product and gradually introduce it into your skincare routine to avoid any potential irritation.
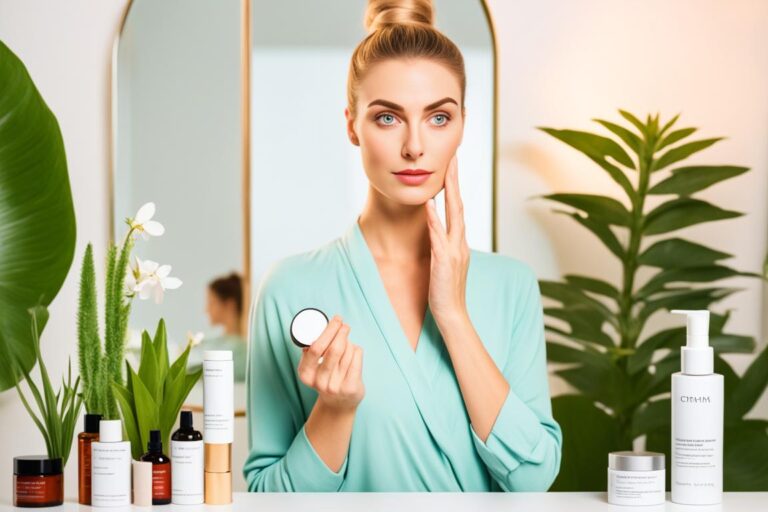
When it comes to skincare, customization is key. By incorporating rosemary toner into your routine, you can harness its unique benefits and address your specific skin concerns effectively.
Tips for Choosing the Right Toner Ingredients
When it comes to creating your own DIY toner, selecting the right ingredients is key. Consider your skin type and concerns to ensure you choose ingredients that will address your specific needs. Here are some tips to help you make the best choices:
Witch hazel is a staple in many toner recipes and is suitable for most skin types. It acts as a natural astringent, helping to tighten pores and control excess oil. Look for a high-quality witch hazel extract without any added fragrance or alcohol for optimal results.
Adding rosewater to your toner formulation can provide a soothing and hydrating effect. Rosewater has anti-inflammatory properties that can help calm irritated skin and reduce redness. It also helps to lock in moisture, leaving your skin feeling refreshed and revitalized.
3. Beneficial Herb: Fresh Rosemary
Fresh rosemary is an excellent addition to toners due to its beneficial properties. It contains antioxidants that help protect the skin from free radical damage, reducing signs of aging. Rosemary also has antibacterial properties, making it effective in treating acne and reducing inflammation.
If you’re looking to add extra benefits and a pleasant scent to your toner, consider incorporating essential oils. Depending on your skin’s needs, you can choose oils such as tea tree for acne-prone skin, lavender for soothing and balancing, or chamomile for sensitive skin. Remember to dilute essential oils properly before adding them to your toner.
By experimenting with different combinations of these ingredients, you can create a customized toner that suits your skin’s unique requirements. It’s always a good idea to do a patch test before using a new toner to ensure you don’t have any adverse reactions. Enjoy the process of choosing the perfect toner ingredients and reap the benefits of a natural, homemade skincare product!
Other Uses for Rosemary in Skincare
Rosemary is a versatile herb that offers benefits beyond its use in toners. Its natural properties make it a valuable ingredient for hair care and scalp treatments as well. Incorporating rosemary into your skincare routine can help promote healthy hair growth, soothe the scalp, and provide a DIY solution for cleansing and clarifying your hair.
Whether you’re dealing with hair loss or simply want to improve the health of your hair, rosemary can be a game-changer. Its stimulating properties help promote blood circulation, which encourages hair follicle growth and reduces hair loss. By incorporating rosemary-infused hair care products into your routine, you can achieve stronger, healthier hair.
Rosemary Scalp Treatment
Dry scalp can lead to itchiness, flakiness, and even hair breakage. A rosemary scalp treatment can provide the relief you need.
The antibacterial and anti-inflammatory properties of rosemary help soothe and nourish the scalp, reducing dryness and irritation. By massaging rosemary oil or applying a rosemary-infused scalp treatment, you can restore balance to your scalp and promote optimal hair health.
DIY Rosemary Rinse
A DIY rosemary rinse is an easy and effective way to cleanse and clarify your hair. The natural astringent properties of rosemary remove build-up and excess oil, leaving your hair feeling refreshed and revitalized. To make a rosemary rinse, steep fresh rosemary sprigs in boiling water, allow it to cool, and then strain the mixture.
After shampooing, pour the rosemary rinse over your hair, leave it on for a few minutes, and then rinse thoroughly. Your hair will thank you for the extra shine and bounce.
The Importance of Diluting Essential Oils
When it comes to incorporating essential oils into your skincare routine, proper dilution is crucial for ensuring safety and avoiding potential skin irritations. Essential oils are highly concentrated and potent, so diluting them before use is essential to create a balanced and effective skincare product that won’t harm your skin.
Diluting essential oils is done by mixing them with a carrier oil or another suitable medium. This helps to reduce their concentration and make them safe for direct application on the skin. A general guideline for dilution is to use no more than 1-2% essential oil in a recipe. This means that for every 30 milliliters (1 ounce) of carrier oil or other ingredients, you should add no more than 6 drops of essential oil.
Dilution not only ensures safety but also allows for optimal absorption and efficacy of the essential oil. The carrier oil acts as a medium to help deliver the essential oil to your skin without overwhelming it. It also helps to prevent skin sensitization, which can occur when using undiluted essential oils.
By diluting essential oils, you can still enjoy their benefits without risking any adverse reactions. Dilution allows for controlled use and helps to minimize any potential side effects, making it suitable for all skin types, including sensitive skin.
Tips for Diluting Essential Oils:
- Choose a high-quality carrier oil: Opt for carrier oils that are known for their skincare benefits, such as jojoba oil, rosehip oil, or sweet almond oil. These oils not only dilute the essential oils but also bring their own nourishing properties to the mix.
- Use a dilution chart: To ensure accurate dilution, refer to an essential oil dilution chart. These charts provide guidelines on the appropriate dilution ratios for different essential oils and applications.
- Perform a patch test: Before applying a diluted essential oil blend to your face or body, always perform a patch test on a small area of skin first. This helps to determine if you have any sensitivity or allergies to the specific oil combination.
Remember, diluting essential oils is a critical step in using them safely and effectively. By following proper dilution guidelines and using high-quality carrier oils, you can enjoy the benefits of essential oils in your skincare routine without compromising your skin’s health.
| Essential Oil | Carrier Oil | Dilution Ratio |
|---|---|---|
| Lavender | Sweet Almond Oil | 1-2% |
| Tea Tree | Jojoba Oil | 1-2% |
| Frankincense | Rosehip Oil | 1-2% |
Table: Essential oil dilution ratios for common oils
Safety Precautions and Storage Tips for Rosemary DIY Toners
When making DIY toners, it is essential to prioritize safety and follow proper precautions to ensure the effectiveness and longevity of your homemade skincare products. By taking the necessary steps, you can create toners that are both safe to use and beneficial for your skin.
Safety Tips for Rosemary DIY Toners:
- Start with clean equipment: Before creating your toner, make sure all utensils and containers are thoroughly cleaned and sanitized. This helps prevent the introduction of bacteria or other contaminants into your homemade toner.
- Use high-quality ingredients: Opt for fresh and organic ingredients whenever possible. This ensures that your toner is free from harmful chemicals and pesticides.
- Patch test before use: Even if you are using natural ingredients, it is crucial to perform a patch test before applying the toner to your face. Apply a small amount of the toner to your inner forearm and wait 24 hours to check for any adverse reactions.
- Avoid contact with eyes: When applying toner, be careful to avoid contact with your eyes. If the toner accidentally gets into your eyes, immediately rinse with plenty of water.
- Do not ingest toner: DIY toners are meant for external use only. Avoid ingestion or internal use, as the ingredients may not be safe for consumption.
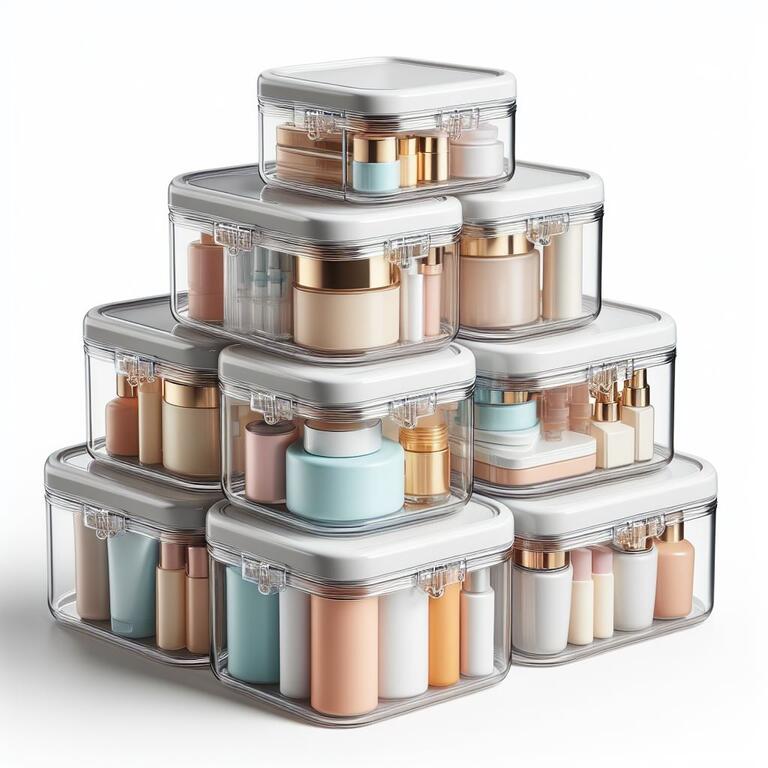
Air tight containers
Storing Homemade Toners:
To maintain the effectiveness of your DIY toners, it is important to store them properly. Follow these tips for optimal storage:
- Use airtight containers: Transfer your homemade toner into clean, airtight containers to prevent oxidation and maintain the freshness of the ingredients.
- Store in a cool, dark place: Exposure to heat and light can degrade the ingredients in your toner. Store them in a cool, dark place, away from direct sunlight.
- Label and date your toners: To avoid confusion and ensure you use your toners within their recommended shelf life, label each container with the ingredients used and the date of preparation.
- Check for changes: Homemade toners generally have a shelf life of 1-2 months when stored properly. However, if you notice any changes in color, texture, or smell, it is best to discard the toner to avoid any potential harm.
By following these safety precautions and storage tips, you can enjoy the benefits of DIY toners without compromising your skin’s health and safety.
Conclusion
In conclusion, incorporating DIY rosemary toner into your skincare routine can provide a host of benefits for your skin. This natural and cost-effective solution helps in clarifying and tightening the pores, resulting in a healthier and more radiant complexion.
By experimenting with different recipes and ingredients, you can customize the toner to suit your specific skin type and concerns.
Using rosemary toner as part of your natural skincare routine allows you to harness the antioxidant and antibacterial properties of the herb. It helps in treating acne, reducing inflammation, protecting against UV damage, and promoting collagen formation.
Additionally, rosemary toner can balance oil production for oily skin, provide much-needed moisture for dry skin, and combat breakouts for acne-prone skin.
Remember, safety and proper storage are essential when making and using DIY toners. Always follow the necessary precautions, use clean equipment, and store the toners in airtight containers.
While homemade toners typically have a shelf life of 1-2 months, it’s important to discard them if any changes in color, texture, or smell occur. Additionally, conduct a patch test before incorporating any new skincare product into your routine to ensure compatibility with your skin.
By embracing the benefits of rosemary toner and integrating it into your natural skincare routine, you can achieve a healthy and rejuvenated complexion. Enjoy the process of creating your own toner and pampering your skin with the goodness of nature.
FAQ
What are the benefits of using a rosemary toner?
Rosemary toner offers numerous benefits for the skin, including clarifying and tightening the pores, reducing inflammation, protecting against UV damage, and promoting collagen formation.
How do I make a DIY rosemary toner?
To make a DIY rosemary toner, you will need witch hazel, rosewater, fresh rosemary, and essential oils. Combine these ingredients, allow them to steep and infuse together, and then use the toner on clean skin twice a day.
How do I use rosemary toner effectively?
Start by washing your face and patting it dry. Shake the toner bottle well and spritz it directly onto your face, neck, and chest. Alternatively, you can apply the toner with a cotton ball or your hands. Allow the toner to sink in for a minute before applying serums or moisturizers.
Is rosemary toner suitable for all skin types?
Rosemary toner can be beneficial for different skin types. For oily skin, it helps balance oil production and reduce shine. For dry skin, it provides hydration. Those with acne-prone skin can benefit from its antibacterial properties.
How do I choose the right ingredients for my DIY toner?
When choosing ingredients for a DIY toner, consider your skin type and concerns. Witch hazel is a common base, and rosewater adds soothing and hydrating elements. Fresh rosemary provides the beneficial properties of the herb, and essential oils can be added for additional benefits and scent.
Can I use rosemary for other skincare purposes?
Yes, rosemary has other uses in skincare. It can be used in hair care to promote hair growth and reduce hair loss. A scalp treatment with rosemary can help soothe dry scalp. Additionally, a DIY rosemary rinse can be used to cleanse and clarify the hair.
How do I properly dilute essential oils for skincare recipes?
Essential oils should be diluted in a carrier oil or other suitable medium. The general guideline for dilution is to use no more than 1-2% essential oil in a recipe. This can be achieved by adding a few drops of essential oil to a larger quantity of carrier oil or other ingredients.
What are the safety precautions and storage tips for DIY toners?
When making DIY toners, it is essential to use clean equipment and store the toners in clean, airtight containers. They generally have a shelf life of 1-2 months if stored properly. However, if you notice any changes in color, texture, or smell, it is best to discard the toner. Patch test any new skincare product, including toners, to ensure no adverse reactions occur.
How do I incorporate rosemary toner into my skincare routine?
Use rosemary toner twice a day after cleansing and before applying other skincare products. You can also use it as a facial mist throughout the day to refresh and hydrate your skin.
What are the benefits of using a rosemary toner?
Rosemary toner offers numerous benefits for the skin, including clarifying and tightening the pores, reducing inflammation, protecting against UV damage, and promoting collagen formation.
Why should I consider adding a DIY rosemary toner to my skincare routine?
DIY rosemary toner is a cost-effective way to enhance the health and appearance of your skin. By using natural ingredients and benefiting from rosemary’s properties, you can achieve clearer, smoother, and more radiant skin.
Source Links
- https://helloglow.co/ways-to-make-homemade-toner/
- https://www.mindbodygreen.com/articles/rosemary-oil-for-hair-loss-skin-care-and-diy-recipes
- https://www.yourbeautyblog.com/2023/03/how-to-make-face-toner-at-home.html