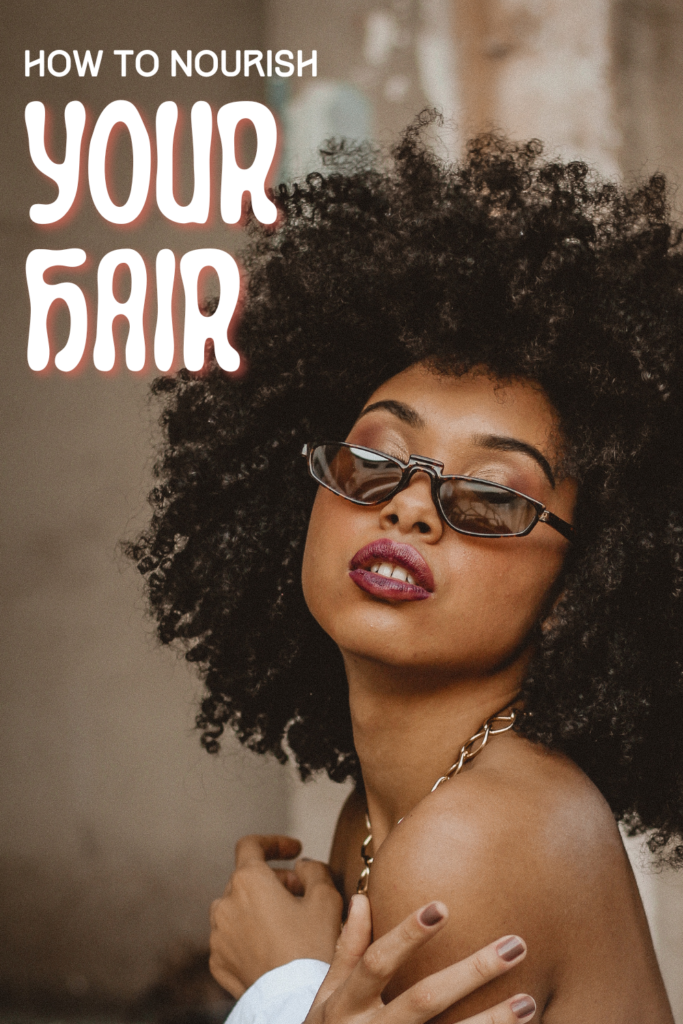
5 DIY Hair Masks You Can Whip Up at Home
Is your hair feeling dry, dull, or just in need of a little TLC? Look no further than your kitchen! DIY hair masks are an easy and effective way to nourish your hair using natural ingredients you probably already have at home. Not only are these masks free from harsh chemicals, but they also provide a convenient and cost-effective solution for all your hair care needs. This post will guide you through five nourishing hair masks that you can whip up in no time, leaving your hair shiny, strong, and healthy. Plus, don’t miss out on our free downloads for e-books, recipe cards, and more!
The Benefits of DIY Hair Masks
Giving your hair the care it deserves doesn’t have to mean spending a fortune. DIY hair masks offer incredible benefits that go beyond just economic savings.
Cost-Effective Solutions
Making hair masks at home not only yields fantastic results but also helps keep your wallet happy. Salon treatments and commercial hair care products can be costly and might not provide the same satisfaction as something you’ve crafted yourself. With a DIY hair mask, you can:
- Save money: Most ingredients for these masks are probably already in your kitchen.
- Spend less on salon visits: Why pay for an expensive salon treatment when you can get similar benefits at home?
- Avoid extra purchases: No need for numerous hair products—just a few natural ingredients will do the trick.
Imagine the money you could save by simply using household items like honey, yogurt, or eggs? It’s a win-win for both your hair and your budget!
Natural Ingredients
One of the biggest perks of making your own hair masks is knowing exactly what’s in them. Many store-bought products contain harsh chemicals that can damage your hair over time. By using natural ingredients, you can promote overall hair health without the risk. Here’s why natural ingredients are so beneficial:
- No harsh chemicals: Avoiding sulfates, parabens, and other additives means less damage to your hair in the long run.
- Better nourishment: Natural ingredients like coconut oil, avocado, and honey are packed with vitamins and minerals that help nourish and strengthen your hair.
- Eco-friendly: Using items you already have at home can reduce waste and be kinder to the environment.
Simple kitchen staples like bananas, eggs, and olive oil can work wonders for different hair types, providing moisture, strength, and shine all at once.

Customization for Hair Types
Another amazing benefit of DIY hair masks is that they can be tailored to meet the specific needs of your hair. Whether you have dry, oily, or damaged hair, there’s a recipe for you.
- Dry Hair: Use moisturizing ingredients like avocado, honey, and olive oil to lock in moisture and add shine.
- Oily Hair: Opt for cleansing components like lemon juice or apple cider vinegar to balance oil production.
- Damaged Hair: Incorporate protein-rich ingredients like eggs and yogurt to strengthen and repair hair strands.
By understanding your hair type, you can mix and match ingredients to create the perfect mask for your needs. This level of customization ensures that your hair gets exactly what it needs to thrive.
Intrigued by how easy and beneficial DIY hair masks can be? Discover some of our favorite recipes here and start your journey to healthier hair today.
Now retrieving an image set.
Ivory Gentle Bar Soap, Designed for Whole Family, 99.44% Pure Formula, Plant-Based Cleanser, Made Without Heavy Perfumes, Parabens & Phthalates, For All Skin Types, Original Scent, 4.0 oz (10 Count)
$9.99 (as of February 21, 2026 09:53 GMT -04:00 – More infoProduct prices and availability are accurate as of the date/time indicated and are subject to change. Any price and availability information displayed on [relevant Amazon Site(s), as applicable] at the time of purchase will apply to the purchase of this product.)
Now retrieving an image set.
Roycederm Antifungal Bar Soap – Tea tree Oil Soap – Athlete’s Foot Treatment for Jock Itch & Ringworm – Medicated Antifungal Soap with Clotrimazole 1% – Tea Tree Oil Scent, 1 Pack
$18.95 (as of February 21, 2026 09:53 GMT -04:00 – More infoProduct prices and availability are accurate as of the date/time indicated and are subject to change. Any price and availability information displayed on [relevant Amazon Site(s), as applicable] at the time of purchase will apply to the purchase of this product.)Top 5 Nourishing Hair Masks You Can Whip Up at Home
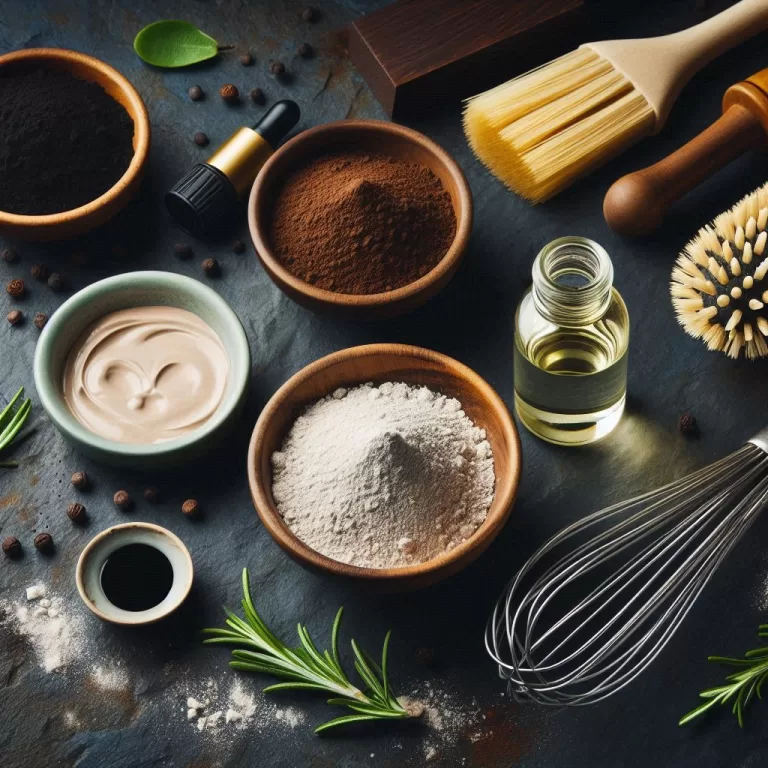
If you’re looking for an easy and natural way to treat your hair, look no further than these DIY hair masks. These homemade concoctions use simple, natural ingredients that provide fantastic results.
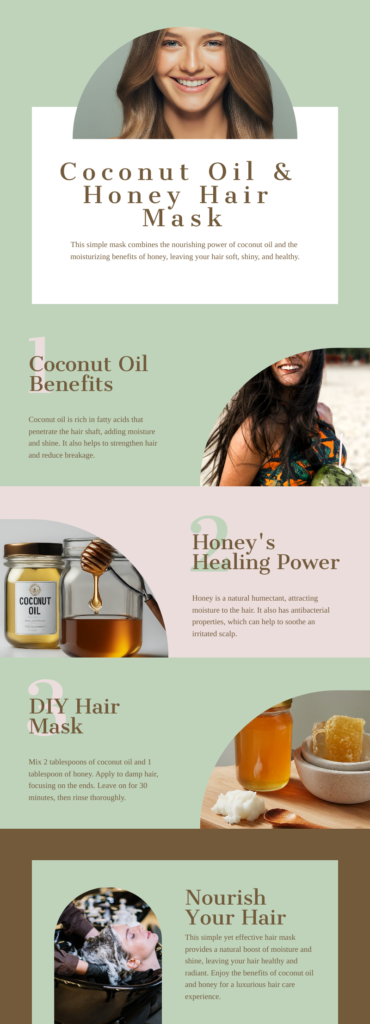
Coconut Oil and Honey Mask
Ingredients:
- 2 tablespoons of coconut oil
- 1 tablespoon of honey
Preparation Steps:
- Melt the Coconut Oil: Start by warming the coconut oil in a microwave until it becomes liquid.
- Mix the Ingredients: Combine the melted coconut oil with honey in a bowl.
- Apply to Hair: Apply the mixture to your hair, focusing on the ends and avoiding the roots.
- Wait and Rinse: Leave the mask on for 30 minutes, then rinse thoroughly with warm water.
Benefits:
- Hydration: Both coconut oil and honey are excellent moisturizers that can bring dry hair back to life.
- Shine: This mask adds a natural shine to your locks.
- Strength: Helps reduce hair breakage and split ends.
Avocado and Olive Oil Mask
Ingredients:
- 1 ripe avocado
- 2 tablespoons of olive oil
Preparation Steps:
- Mash the Avocado: Mash the avocado in a bowl until smooth.
- Mix in Olive Oil: Add the olive oil and mix until well combined.
- Apply to Hair: Apply the mask to your hair, ensuring even coverage.
- Wait and Rinse: Leave on for 20-30 minutes before rinsing thoroughly.
Benefits:
- Hydration: Avocados are rich in vitamins E and B, which help to nourish and moisturize dry hair.
- Repair: Olive oil helps repair damaged strands by penetrating the hair shaft.
Expert Quote: “Avocado and olive oil are both excellent for adding moisture and nutrients to dry and damaged hair. They work wonders for restoring shine and health.” – Hairfinity
Banana and Honey Mask
Ingredients:
- 1 ripe banana
- 1 tablespoon of honey
Preparation Steps:
- Mash the Banana: Use a fork to mash the banana in a bowl until smooth.
- Combine with Honey: Add the honey and mix well.
- Apply to Hair: Apply the mask to your hair, focusing on damaged areas.
- Rinse: Leave on for 15-20 minutes before rinsing thoroughly with warm water.
Benefits:
- Nourishment: Packed with vitamins and minerals, bananas help strengthen and nourish hair.
- Comparison: Unlike commercial products, this mask is free from preservatives and artificial substances, making it a healthier option.
Egg and Lemon Mask
Ingredients:
- 1 egg
- 1 tablespoon of lemon juice
Preparation Steps:
- Beat the Egg: Beat the egg in a small bowl.
- Mix in Lemon Juice: Add the lemon juice and mix thoroughly.
- Apply to Hair: Apply the mixture to your hair, focusing on the scalp.
- Wait and Rinse: Leave on for 20 minutes, then rinse with cool water.
Benefits:
The egg and lemon hair mask targets oily hair by removing excess oil and providing a deep cleanse. Here’s a graph showing its benefits:
| Benefits | How it Helps |
|---|---|
| Reduces Oil | Lemon juice helps balance oil production |
| Adds Protein | Egg provides protein for hair strength |
| Natural Shine | Leaves hair looking shiny and healthy |
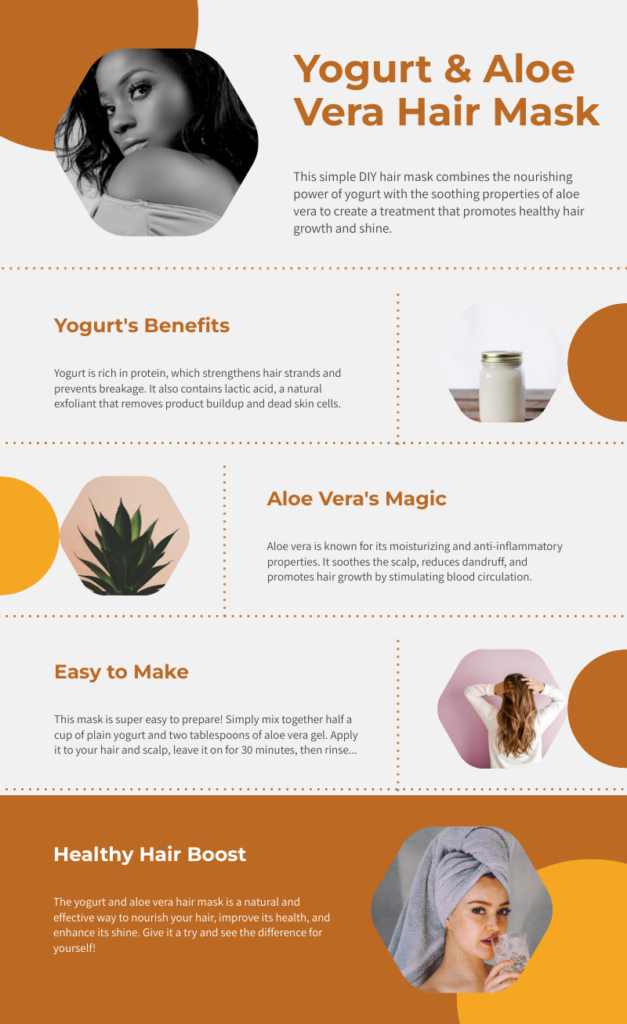
Yogurt and Aloe Vera Mask
Ingredients:
- 1/2 cup of plain yogurt
- 2 tablespoons of aloe vera gel
Preparation Steps:
- Mix Ingredients: Mix the yogurt and aloe vera gel in a bowl until smooth.
- Apply to Hair: Apply the mixture to your hair, focusing on the scalp and ends.
- Wait and Rinse: Leave on for 30 minutes, then rinse thoroughly.
Benefits:
- Soothing: Aloe vera has soothing properties that can calm an irritated scalp.
- Hydration: Yogurt adds moisture and nutrients to the hair, promoting a healthy shine.
Scientific Evidence: Studies have shown that aloe vera contains enzymes that promote hair growth and reduce scalp inflammation.
Comparison of DIY Hair Masks for Different Hair Types and Concerns.
| Mask | Best for Hair Type | Key Benefits | Main Ingredients |
|---|---|---|---|
| Coconut Oil and Honey | Dry, damaged | Hydration, shine, strength | Coconut oil, honey |
| Avocado and Olive Oil | Dry, frizzy | Deep moisturizing, repair | Avocado, olive oil |
| Banana and Honey | All hair types | Nourishment, softness | Banana, honey |
| Egg and Lemon | Oily | Oil control, protein boost | Egg, lemon juice |
| Yogurt and Aloe Vera | Irritated scalp, dull hair | Soothing, hydration | Yogurt, aloe vera |
User Testimonials
Real-Life Experiences: What Users Say
“I tried the Coconut Oil and Honey Mask, and I’m amazed at how soft and shiny my hair became! It’s like a salon treatment at home.” – Sarah, 28
“The Avocado and Olive Oil Mask saved my dry, damaged hair. After just two uses, I noticed a significant difference in texture and manageability.” – Michael, 35
“As someone with oily hair, I was skeptical about hair masks. But the Egg and Lemon Mask has been a game-changer! It helps control oil without drying out my hair.” – Emma, 42
Expert Tips for Applying DIY Hair Masks
Applying DIY hair masks correctly can maximize their benefits, making your hair softer, shinier, and healthier. Here’s a guide packed with expert tips on how to prepare and apply these masks, as well as recommendations on how often to use them.
Preparation and Application
Before you start, it’s essential to understand the best practices to ensure that your DIY hair mask works effectively. Here are some steps you should follow:
- Start with Clean Hair: Ensure your hair is clean before applying a mask. Washing away the dirt and oil allows the mask to penetrate better.
- Damp Hair is Best: Apply the mask to damp hair. Your hair absorbs the ingredients more effectively when it’s slightly wet because it’s more porous, just like a sponge.
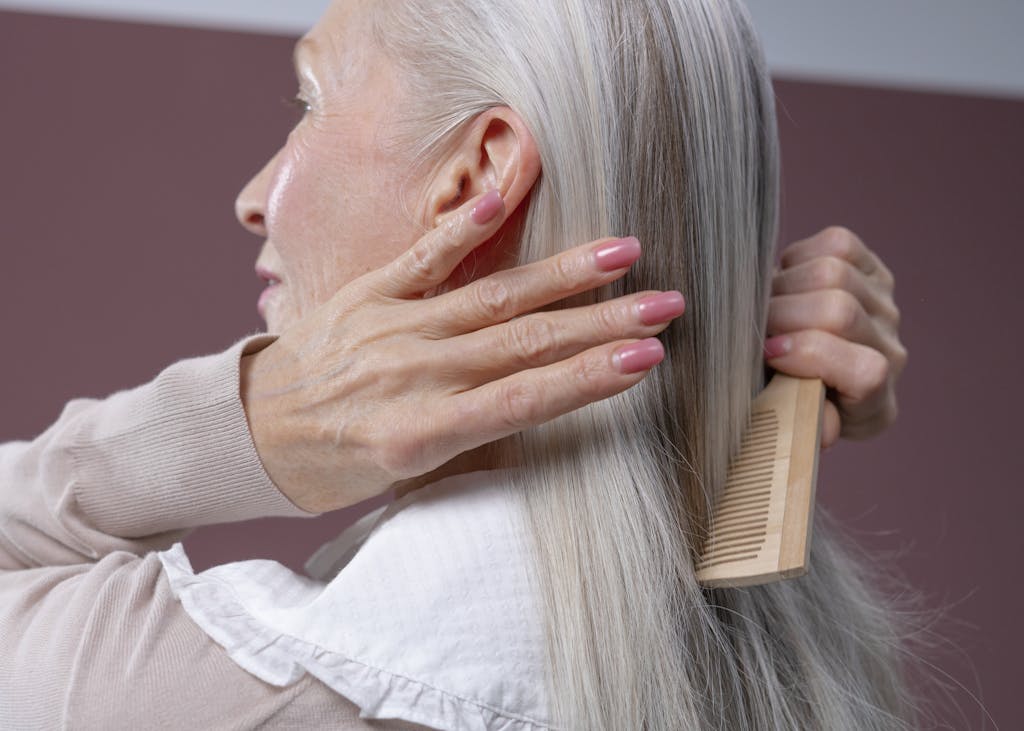
- Even Application: Use a wide-tooth comb to evenly distribute the mask from the roots to the tips. This ensures that every strand is covered.
- Massage Gently: Gently massage the mask into your scalp. This not only feels great but also stimulates blood circulation, which promotes hair growth.
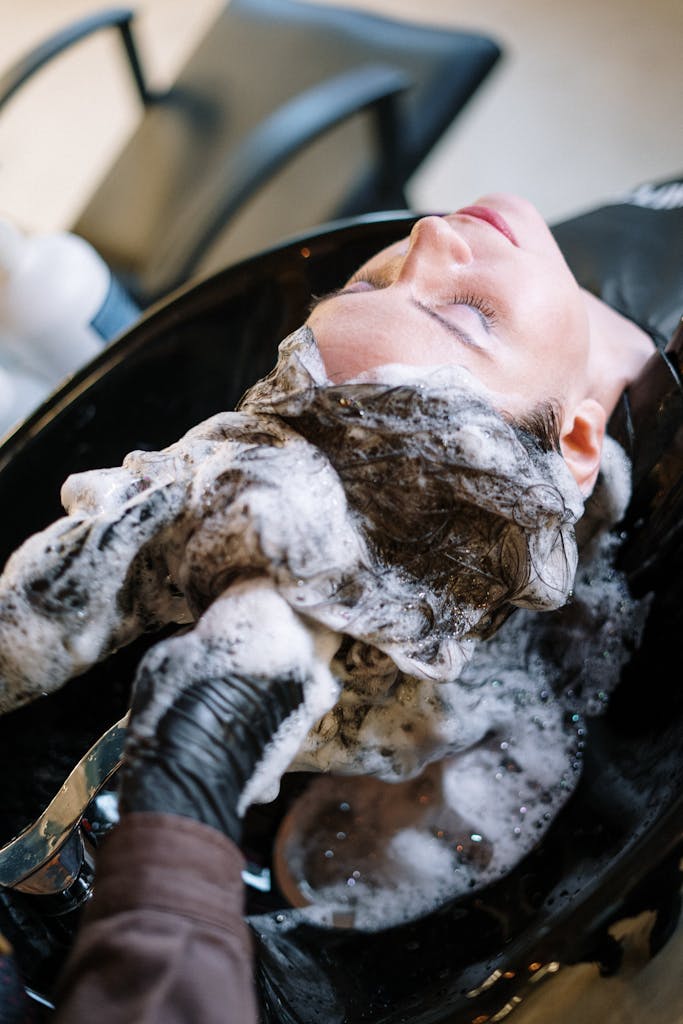
- Cover for Better Absorption: Use a shower cap to cover your hair while the mask is on. The heat from your scalp helps the ingredients penetrate deeper into the hair shaft.
- Rinse Thoroughly: After the recommended time, rinse your hair thoroughly with lukewarm water to remove all traces of the mask.
Mastering these techniques will give your hair the best chance to soak up all the nourishing goodness from your DIY mask.
Frequency of Use
Knowing how often to use a hair mask can be tricky, but it generally depends on your hair type and condition. Here are some guidelines to help you decide:
- Dry and Damaged Hair: If your hair is dry or damaged, using a hair mask once or twice a week will help restore moisture and repair damage. Ingredients like avocado, honey, and olive oil are great for adding hydration and strength.
- Oily Hair: For oily hair, limit the use of hair masks to once a week or every two weeks. Focus on hydrating the ends while keeping the roots oil-free. Ingredients like lemon juice and yogurt can help balance oil production.
- Normal Hair: If your hair is neither too dry nor too oily, using a hair mask once a week should suffice. This will help maintain its natural shine and health without overloading it.
- Curly Hair: Curly hair tends to be drier, so using a hydrating mask once a week can help maintain moisture and reduce frizz. Look for masks with coconut oil, shea butter, and avocado.
Understanding the unique needs of your hair and adjusting the frequency of use can significantly impact the effectiveness of your DIY hair masks. Consistency and the right ingredients are key to achieving luscious, healthy hair.
Troubleshooting Common Issues
- Mask is too thick: If your mask is difficult to apply, try adding a little warm water or more liquid ingredients to thin it out.
- Difficulty rinsing out: For masks with oil-based ingredients, try shampooing twice or using a clarifying shampoo to remove all residue.
- Egg mask smells after application: Always use cool water to rinse out egg-based masks. Hot water can “cook” the egg and leave an unpleasant odor.
- Uneven application: Use a wide-toothed comb to distribute the mask evenly through your hair.
- Mask dripping during application: Apply the mask in sections and clip your hair up. Use a shower cap to contain the mask while it processes.
Allergies and Sensitivities: What to Watch Out For
While natural ingredients are generally safe, it’s important to be aware of potential allergies or sensitivities:
- Egg: If you’re allergic to eggs, avoid masks containing this ingredient. Try protein-rich alternatives like Greek yogurt instead.
- Nuts: Those with nut allergies should avoid masks with almond oil or other nut-based ingredients. Coconut oil is usually safe for those with tree nut allergies, but consult your doctor if unsure.
- Citrus: Lemon juice can cause irritation for some. If you experience tingling or discomfort, rinse immediately and try a gentler alternative like apple cider vinegar.
- Avocado: While rare, some people may be allergic to avocado. Test a small amount on your skin before applying to your hair.
Always do a patch test before applying a new mask to your entire scalp and hair.
FAQs About DIY Hair Masks
Curious about DIY hair masks? Whether you’re a seasoned DIY enthusiast or just starting out, it’s natural to have questions. Here, we answer some of the most common inquiries about making and using your own hair masks at home.
Can DIY Hair Masks Replace Commercial Products?
DIY hair masks and commercial hair products both have their distinct advantages and limitations. Let’s weigh the pros and cons:
Pros of DIY Hair Masks:
- Natural Ingredients: DIY masks use natural ingredients like coconut oil and banana, free from synthetic chemicals and preservatives.
- Cost-Effective: Homemade masks are often cheaper, using items already in your kitchen.
- Customization: You can tailor DIY masks to your specific hair needs, mixing ingredients to find what works best.
Cons of DIY Hair Masks:
- Short Shelf Life: Homemade recipes lack preservatives, meaning they spoil quickly.
- Variable Results: Without the precision of lab-created formulas, results can vary widely.
- Time-Intensive: Making and applying DIY masks can take more time and effort than using ready-made products.
In contrast, commercial products offer:
Pros of Commercial Hair Care Products:
- Convenience: Ready to use with a just a quick application.
- Consistent Results: Formulated for reliable effectiveness.
- Longer Shelf Life: Preservatives mean a longer-lasting product.
Cons of Commercial Hair Care Products:
- Costly: Higher price tags for good quality items.
- Chemical Ingredients: May contain sulfates, parabens, and other additives that can harm your hair over time.
Choosing between DIY and commercial masks depends on your priorities — are you seeking natural, customizable care or the convenience and consistency of store-bought options?

How to Store Homemade Hair Masks
Storing homemade hair masks properly ensures you’re getting the most out of your DIY efforts. Here are some tips to help:
- Use Airtight Containers: Store your hair masks in airtight containers to prevent exposure to air and bacteria. Mason jars or small plastic tubs with secure lids work well.
- Refrigerate: Most DIY hair masks, like those using avocado or yogurt, should be kept in the fridge. The cool temperatures help prolong freshness and effectiveness.
- Label and Date: Always label your containers with the contents and the date it was made. This helps you keep track of its freshness. Most masks should be used within a week.
- Freeze for Longer Storage: If you make extra, consider freezing portions to extend shelf life. Just thaw before use. This method is perfect for masks like coconut oil and honey, which can be stored without affecting their moisturizing properties.
- Check for Spoilage: Before each use, check for any changes in texture, smell, or color. If the mask appears off, it’s best to discard it.
By following these tips, you can safely store your DIY hair masks and ensure they remain effective for your hair care routine.
Interactive Quiz: Which DIY Hair Mask is Right for You?
Choosing the right DIY hair mask can feel overwhelming with so many options available. Don’t worry; we’ve got an interactive quiz that will help you find the perfect mask for your specific hair needs. Whether your hair is dry, oily, damaged, or in need of a little extra shine, this quiz will guide you to the ideal DIY solution.
How the Quiz Works

It’s simple! Just answer a few questions about your hair type, current condition, and what you’re looking to achieve. Based on your answers, the quiz will recommend a homemade hair mask tailored specifically for you. Here’s what you’ll need to tell us:
- Hair Type: Is your hair straight, wavy, curly, or coily?
- Hair Condition: Do you experience dryness, oiliness, frizz, or breakage?
- Desired Outcome: Are you looking for moisture, strength, shine, or all of the above?
Benefits of Taking the Quiz
Taking the quiz not only saves you time but also ensures that you are using ingredients that will benefit your hair the most. Here are the top benefits:
- Personalization: Get a hair mask recipe that caters to your unique hair needs.
- Efficiency: Avoid trial and error – head straight to the mask that’s right for you.
- Ease of Use: Simple questions lead you to quick, effective results.
Take the Quiz Now
Ready to find your perfect DIY hair mask? Take our quiz and transform your hair care routine today. Get started here!
External Links:
- Customize Your Haircare with Function of Beauty’s hair quiz.
- Hair wellness quiz to determine what your hair truly needs.
Conclusion
DIY hair masks are a fantastic way to give your locks the nourishment they deserve without breaking the bank. Using natural ingredients you can find around your home, these masks provide numerous benefits, from adding moisture to repairing damage. Not only are they cost-effective, but they also allow you to customize treatments to suit your specific hair type and needs.
Easy and Affordable
One of the biggest appeals of DIY hair masks is their affordability. Why spend a fortune on salon treatments when you can get great results at home with ingredients like coconut oil, honey, or avocados? Making your own hair masks can save you significant money while still allowing you to pamper yourself.
For more ideas on budget-friendly hair treatment options, visit Is That Soh.
Chemical-Free Care
Commercial hair products often contain harsh chemicals that can damage your hair over time. In contrast, DIY hair masks use natural ingredients that are gentle on your hair and scalp. From moisturizing with banana and honey to cleansing with egg and lemon, these masks offer a healthier alternative to store-bought products.
Learn more about the benefits of using natural ingredients in hair masks from Innovist.
Tailored to Your Needs
The beauty of making your own hair masks is that you can tailor them to meet your unique hair needs. Whether your hair is dry, oily, or damaged, you can mix and match ingredients to create the perfect mask. This customization means you get the most effective care specifically suited to your hair type.
For insights on selecting the right hair mask for your hair type, check out Healthline.
A Fun and Rewarding Experience
Making and applying DIY hair masks isn’t just beneficial; it’s also a fun activity. You can experiment with different recipes and enjoy a relaxing self-care routine. Plus, there’s something incredibly satisfying about using a product you made yourself.
Are DIY masks your new favorite self-care ritual? Join discussions and share your experience on Reddit.
Incorporating DIY masks into your hair care routine can make a noticeable difference in the health and appearance of your hair. By sticking to natural ingredients, you’re not only benefiting your hair but also making an eco-friendly and budget-conscious choice.