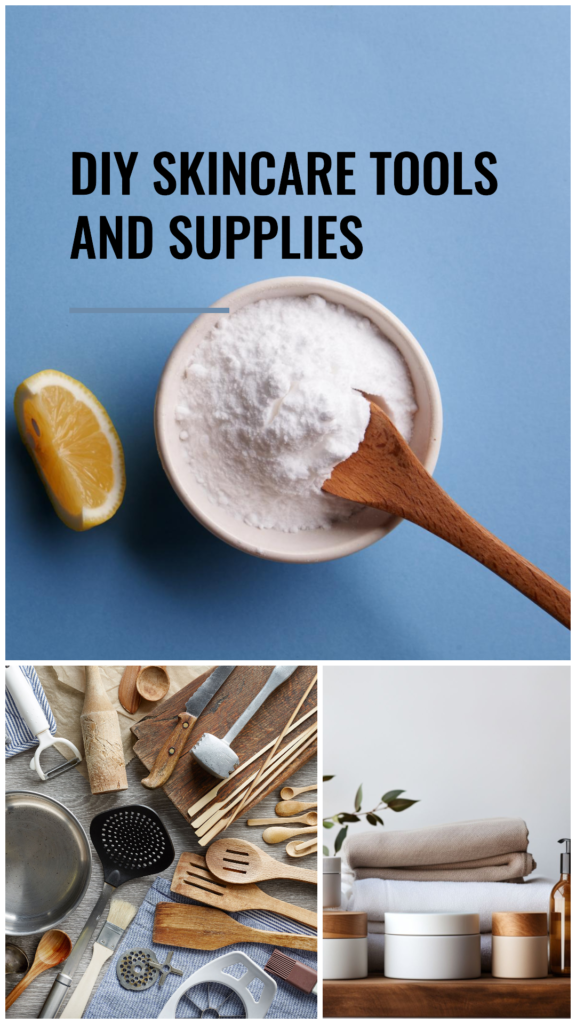
7 Best DIY Skincare Tools and Supplies for Home Use in 2024
Are you ready to elevate your skincare routine with the power of DIY? More and more people are embracing the benefits of creating their own skincare products at home. Not only do you control every ingredient that goes into your formulation, but it can also be a fun, creative process. To get started, you’ll need the right tools and supplies. Quality DIY skincare tools can make all the difference in your success and overall satisfaction. From precise measurements to proper mixing, having the right equipment ensures your homemade products are safe, effective, and luxurious.
Check out this helpful video on the essential equipment for making DIY skincare products.
Whether you’re a beginner or looking to refine your current setup, our guide on the best tools and supplies will set you up for skincare success.
Essential DIY Skincare Tools
When making your own skincare products at home, having the right tools is absolutely essential. Not only do they make the process smoother, but they also ensure your products turn out just right. Here, we’ll break down the must-have tools, explaining why each is important and offering some recommendations.
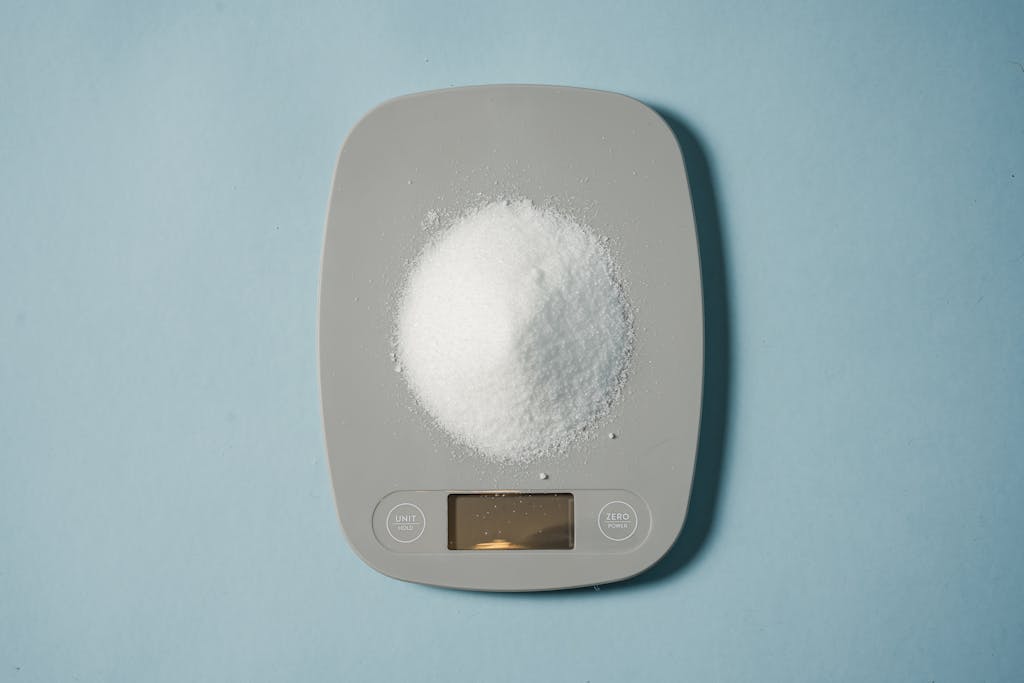
Digital Scale
Precision is key in DIY skincare. A digital scale ensures you measure your ingredients accurately, which is crucial for maintaining consistency and effectiveness in your formulations. Using a scale helps you avoid common pitfalls like using too much or too little of an ingredient. Some of the recommended models include the AWS-100 Digital Pocket Scale and the Ozeri ZK14-S Pronto Digital Multifunction Scale.
For more information on why precision matters, check out this guide on the right scales for skincare.
Glass Mixing Bowls
\Glass is the preferred material for mixing skincare ingredients because it doesn’t react with most substances. Unlike plastic, glass bowls are non-porous, which means they don’t absorb odors or stains, and they’re easier to clean. This makes them perfect for mixing essential oils, abrasives, and other active ingredients.
Thermometer
Temperature control is another important factor in DIY skincare, especially when emulsifying oils and water. A good quality thermometer helps you monitor the temperature to ensure that your ingredients combine properly. This prevents the separation of your emulsions and ensures a smooth and stable product.
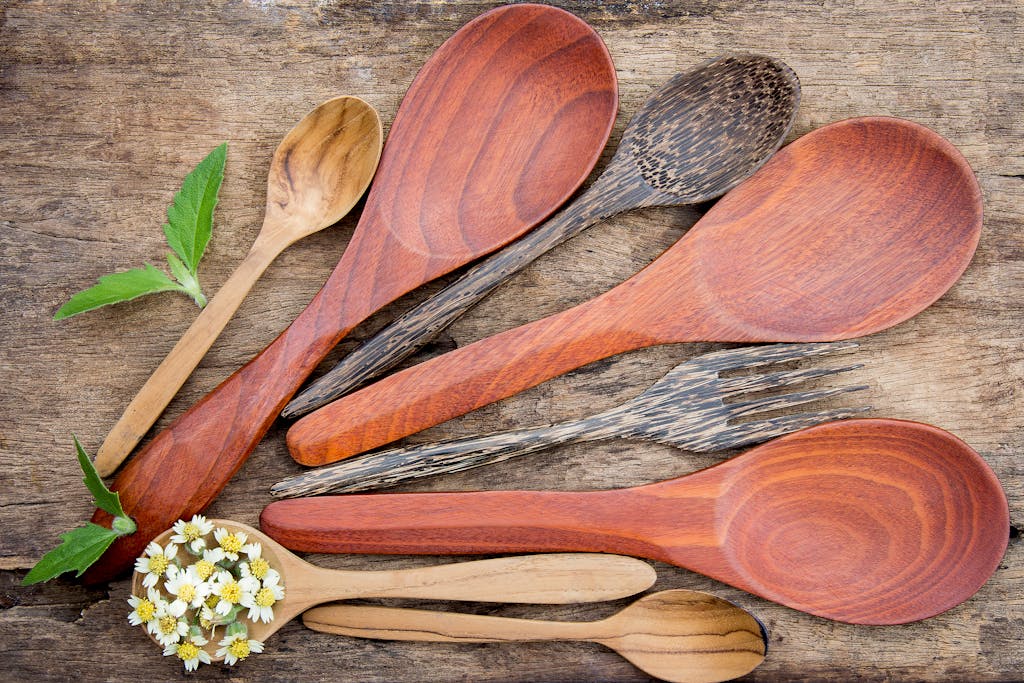
Spatulas and Stirring Rods
Using spatulas and stirring rods is essential for two main reasons: avoiding contamination and ensuring even mixing. These tools help you mix your ingredients thoroughly, preventing clumps and ensuring a smooth texture. Plus, they keep your workspace clean and reduce waste.
Pipettes and Droppers
When dealing with essential oils and other liquid ingredients, pipettes and droppers are a must. They allow you to measure and transfer small amounts of liquid precisely. This helps maintain the balance of your recipe and ensures you don’t waste any precious ingredients.
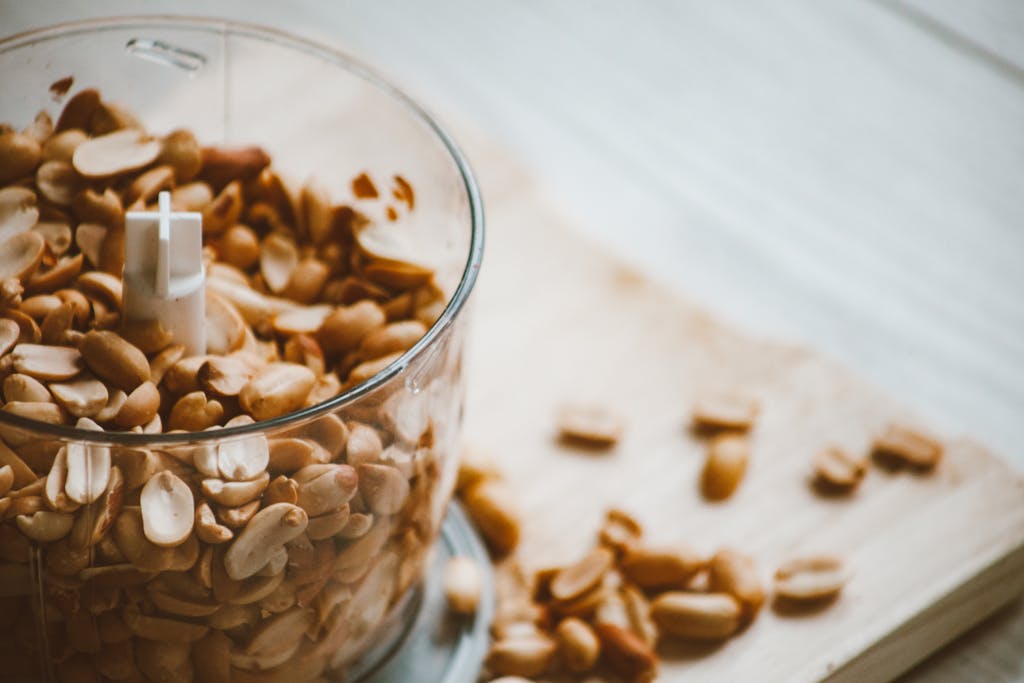
Blender or Mixer
Creating emulsions and thicker formulations is much easier with a blender or mixer. These tools help you achieve a consistent texture, which is crucial for products like creams and moisturizers. Using a blender ensures that your ingredients are well combined and your end product is smooth and effective.
Storage Containers
Proper storage of your homemade skincare products is vital to preserve their quality and extend their shelf life. Choose airtight, dark glass containers to protect your formulations from light and air, which can degrade the active ingredients. This step is crucial to maintain the potency and effectiveness of your products.
For more detailed information, you can explore this guide to essential DIY beauty tools.
Each of these tools plays a vital role in the DIY skincare process. Equipped with the right tools, you’ll be on your way to creating effective, safe, and high-quality skincare products at home.
Must-Have Ingredients for DIY Skincare
Carrier Oils: List Popular Carrier Oils and Their Skin Benefits
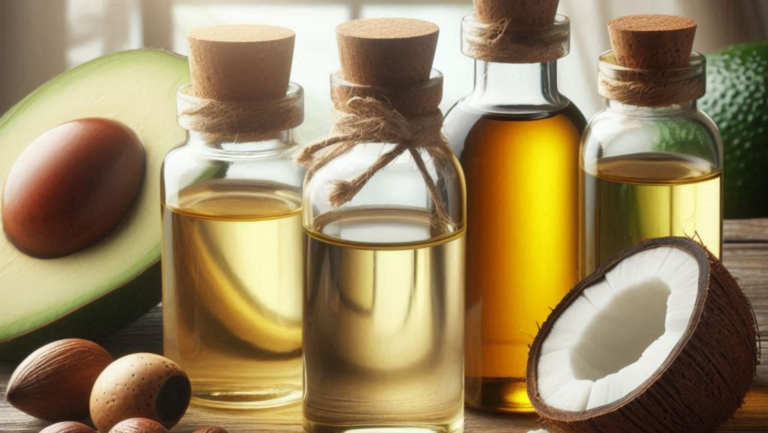
Carrier oils are the backbone of many DIY skincare formulations. They are used to dilute essential oils and allow them to be applied directly to the skin. Here are some popular carrier oils and their benefits:
- Coconut Oil: Known for its moisturizing properties, coconut oil is excellent for dry skin. It’s also antibacterial and antifungal.
- Jojoba Oil: This oil is very similar to the skin’s natural sebum, making it great for all skin types, including oily and acne-prone skin.
- Sweet Almond Oil: Rich in vitamins A and E, sweet almond oil helps to soothe and soften skin. It’s also known to improve complexion and skin tone.
- Argan Oil: Packed with antioxidants, vitamin E, and essential fatty acids, argan oil is great for moisturizing and soothing inflamed or sensitive skin.
- Olive Oil: A kitchen staple that’s also great for the skin, olive oil is deeply moisturizing and helps to protect the skin from premature aging.
Essential Oils: Detail How to Safely Use Essential Oils in DIY Formulations
Essential oils add fragrance and therapeutic properties to your skincare products, but they must be used with caution. Here’s how to safely use them:
- Dilution: Always dilute essential oils with a carrier oil before applying to the skin. A safe dilution ratio is about 2-3 drops of essential oil per tablespoon of carrier oil.
- Patch Test: Before using a new essential oil, do a patch test to ensure you don’t have an allergic reaction. Apply a small amount to your inner elbow and wait 24 hours.
- Avoid Sun-Sensitive Oils: Some essential oils, like citrus oils, can make your skin more sensitive to the sun. Use these oils in products that will be applied at night.
- Not for Everyone: Some essential oils are not safe for pregnant women, babies, or people with certain health conditions. Always do your research and consult with a healthcare provider if necessary.
This article on Allure provides an excellent guide to using essential oils safely.
Natural Preservatives: Discuss Options for Preserving DIY Skincare Products Effectively
Preserving your DIY skincare creations is crucial to ensure they remain safe to use. Here are some natural preservatives you can incorporate:
- Vitamin E: An antioxidant that prolongs the shelf life of your oils by preventing them from going rancid.
- Grapefruit Seed Extract: Known for its antimicrobial properties, grapefruit seed extract helps to preserve your skincare products from bacteria and mold.
- Rosemary Extract: Another antioxidant and antimicrobial, rosemary extract not only extends the life of your products but also adds a pleasant scent.
- Leucidal Liquid: Derived from fermented radish root, this preservative is popular in natural skincare for its effectiveness against bacteria and fungi.
For more information on skincare preservatives, check out this guide from Skin Actives.
Using these must-have ingredients will elevate your DIY skincare routine, ensuring your products are not only effective but also safe and long-lasting. Dive into the world of homemade skincare and transform your beauty regimen with these powerful, natural elements.
Now retrieving an image set.
PURITO Retinol 0.1% + Retinal 0.1% Anti-Aging Facial Serum | for Wrinkles, Fine Lines & Firmer Skin | Dual Retinoids with NAD+, Improve Elasticity & Skin Texture | Korean Skincare, 30mL 1.01 fl.oz
$19.89 (as of June 21, 2026 06:22 GMT -04:00 – More infoProduct prices and availability are accurate as of the date/time indicated and are subject to change. Any price and availability information displayed on [relevant Amazon Site(s), as applicable] at the time of purchase will apply to the purchase of this product.)
Now retrieving an image set.
CeraVe Daily Moisturizing Lotion for Dry Skin, Body Lotion & Face Moisturizer with Hyaluronic Acid and Ceramides, Daily Moisturizer, Fragrance Free, Oil-Free, 19 Ounce
$18.14 (as of June 21, 2026 06:22 GMT -04:00 – More infoProduct prices and availability are accurate as of the date/time indicated and are subject to change. Any price and availability information displayed on [relevant Amazon Site(s), as applicable] at the time of purchase will apply to the purchase of this product.)Comparison of DIY Skincare Tool Kits
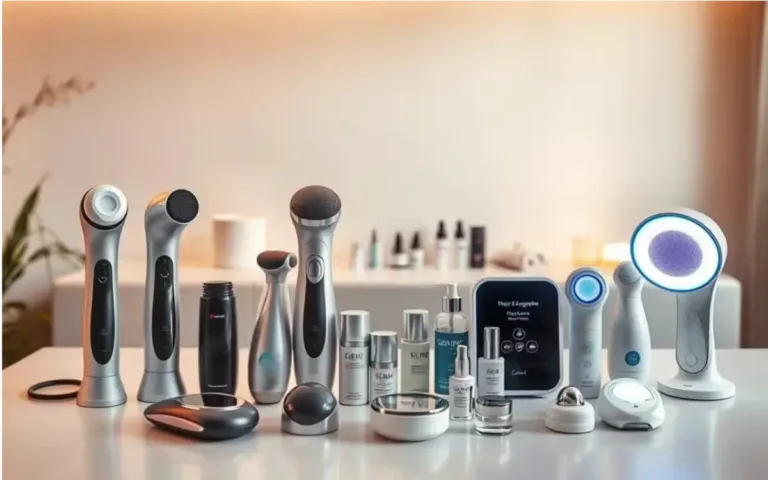
When embarking on the journey of creating your own skincare products, having the right tools can make all the difference. Let’s dive into how to choose the best DIY skincare tools, comparing kits based on features and price ranges.
Features to Consider
When you’re looking to purchase a DIY skincare tool kit, certain features are essential to ensure you’re getting the best bang for your buck.
- Variety of Tools: A good kit should include a range of tools to handle multiple tasks, such as mixing bowls, measuring spoons, and droppers. An advanced kit might also include items like a double boiler or a mini mixer for those sophisticated recipes.
- Quality of Materials: Tools made from high-quality materials last longer and are more efficient. Look for kits with stainless steel, silicone, or BPA-free plastic to ensure longevity and safety.
- Ease of Use: If you’re a beginner, choose kits that come with easy-to-follow instructions and user-friendly tools. An instructional guide or video can be very helpful.
- Size and Storage: Consider where you’ll store your tools. Some kits come with handy storage cases that can keep everything organized and easy to access.
- Versatility: Some kits are versatile and can be used for making various skincare products such as lotions, masks, and serums. Check if the kit supports different types of skincare products.
- Safety Features: Look for kits that include safety features like heat-resistant gloves and safety goggles, especially if the kit involves heating ingredients.
Here are some additional considerations in-depth: Factors to Consider When Buying Skin Care Products.

Price Ranges
Price is always a crucial factor when selecting a DIY skincare tool kit. Here’s a breakdown of what you can expect at different price points:
- Budget-Friendly (Under $30): These kits typically include basic tools like mixing bowls, spoons, and droppers. They are perfect for beginners and simple recipes.
- Mid-Range ($30 – $75): These kits offer a broader variety of tools and higher-quality materials. You might find tools like a mini mixer or a double boiler included.
- High-End ($75 and up): High-end kits come with advanced tools and accessories, often including items like a pH meter, precise measuring tools, and safety equipment. They are designed for serious enthusiasts or those who make skincare products frequently.
For more insights into pricing, check out DIY Skincare Kits.
Comparison Table
To make it easier, here’s a comparison table of popular DIY skincare tool kits available on the market:
| Kit Name | Price Range | Tools Included | Special Features |
|---|---|---|---|
| Bramble Berry Starter Kit | $27 – $100 | Mixing bowls, spoons, droppers | 30-day returns |
| Stacked Skincare Ultimate Tool Kit | $49.00 | Dermaplaning tool, microneedling tool, ice roller | Plumps and calms skin |
| Sonage Spa Day Kit | $75.00 | Various skincare tools and products | Recreates the spa experience at home |
Tips for Beginners in DIY Skincare
Creating your own skincare products at home can be a fun and rewarding experience. It allows you to customize products to suit your specific needs and preferences. However, for beginners, it can be overwhelming to know where to start. Here are some essential tips to help you get started on your DIY skincare journey.
Start Simple
Start with basic recipes before advancing to complex formulations. This way, you can get comfortable with the process without feeling overwhelmed. Think of it as learning to cook; you wouldn’t start with a gourmet meal, right?
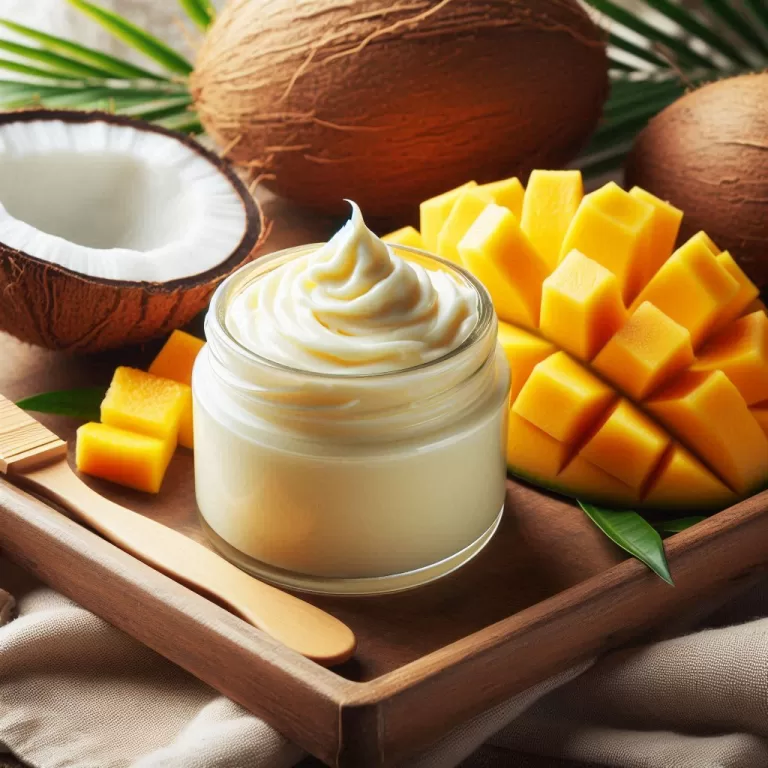
Consider starting with straightforward recipes like a basic face mask or a simple body scrub. Here are a few ideas:
- Honey and Yogurt Face Mask: Mix honey and yogurt for a simple hydrating mask.
- Sugar Scrub: Combine sugar and olive oil for a gentle body scrub.
- Aloe Vera Gel: Use pure aloe vera for a soothing skin treatment.
By using easy recipes, you’ll build confidence and be better prepared to tackle more complicated formulations in the future. For more beginner-friendly tips, check out this guide.
Keep a Journal
Keeping a journal is a great way to track your formulations and results. It helps you understand what works best for your skin and what doesn’t. Think of it as your skincare diary, where you jot down recipes, ingredients, and how your skin reacts to each product.
Here are some things to include in your journal:
- Recipe: List all ingredients and their quantities.
- Date: Note when you made the product.
- Observations: Record any changes in your skin after using the product.
- Improvements: Write down any tweaks or improvements you want to make next time.
This practice can save you time and effort in the long run and contributes to developing better products. For more on the importance of tracking, read this informative article.
Sanitation and Safety
Sanitation and safety are crucial when making your own skincare products to prevent contamination. Imagine cooking in a dirty kitchen; you wouldn’t do it, right? The same goes for your DIY skincare.
Follow these steps to maintain cleanliness:
- Clean Workspace: Ensure your workspace is spotless before you start.
- Sterilize Utensils: Sterilize all tools and containers by boiling them or using a disinfectant.
- Wash Hands: Always wash your hands before handling ingredients.
- Proper Storage: Store your products in clean, airtight containers to keep them fresh.
Contamination can not only ruin your products but also harm your skin. For more detailed instructions on proper hygiene, this guide from The Nova Studio is very helpful.
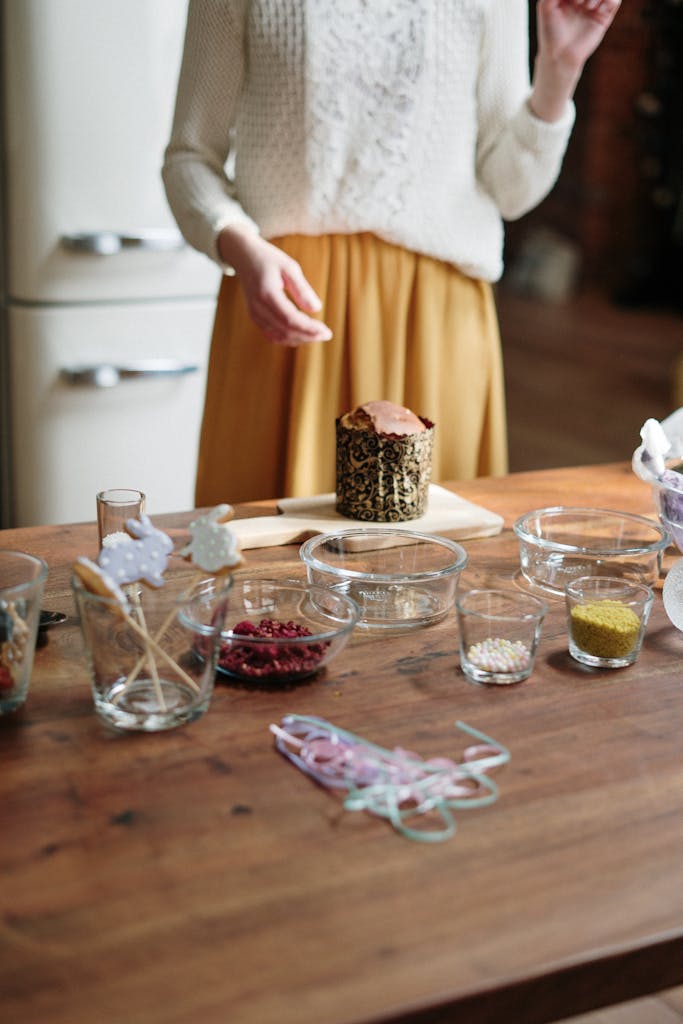
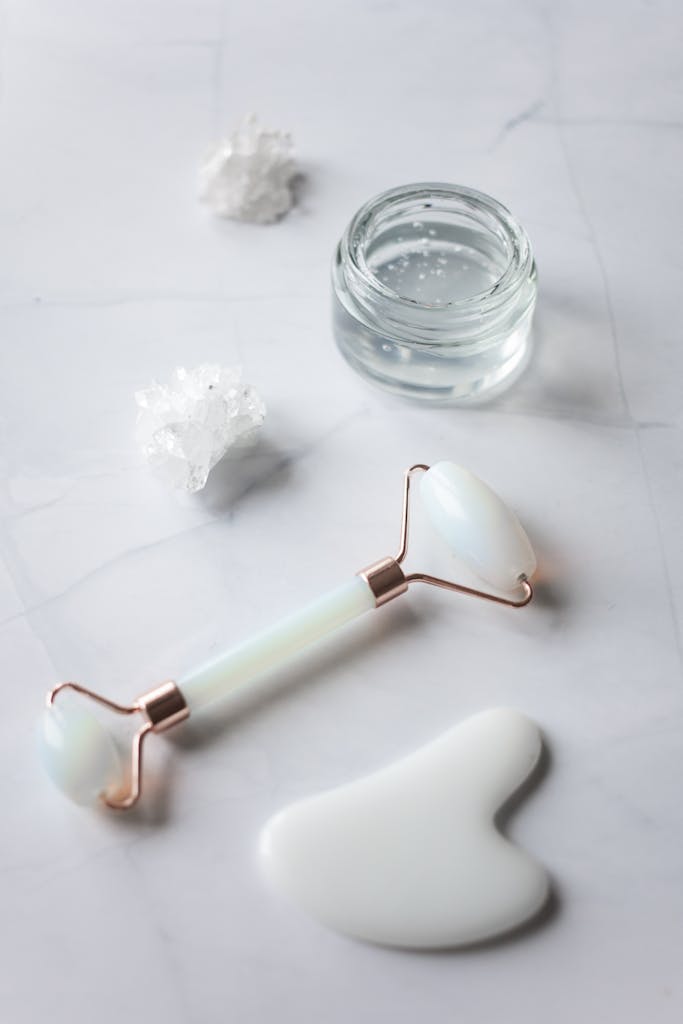
 Photo by Karolina Kaboompics
By starting simple, keeping a journal, and prioritizing sanitation and safety, you’ll be well on your way to becoming a DIY skincare pro.
Conclusion
Choosing the right DIY skincare tools transforms the home crafting experience. Each tool, from precise scales to versatile beakers, ensures your formulations are effective and enjoyable to make. These tools empower you to explore your creativity and tailor skincare solutions to your unique needs.
Start experimenting today with confidence and unlock the full potential of your DIY skincare endeavors. Your skin deserves the best and with the correct tools, you’re poised to create products that nourish and pamper.
Share your creations and let us know your favorite skincare formulations. Thank you for taking the time to read and happy crafting!