Lip Balm Holder Tutorial: Easy DIY Craft for Beginners
I love my lip balm and always want it close. This inspired me to create my own lip balm holder. It’s handy and makes my stuff unique.
Finding a tutorial for a lip balm keychain got me started. I decided to make a DIY lip balm case that wouldn’t get lost in my bag. I used simple sewing tools and my imagination to build it.
Soon, the online crafting community noticed my lip balm pouch. I saw a big interest online. People were excited to make their own lip balm cozy or crochet lip balm holder. It felt amazing to know I had inspired others.
Now, I’ll show you how to make a lip balm keeper easily. This tutorial is great for anyone, even if you’re new to sewing.
Key Takeaways
- Making your own lip balm holder is a fun and useful project.
- This guide is simple and perfect for beginners, even kids.
- You can choose the fabrics and colors you like for your holder.
- Homemade holders are great gifts for loved ones.
- You can finish the project in a few steps, in under 5 minutes.
What is a Lip Balm Holder?
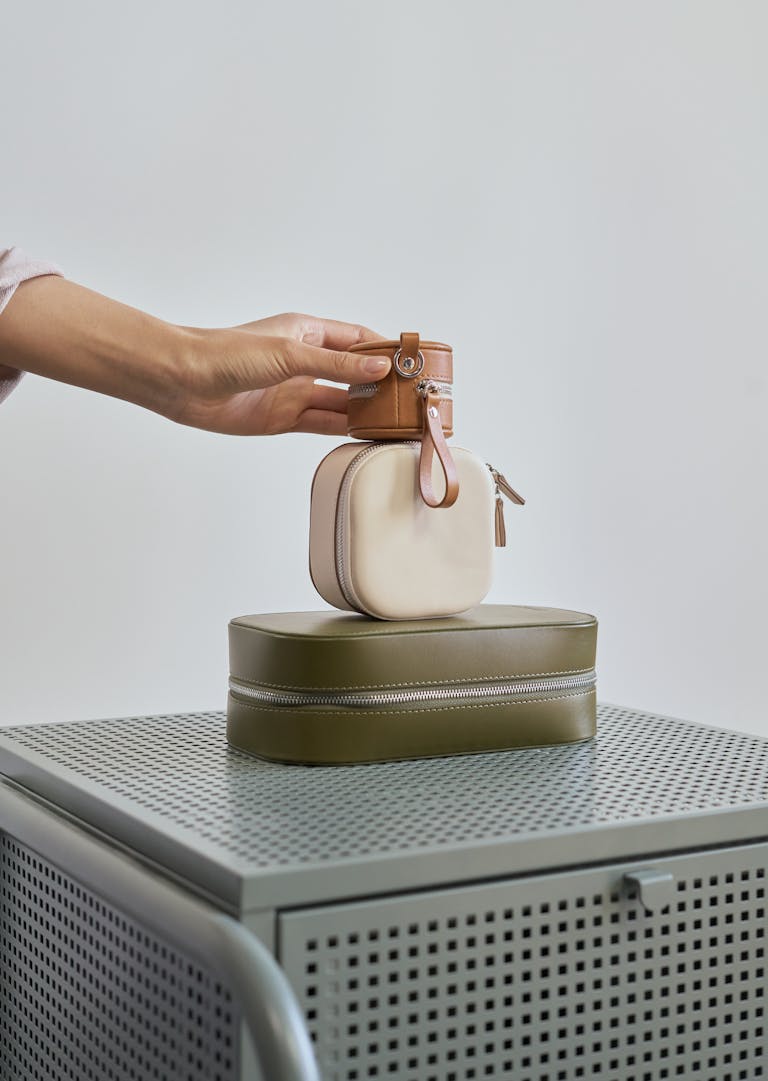
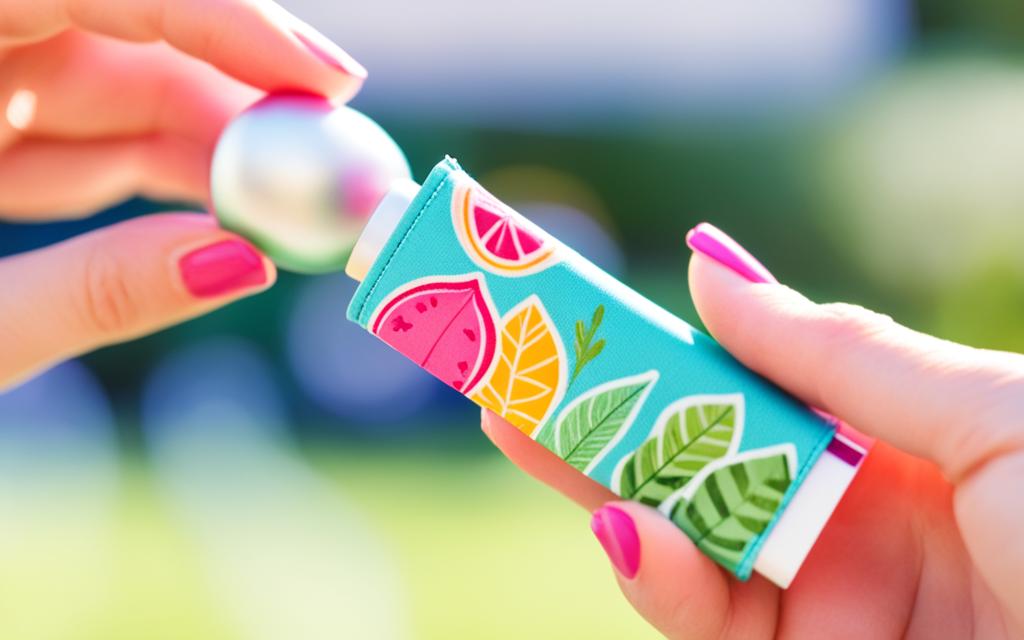
A lip balm holder is a tiny pouch or case. It keeps your lip balm safe and easy to find. It makes sure your lip balm doesn’t get lost or ruined in your bag or pocket. These holders often come with a keychain. You can hang it on your keys or bag for quick use. They are not just useful but also add a bit of style.
*Read all the way to the bottom of this post for the quickest tutorial on how to make a vinyl Lip balm cover with one piece of fabric and a split ring.
A Convenient Solution to Keep Lip Balm Handy
The lip balm holder offers an easy way to keep your lip balm with you. It’s small, measuring about 3 ½” by 1 ½”. It fits most lip balm sizes. This means you’ll have your favorite lip balm ready, no matter where you are.
A Versatile Accessory for Your Keychain
This holder usually has a keychain on it. It’s great for keeping your lip balm handy all the time. You can attach it to your keys, bag, or anywhere else. Now, finding your lip balm is quick and easy.
It was so quick and easy this is a great project for a beginner.
Benefits of Making Your Own Lip Balm Holder
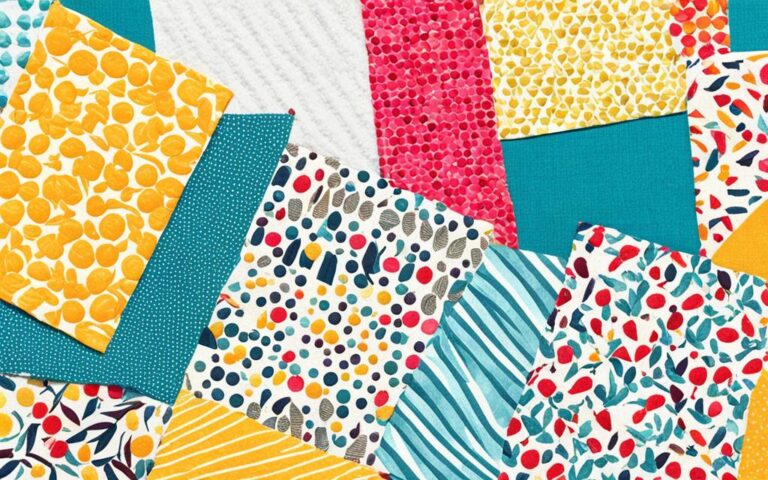
Making a lip balm pouch or crochet lip balm holder has many perks. You get to pick the fabrics, colors, and prints yourself. This means you end up with a special little thing that shows off your style.
Personalized Design and Fabric Choices
With a lip balm holder you make, you get to choose the look. Decide on the fabrics, colors, and designs that you like. You’ll have a lip balm holder pattern all your own. And the lip balm holder instructions match your style perfectly.
Cost-Effective Craft Project
Do-it-yourself lip balm keepers save you money. They’re a cheaper option than buying one. Using leftover fabric or low-cost materials lets you make a stylish find on a tight budget. It’s an easy craft to try for anyone looking to save some cash.
Great for Beginners and Kids
This DIY is great for starters and young ones. It’s simple and fun, with easy-to-follow steps. Even if you’re new to sewing, you can end up with a cool and custom-made accessory.
lip balm holder tutorial
In this guide, we’ll show you how to make a DIY lip balm holder in 5 minutes. This easy lip balm cover tutorial is perfect for beginners. You’ll learn what materials and steps you need for a successful project.
We will guide you through cutting fabric and making the keyring tab. You’ll sew the lip balm holder and learn how to press the fabric. Then, we’ll help you create the ideal pocket for your Chapstick. This tutorial is great for anyone wanting to customize an accessory or a handmade gift.
Materials Needed for the DIY Project
For your DIY lip balm case, homemade lip balm container, here’s what you need:
- Pieces of cotton fabric in different sizes.
- You’ll need about 2.5 x 7 inches for the holder and 1 x 3.5 inches for the tab.
- Also, grab a keyring or key fob, some lightweight fusible interfacing, and matching thread.
- Use any patterned fabric you like to show off your unique style.
- The interfacing will make your fabric sturdy, giving structure to the case.
Cotton Fabric Scraps
The project explains which fabric sizes you need for the Chapstick holder. It lists specific sizes like two pieces that are 6½ “x2⅜” and one 1½ “x2”, showing how to cut precisely. This is key to making your project look good.
Keyring or Key fob
The tutorial below helps you make a Chapstick or lip gloss keychain holder out of faux leather.
Lightweight Fusible Interfacing
Talked about as optional but a good idea, using fusible interfacing supports the fabric. It ensures your Chapstick holder is strong and lasts, caring about its quality.
Matching Thread
Instructions stress the need to mark and cut fabric correctly. It mentions making marks at ⅛” and ¼”. Plus, it reminds you to iron the fabric before cutting. This highlights how important details are in making this project.

Step-by-Step Instructions
Cutting and Preparing the Fabric
Start by cutting the cotton fabric to the right sizes. Then, add the fusible interfacing. This layer is on the fabric’s wrong side. It makes the lip balm pouch strong and steady.
Constructing the Keyring Tab
Now, fold and sew a 1 x 3.5-inch piece of fabric. This makes the keyring tab. You can use the tab to hook the lip balm holder to your keys, bag, or anywhere you want.
Sewing the Lip Balm Holder
Next, stack the two 2.5 x 7-inch fabric pieces together with the right sides facing. Put the keyring tab inside, between them. After that, sew around the edge, but leave a small spot open to turn it inside out.
Turning and Pressing the Holder
After sewing, turn the holder inside out through the small opening. Then, press the fabric. This step makes the edges sharp and the pouch looks neat.
Creating the Chapstick Pocket
Turn up the bottom of the pouch and sew it down. Use topstitching to secure it. Now, you have a pocket that fits your lip balm tightly.

Tips and Tricks for Beginners
If you’re just starting to sew, follow these tips for a great lip balm holder project. Start by marking seam allowances on the fabric. This keeps everything in place and makes edges look neat. When you use fusible interfacing, always check the instructions first. This makes the process smoother.
Marking Seam Allowances for Precision
To make your lip balm holder look really good, mark the seam allowances well. It’s a basic step that makes sewing much easier. Your project will keep its shape and look professional.
Working with Fusible Interfacing
It’s a good idea to use lightweight fusible interfacing. It makes your holder sturdy. Make sure to fuse it correctly with the fabric. You’ll end up with a smooth and strong finish.
Achieving Crisp Corners and Seams
Getting the corners and seams right is key for a sharp look.3 Iron your fabric well at every stage. Also, trim off any extra bits. This will give your holder a clean and tailored look.
Customization and Gift Ideas
Making your own lip balm pouch or lip balm cozy lets you show off your unique style. You can choose from many cotton fabric patterns, colors, and feels. This means you can make a holder that’s totally you. You can also make them as gifts. They’re perfect for giving to friends, family, teachers, or anyone special. Try making several holders in different fabrics. This way, you’ll always have a great gift ready to go.
Easy Lip Balm Tutorial
Visit my YouTube channel @sewlyjo for more awesome DIY projects for beginners.
Conclusion
This lip balm holder tutorial is fun and easy. It turns into a handy, stylish accessory. By following the steps and tips, you’ll make a lip balm holder. You can keep your favorite lip balms close. Whether it’s for you or a friend, making it shows your creativity.
The holder is made to fit both small and big lip balms. It’s a top choice for those learning to sew. Creating a new one is fast, meaning no more messy holders.
Want to make a special accessory or a gift? This DIY is perfect and quick. You’ll enjoy showing off your sewing and creative skills with this project.
Share this post with your friends and family on social media and tag us @jo-annegray.com.
Source Links
- https://lifeasaleowife.com/2022/07/28/diy-chapstick-holder/
- https://domesticheights.com/diy-lip-balm-holder/
- https://www.applegreencottage.com/diy-chapstick-holder-pattern/
- https://www.threedifferentdirections.com/diy-ducktape-chapstick-holder.html
- https://www.createtodonate.org/easy-diy-lip-balm-holder-keychain/
- https://www.sewmuchado.com/keychain-chapstick-holder-tutorial-free-pattern/
- https://www.arosetintedworld.co.uk/how-to-make-a-lip-balm-holder/
- https://amerooniedesigns.com/how-to-make-a-chapstick-holder-keychain-with-riley-blake-designs-fabric/