10 Sewing Techniques for Bags: Essential Tips for Stylish Bags
I love creating bags and believe it’s a great joy. Making a bag from fabric is both fun and rewarding. This guide will teach you essential skills, whether you’re new or experienced, to make bags you’ll love.
You will learn key sewing skills to make beautiful and strong bags. These skills include making perfect straps and adding finishing touches. With this knowledge, you can create bags that are not just pretty but also durable.
Want to make a stylish tote or a cute clutch? With these sewing techniques for bags, bag construction methods, and bag sewing patterns, you’ll be ready. Let’s explore and improve your bag-making skills. Come along and discover the artist in you.
Key Takeaways
- Discover 10 essential sewing techniques for creating stylish and durable bags
- Learn how to master bag straps, handles, and professional finishing touches
- Gain the skills to construct bags that are visually appealing and built to last
- Explore a comprehensive guide that covers crucial aspects of bag construction
- Elevate your bag-making abilities, whether you’re a beginner or an experienced sewist
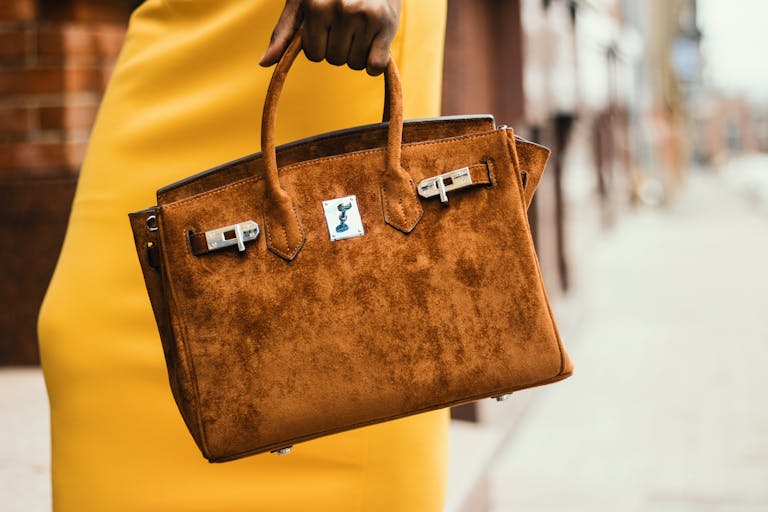
Mastering Bag Straps and Handles
Bag straps and handles are truly important in a well-made bag. They are more than just for carrying your bag. They also add style to your design. You’ll learn here how to make your bag’s straps adjustable, how to use two colors for an eye-catching look, and how to strengthen handles for more durability.
Creating Adjustable Bag Straps
Making bag straps that can change length is key. With the right bag strap sewing know-how, the bag will fit just right. People can choose a shorter or longer strap to match their style. It’s all about personal preference.
Adding Two-Colored Bag Straps
Looking to up your bag’s visual appeal? Two-colored bag straps are a great choice. Mix and match colors for a chic or bold look. This bag strap construction skill will make your bags stand out.
Reinforcing Bag Handles
Bag handles need to be strong to handle everyday use. That’s where bag handle reinforcement comes in. Adding tough material inside the handles keeps your bags in shape. Your bags will look good for a long time, reassuring your customers.
Finishing Strap Ends Professionally
Properly finishing the ends of bag straps is crucial for a neat and pro look. You will find out how to finish strap ends here. It’s all about hiding the rough edges and making everything look sharp.
Start by pressing strap ends towards the middle. Then, fold the strap in half. Next, sew over the short end to create a “W” shape. After trimming the corners and turning the strap over, you’ll see a perfect finished strap end.
Knowing these bag strap end techniques helps make your handmade bags better. You can make your bags look more professional with these strap end construction methods. Your work will show a polished bag strap finishing that shows off your skills.
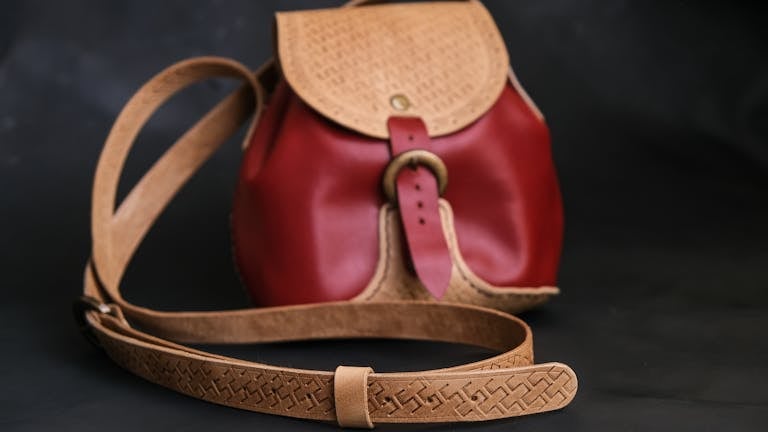
Incorporating Wristlet Straps
Many small bag designs come with the option to add a wristlet strap. This strap is shorter than most and can be fixed for easy carrying. In this part, you’ll learn how to attach a wristlet strap to your bag. You’ll also find out about the different types, such as hidden or visible ones.
Exposed vs. Hidden Wristlet Straps
You can choose between two styles for a wristlet strap: exposed or hidden.
Exposed wristlet straps look great. They can be a different color or matching the bag’s pattern. This makes them stand out. Yet, hidden wristlet straps are not seen. They stay inside the bag, offering a low-key but practical use.
Choosing between the two depends on what your bag should look like. Exposed wristlet straps give a trendy vibe. Meanwhile, hidden wristlet straps keep things simple. Adding a wristlet strap, in any style, can help make bags that fit your style.
Joining Fabric Pieces for Long Straps
Creating bag straps can be tricky when you don’t have long enough fabric. But, by using a basic bag strap piecing method, you can easily connect smaller pieces. This joining fabric for long straps way keeps your bag looking good and strong.
First, cut the fabric strips as wide as you want. Then, put the ends together, making sure they’re at a right angle. This strap length extension method is clean and sturdy.
| Technique | Benefits |
|---|---|
| Bag Strap Piecing | Allows you to create longer straps from smaller fabric pieces |
| Joining Fabric for Long Straps | Ensures a seamless, professional-looking finish to your strap |
| Strap Length Extension | Enables you to customize the length of your bag straps |
| Strap Construction Techniques | Provides a sturdy and durable foundation for your bag straps |
With this bag strap piecing skill, you can use what you have to make beautiful and durable bag straps. By joining fabric for long straps, you get to set the length of your straps for the best fit.

Interfacing Essentials for Bag Making
Interfacing is key to making bags that look good and last. It adds structure and shape. This makes your bags better. You’ll see how to use interfacing to lift your bag-making game.
Combining Interfacing and Stabilizers
To make bags that are both stable and flexible, you need the right mix of interfacing and stabilizers. Adding fusible fleece or other materials to your interfacing makes a structure that moves with you. Your bags will keep their shape but also feel easy to carry or wear.
Achieving Flexible Stability
The secret to making top-notch bags is getting the mix of flexibility and stability just right. You’ll get to grips with using bag interfacing and bag stabilizing stuff. This ensures your bags hold their shape well, yet they are still flexible. It’ll make your bags look good and be practical.
Preventing Interfacing Creases
A big issue in making bags is those annoying interfacing creases. You can keep them at bay. Learn how to press your interfacing right. This way, your bags will be smooth and professional-looking.
Getting to know interfacing and stabilizers changes the bag-making game. You will learn to make bags that are great looking and sturdy. It’s all about using the right mix of interfacing and stabilizer for flexible bag stability.
Essential Interfacing Tips for Beginners
If you’re new to bag-making, the idea of interfacing might seem hard to grasp. This guide offers key interfacing tips for every beginner. It covers knowing the different types of interfacing and how to use them. These tips will help you choose the right interfacing for your bags. You’ll learn how to use it to make your bags strong and neat.
Start by learning about the different types of interfacing. There are options like lightweight fusible interfacing and heavy stabilizers. Each one has a specific job in bag-making. Light interfacing makes fabrics stiffer without making them bulky. On the other hand, you use thick stabilizers for things like bag handles and bottoms where bags stress the most.
The secret to a great bag is finding the right mix of flexibility and strength. Try various interfacing techniques for beginners to get this balance right. You could also try adding fusible fleece or other stabilizers to your interfacing layers. This makes your bags both solid and soft.
To make a bag that looks smooth and professional, avoid interfacing creases. Proper pressing is key. Use a hot iron carefully on your fabrics after they’re interfaced. But, be careful not to use too much steam or pressure. This might cause creases.
With these essential interfacing tips for beginners, you’re set to make bags that last. Your sewing talents and unique style will shine through. Get to know interfacing better, and watch your bag-making skills grow.

Sewing Techniques for Bags
To make bags that look professional, you need some special sewing tricks. Here, we’ll show you why using a Walking Foot can be a big help.
Walking Foot
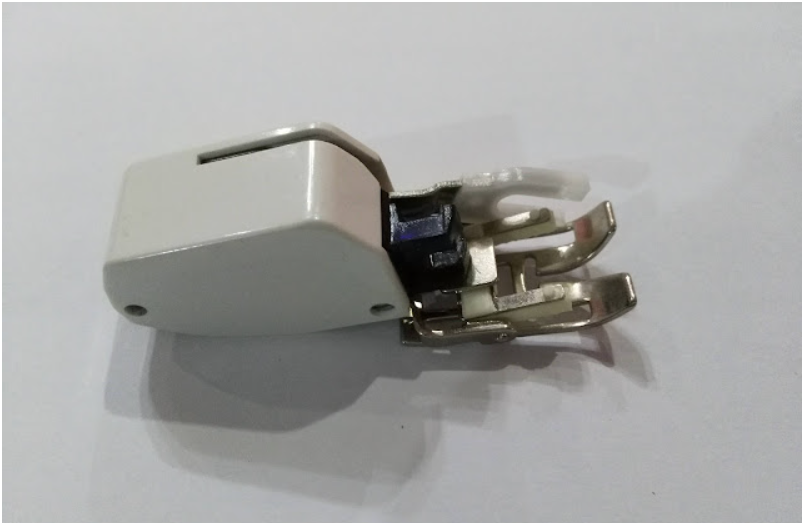
A walking foot is great for handling lots of fabric layers. It makes sure the fabric moves evenly, which stops it from gathering or moving. This is especially important when sewing thick materials like coated bag fabrics. With a walking foot, you’ll get smoother, more professional seams in your bags.
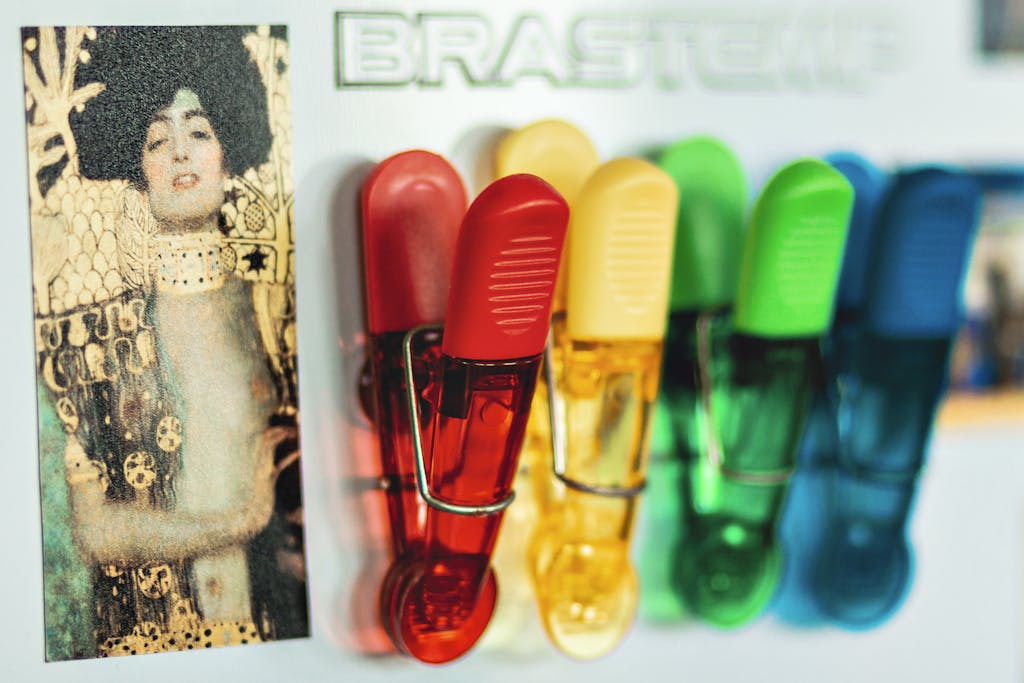
Utilizing Binding Clips
Binding clips are another must-have tool for making bags. These clips keep your fabric layers in place as you sew. When you clip around the edges and corners, your bags’ seams will look precise and clean. It’s an important step to get that polished finish on your handmade bags.
Trimming Seam Allowances is key
Ensuring your bag’s seam allowances are trimmed right is also a vital step. Trim the seam allowances in areas with many layers of fabric. This helps your bag lie flat and look neat. It’s a small detail that can have a big impact on your bag’s final appearance.
By using these special bag construction sewing methods, you can tackle thick and layered fabrics with ease. These techniques upgrade your bags, making them durable and professional. Learn these tricks to craft bags you’re proud of.
Clipping and Shaping Bag Components
Getting the right clipping and shaping is key for a professional look. Here, you’ll learn how to deal with clipping curves and making corners smooth. This cuts down bulk and gives your work sharp edges.
Clipping Curves
Cutting V-notches on curved seams is crucial for bag component shaping. It helps by letting you turn out the fabric to make clean shapes like flaps, pockets, and gussets. Clipping the curves nicely gets rid of extra layers and keeps things looking pro.
Clipping and Pushing Out Corners
Trimming corners at 45 degrees is just as important as clipping curves. It keeps parts from getting too bulky and makes sure everything looks crisp. Making your corners smooth will really improve how your bags look and hold up.

Pressing and Shaping Bag Fabric
The last step to make a bag look great is bag fabric pressing and shaping. With an iron and steam, give the fabric the shape you want. This makes your bag look neat and professional.
Once you’ve sewn the bag parts, it’s time to steam press the bag fabric. This action can fix any uneven parts and make the bag look tidy. Making sure your bag is shaped well is crucial for a top-quality look.
Learning how to press and shape your bag’s fabric is a big deal for your projects. These skills help you make bags that are both beautiful and stay in good shape. So, keep practicing and get ready to see your bags stand out.
Reinforcing Snaps and Rivets
To make your handmade bags last longer, it’s key to reinforce the reinforcing bag hardware, such as snaps and rivets. You’ll discover a method using plastic canvas. This technique helps stop the hardware from tearing the fabric. Simply cut a small square of plastic canvas and place it behind the snap or rivet. This step ensures your bags are stronger and last longer.

| Reinforcement Technique | Benefits |
|---|---|
| Snap Reinforcement | Prevents snap from pulling through fabric over time, ensuring secure attachment and long-lasting durability. |
| Rivet Reinforcement | Reinforces rivet installation, creating a stronger foundation that can withstand the stress of regular use without compromising the integrity of the bag. |
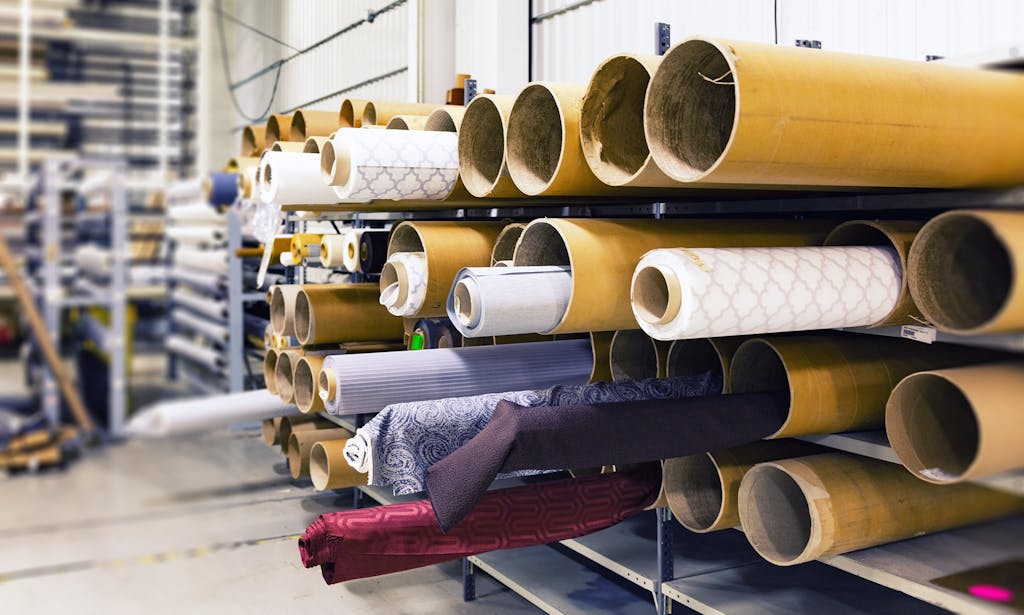
Choosing and Working with Bag Fabrics
Selecting the right fabrics for your bag is key. It affects how long your bag will last and its style. You’ll learn about different bag fabric types and weights that make durable and chic bags. By understanding natural fibers, synthetic blends, coated bag fabrics, and laminated bag fabrics, you’ll know how to make smart fabric choices. This knowledge helps you pick the best materials for your bag projects.
Knowing Fabric Types and Weights
The fabric’s type and weight are very important in making a bag. For example, cotton and linen give a timeless look. But, polyester blends last longer and are water-resistant. Fabrics like canvas or denim make your bag stronger, while quilting cotton is more flexible. Knowing the varied bag fabric types and weights will guide you to the best choices for your bag’s design and use.
Using Coated and Laminated Fabrics
Coated bag fabrics and laminated bag fabrics have their own perks for bag-making. Fabric coatings, like oilcloth or vinyl, keep water out and are easy to clean. They are perfect for tote bags, diaper bags, and any bag you use daily. Laminated fabrics give your bag a polished look and make it more durable. These special bag fabric types improve your bag’s style and function. They let you get creative with bag fabric choices and designs.
Conclusion
You’ve learned 10 key bag sewing techniques in this guide. These skills include making strong straps and handles, adding sturdy hardware, and shaping fabric. By mastering these essential bag construction skills, your bag-making expertise will reach new heights. This means you can make bags that are both beautiful and long-lasting. These lessons are perfect whether you’re just starting or have been making bags for a while.
Thanks to this comprehensive bag-making guide, you’re all set for any bag project. Now, you can confidently make bags that are stylish and useful. So, use these bag sewing techniques summary to show off your creativity. Your next bag-making project will be exciting and rewarding.
The info you’ve picked up is a real game-changer for your bag-making journey. Use these skills, play around with different fabrics and designs, and let your love for making bags grow. Now, there’s no limit to what you can create. This guide will help you make bags that are truly yours, showing off your unique style and expertise.