Simple DIY Face Mask Recipes for Newbies
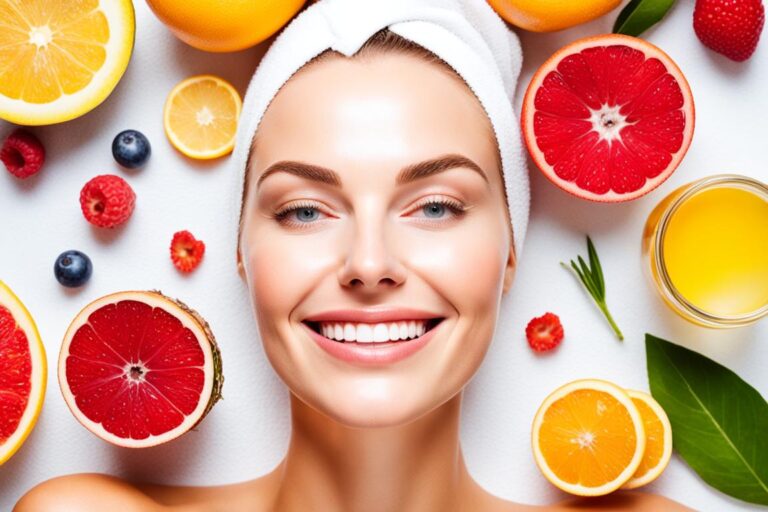
Welcome to our guide on easy DIY face mask recipes for beginners. If you’re looking to pamper your skin and achieve a healthy, radiant glow, you’ve come to the right place. Creating your own face masks at home is not only cost-effective but also allows you to customize the ingredients to suit your specific skincare needs.
In this article, we will walk you through simple, step-by-step recipes using natural ingredients that are perfect for newcomers to the world of DIY skincare. Whether you’re a busy mom or someone looking for an affordable way to rejuvenate your skin, these easy face mask recipes are sure to impress. Prepare to embark on a delightful journey of self-care and discover the wonders of homemade skincare.
Key Takeaways:
- Easy DIY face mask recipes are perfect for beginners who want to achieve a healthy, radiant complexion.
- Creating your own face masks at home allows you to customize the ingredients to suit your specific skincare needs.
- DIY face masks are cost-effective and provide a spa-like experience in the comfort of your own home.
- Using natural ingredients in your face masks can help improve skin health and provide numerous skincare benefits.
- Proper application, removal, and follow-up skincare routine are essential for maximizing the effectiveness of DIY face masks.
Benefits of DIY Face Masks for Beginners
Using DIY face masks can offer a myriad of benefits, especially for beginners looking to enhance their skincare routine. These masks, made from easily accessible ingredients found in your kitchen pantry, have gained popularity due to their affordability, effectiveness, and ability to provide a spa-like experience in the comfort of your own home.
Here are some of the key advantages of incorporating DIY face masks into your skincare regimen:
- Improved Skin Health: DIY face masks are packed with natural ingredients that can address various skin concerns. Whether you have dry skin that needs hydration, oily skin that requires balancing, or acne-prone skin that needs soothing, there is a DIY face mask recipe tailored to your needs.
- Cost-Effective: Store-bought face masks can be expensive, especially if you use them regularly. With DIY face masks, you have full control over the ingredients and can create multiple masks from a single batch. This not only saves you money but also allows you to experiment with different formulas without breaking the bank.
- Natural and Chemical-Free: Many commercial face masks contain chemicals and artificial ingredients that may not be suitable for certain skin types. DIY face masks, on the other hand, utilize natural and organic ingredients, reducing the risk of irritation and allergic reactions. By going the DIY route, you can ensure that your skin receives the gentle care it deserves.
- Customizable Formulas: One of the major advantages of making your own face masks is the ability to customize the formulas to suit your specific needs. Whether you prefer a hydrating mask with avocado and honey or a brightening mask with lemon juice and turmeric, you have the freedom to tailor the ingredients and proportions to achieve your desired results.
- Relaxation and Self-Care: Applying a DIY face mask can be a therapeutic experience that promotes relaxation and self-care. Taking the time to indulge in a skincare ritual can help reduce stress and enhance your overall well-being. It’s a simple yet effective way to pamper yourself and prioritize self-care.
By harnessing the power of natural ingredients, DIY face masks offer a cost-effective and customizable solution for beginners looking to improve their skin health. With a wide range of recipes to choose from, you can easily find the perfect mask to address your specific skin concerns.
Essential Ingredients for DIY Face Masks
When it comes to creating your own DIY face masks, there are a few essential ingredients that you’ll want to have on hand. These ingredients are not only easy to find but also offer a range of benefits for your skin. Whether you’re looking to moisturize, exfoliate, or brighten your complexion, incorporating these key ingredients into your homemade masks will help you achieve the desired results.

Honey
Benefits: Honey is a natural humectant, which means it helps to retain moisture in the skin. It also has antimicrobial properties that can combat acne and soothe inflammation. Additionally, honey contains antioxidants that can protect the skin from free radical damage, promoting a youthful and radiant complexion.
Yogurt
Benefits: Yogurt is rich in lactic acid, which gently exfoliates the skin, removing dead cells and revealing a brighter complexion. It also contains probiotics that can help balance the skin’s microbiome, reducing breakouts and improving overall skin health. Furthermore, the natural fats in yogurt provide deep hydration, leaving your skin soft and supple.
Oatmeal
Benefits: Oatmeal is well-known for its soothing and calming properties, making it ideal for sensitive or irritated skin. It helps to reduce redness and inflammation while providing gentle exfoliation. Oatmeal also acts as a natural cleanser, absorbing excess oil and impurities from the skin, leaving it clean and refreshed.
Avocado
Benefits: Avocado is a powerhouse ingredient that nourishes the skin with essential vitamins and minerals. Its high content of vitamin E and healthy fats moisturizes the skin, promoting a youthful glow. Avocado also contains antioxidants that can help protect the skin from environmental damage and reduce the signs of aging.
Turmeric
Benefits: Turmeric is a spice known for its anti-inflammatory and brightening properties. It can help reduce acne and fade dark spots, resulting in a more even skin tone. Turmeric also has antioxidants that protect the skin from oxidative stress and promote a healthy, radiant complexion.
Green Tea
Benefits: Green tea is packed with antioxidants that fight free radicals and help repair damaged skin cells. It also has anti-inflammatory properties, making it effective in calming redness and soothing irritated skin. Green tea can also help control excess oil production, making it beneficial for oily and acne-prone skin.
| Ingredient | Benefits |
|---|---|
| Honey | Natural humectant, antimicrobial, antioxidant |
| Yogurt | Exfoliating, balancing, hydrating |
| Oatmeal | Soothing, cleansing, gentle exfoliation |
| Avocado | Moisturizing, nourishing, antioxidant-rich |
| Turmeric | Anti-inflammatory, brightening, antioxidant |
| Green Tea | Antioxidant, anti-inflammatory, oil control |
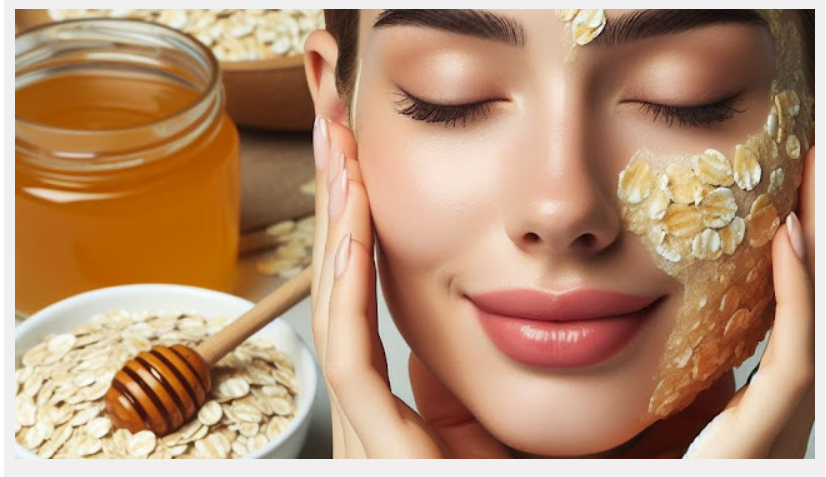
Simple DIY Face Mask Recipe #1: Honey and Oatmeal
Looking for an easy and effective way to pamper your skin at home? Try this simple DIY face mask recipe featuring the nourishing combination of honey and oatmeal. With just a few natural ingredients, you can create a luxurious spa-like experience in the comfort of your own home.
Benefits of Honey and Oatmeal for Your Skin
Honey is a natural humectant, meaning it helps retain moisture in the skin, leaving it soft and hydrated. It also has antimicrobial properties that can help fight acne-causing bacteria, making it perfect for anyone with blemish-prone skin.
Oatmeal, on the other hand, is known for its soothing and exfoliating properties. It helps calm irritated skin, reduces inflammation, and gently removes dead skin cells, revealing a brighter complexion. Oatmeal also contains antioxidants that can repair skin damage and prevent premature aging.
How to Make the Honey and Oatmeal Face Mask
Follow these simple steps to create your own honey and oatmeal face mask:
- In a bowl, mix 2 tablespoons of oatmeal with 1 tablespoon of warm water. Allow the oatmeal to soften for a few minutes.
- Add 1 tablespoon of honey to the oatmeal mixture and stir until well combined.
- If desired, add a few drops of your favorite essential oil for a spa-like aroma.
- Apply the mask to clean, dry skin in a thin, even layer.
- Leave the mask on for 15-20 minutes, allowing it to work its magic.
- Rinse off the mask with warm water and gently pat your face dry.
For best results, use this honey and oatmeal face mask recipe once or twice a week to keep your skin glowing and nourished. Don’t forget to follow up with your favorite moisturizer to lock in the benefits of the mask.
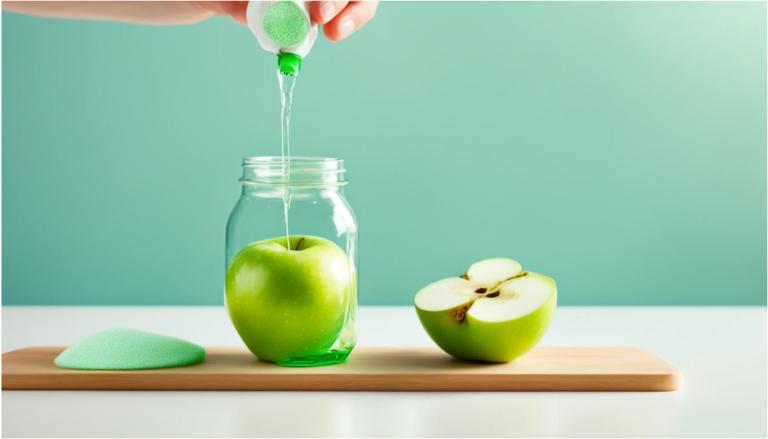
 |
| Image by Designer |
In Summary
Using a honey and oatmeal face mask can provide numerous benefits for your skin, from hydration and acne-fighting properties to soothing and exfoliating effects. With just a few simple ingredients and easy-to-follow steps, you can create your own spa-worthy face mask at home, giving your skin the TLC it deserves.
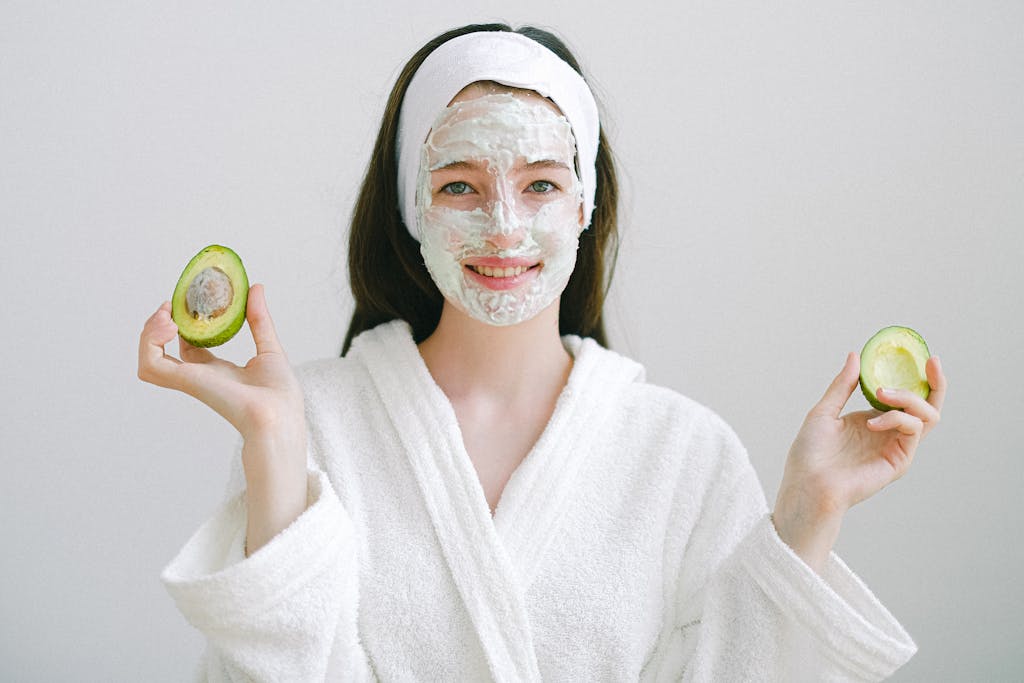
Simple DIY Face Mask Recipe #2: Avocado and Yogurt
Looking for a nourishing and hydrating face mask recipe? This simple DIY mask featuring avocado and yogurt is perfect for beginners. Avocado is loaded with healthy fats and vitamins that help to moisturize and replenish the skin, while yogurt contains lactic acid that exfoliates and brightens the complexion.
Here’s how to make this avocado and yogurt face mask:
- Mash half a ripe avocado in a bowl until smooth.
- Add 1 tablespoon of plain yogurt to the mashed avocado and mix well.
- Optional: Add a teaspoon of honey for extra hydration and antibacterial properties.
- Apply the mask to clean, dry skin, avoiding the eye area.
- Leave the mask on for 15-20 minutes.
- Rinse off with lukewarm water and pat your face dry.
This avocado and yogurt face mask is suitable for all skin types and can be used once a week to keep your skin nourished and glowing. The combination of avocado and yogurt provides a powerful boost of hydration, leaving your skin feeling soft, smooth, and revitalized.
Tip: For an extra cooling sensation, refrigerate the mask for 30 minutes before applying it to your face. This can help soothe inflammation and reduce redness.
| Ingredients | Benefits |
|---|---|
| Avocado | – Moisturizes and nourishes the skin – Rich in vitamins and antioxidants |
| Yogurt | – Exfoliates and brightens the complexion – Contains probiotics for a healthy skin barrier |
| Honey (optional) | – Provides additional hydration – Has antibacterial properties |
Tips for Applying DIY Face Masks
Proper application of DIY face masks is crucial to ensure maximum effectiveness and achieve desired results. Here are some helpful tips for beginners:
- Preparation: Before applying the face mask, cleanse your face thoroughly to remove any dirt and impurities. This will help the mask adhere better to your skin.
- Choose the right mask: Select a DIY face mask recipe that suits your skin type and addresses your specific skin concerns. Consider ingredients such as honey for hydration, oatmeal for exfoliation, or avocado for nourishment.
- Follow the recipe: Carefully follow the instructions and measurements provided in the face mask recipe to ensure accurate preparation. This will help maintain the correct balance of ingredients for optimal results.
- Apply evenly: Use a clean brush, a clean spatula, or your fingertips to apply the face mask evenly across your face, avoiding the eye and lip areas. Ensure thin, consistent coverage for optimal absorption.
- Avoid sensitive areas: Be cautious when applying the mask near the sensitive areas of your face, such as the eyebrows, hairline, and nostrils. Carefully glide around these areas to avoid any discomfort or skin irritation.
- Relax and elax: While waiting for the mask to work its magic, find a quiet, relaxing spot to unwind. This will enhance the spa-like experience and allow you to enjoy some self-care time.
- Monitor the time: Pay attention to the recommended application time provided in the recipe. Overextending the mask’s duration may lead to skin dryness or irritations, while removing the mask too soon can limit its effectiveness.
- Rinse off gently: When it’s time to remove the mask, use lukewarm water and a soft cloth or your fingertips to gently massage your face in a circular motion. This will help exfoliate the skin and remove the mask without causing any harm.
- Follow up with skincare: After removing the face mask, apply a toner to balance the pH levels of your skin. Follow with a moisturizer to lock in hydration and protect your skin from dryness.
Remember, consistency is key when using DIY face masks. Incorporate them into your skincare routine on a regular basis to experience long-lasting results.
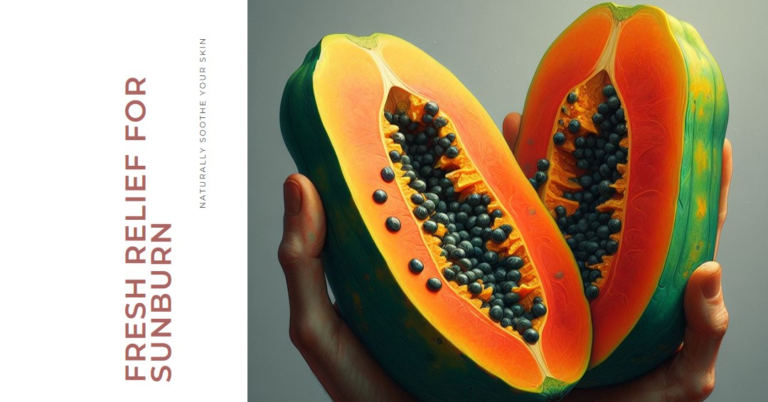
 |
| Image by Designer |
DIY Face Mask Removal and Skincare Routine
Proper removal of DIY face masks is essential to ensure a clean and healthy complexion. After enjoying the benefits of your homemade mask, it’s crucial to follow up with a skincare routine that enhances the effects and maintains the overall health of your skin. Let’s explore some tips and steps you can incorporate into your skincare routine for optimal results.
1. Gentle Cleansing
Start by gently cleansing your face with a mild cleanser to remove any remaining mask residue, dirt, and oil. Avoid harsh scrubbing or aggressive cleansing methods, as this can irritate the skin. Instead, use gentle circular motions and rinse thoroughly with lukewarm water.
2. Toning for Balance
After cleansing, apply a toner suited for your skin type to restore pH balance and tighten the pores. Toners help remove any traces of dirt or cleanser left behind, leaving your skin refreshed and prepped for the next step in your skincare routine.
3. Hydrating Moisturizer
Moisturizing is a crucial step in any skincare routine, including after DIY face mask removal. Choose a moisturizer that suits your skin type and preferences, whether it’s a lightweight gel or a rich cream. Gently massage the moisturizer into your skin using upward motions to promote absorption and provide hydration.
4. SPF Protection
Don’t forget to apply sunscreen with at least SPF 30 as the final step in your skincare routine, even if you’re staying indoors. Sunscreen protects your skin from harmful UV rays and helps maintain its youthful appearance. Look for a broad-spectrum sunscreen for optimal protection against both UVA and UVB rays.
By incorporating these steps into your skincare routine after DIY face mask removal, you can enhance the benefits of the masks and ensure a healthy, glowing complexion. Remember to choose skincare products that are suitable for your skin type and preferences to achieve the best results. Happy masking and skincare!
Throughout this article, we have explored the world of DIY face masks for beginners, highlighting the simplicity and effectiveness of these recipes. By using natural ingredients readily available in your kitchen, you can create rejuvenating masks that provide numerous benefits for your skin.
Not only do DIY face masks save you money compared to store-bought alternatives, but they also offer a spa-like experience in the comfort of your own home. The key is to choose the right ingredients for your skin type and follow the step-by-step instructions provided.
From the honey and oatmeal mask to the avocado and yogurt blend, there is a wealth of options to suit different skin concerns and preferences. By incorporating these masks into your skincare routine, you can nourish, hydrate, and rejuvenate your skin on a regular basis.
So, why not give these easy DIY face mask recipes a try? Embrace the benefits of natural ingredients, pamper yourself with a relaxing spa day at home, and unveil a healthier, glowing complexion. Discover the world of DIY face masks for beginners and start your skincare journey today!
Are DIY face masks safe for beginners?
Yes, DIY face masks can be safe for beginners when using gentle and natural ingredients. However, it is important to patch test the mask on a small area of skin before applying it to the entire face to check for any adverse reactions.
How often should I use DIY face masks?
The frequency of using DIY face masks depends on your skin type and the specific ingredients used. As a general guideline, it is recommended to use a face mask 1-2 times per week to avoid over-exfoliating the skin.
Can I customize DIY face mask recipes to suit my skin concerns?
Absolutely! One of the benefits of DIY face masks is the ability to tailor the ingredients to address specific skin concerns. You can modify the recipes by adding ingredients like aloe Vera for hydration, turmeric for brightening, or tea tree oil for acne-prone skin.
How long do I leave DIY face masks on?
The recommended time for leaving on a DIY face mask varies depending on the recipe. It can range from 10-20 minutes. It is important to follow the instructions provided in the specific recipe to achieve the desired results.
Can I store leftover DIY face masks for future use?
It is generally not recommended to store leftover DIY face masks as they may lose their effectiveness over time. It is best to make a fresh batch before each use to ensure optimal results.
What should I do if I experience any skin irritation after using a DIY face mask?
If you experience any skin irritation, redness, or discomfort after using a DIY face mask, it is important to rinse off the mask immediately and discontinue use. Consult a dermatologist if the irritation persists.
Can I combine different DIY face mask recipes?
While it might be tempting to combine different recipes, especially if they contain similar ingredients, it is generally advisable to stick to one recipe at a time. This allows you to assess the effectiveness of each mask and identify any potential allergies or reactions.
Are DIY face masks suitable for all skin types?
DIY face masks can be suitable for all skin types, but it is important to choose recipes and ingredients that are compatible with your specific skin concerns. For example, those with sensitive skin may want to avoid harsh exfoliants like lemon juice and opt for soothing ingredients like cucumber or chamomile.
Can I use DIY face masks as a replacement for professional skincare treatments?
DIY face masks can complement your regular skincare routine, but they should not replace professional skincare treatments. If you have specific skin concerns that require medical attention, it is best to consult a dermatologist for personalized advice and treatments.