Boost Your Toner: Essential Oils for Extra Benefits
Creating your own skincare products can be an empowering and rewarding experience. Not only do you have control over what ingredients you use, but you can also customize your products to address your unique skin concerns. If you’re looking to take your homemade toner to the next level, incorporating essential oils can provide a range of extra benefits for your skin.
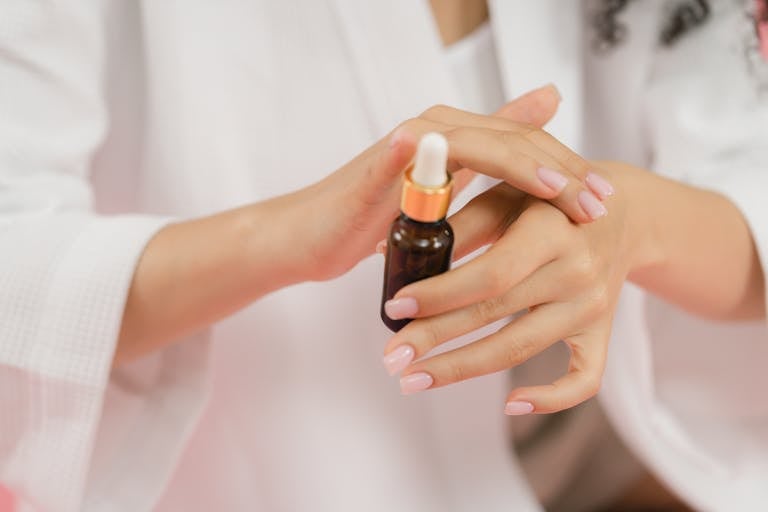
Picture this: the soft, comforting scent of lavender wafting through the air, as you gently spritz your face with a toner infused with the goodness of nature. It’s a moment of self-care, an opportunity to pamper your skin and indulge in a little luxury right in the comfort of your own home. With each application, you’re not just nourishing your skin, but also uplifting your spirit and embracing a holistic approach to skincare.
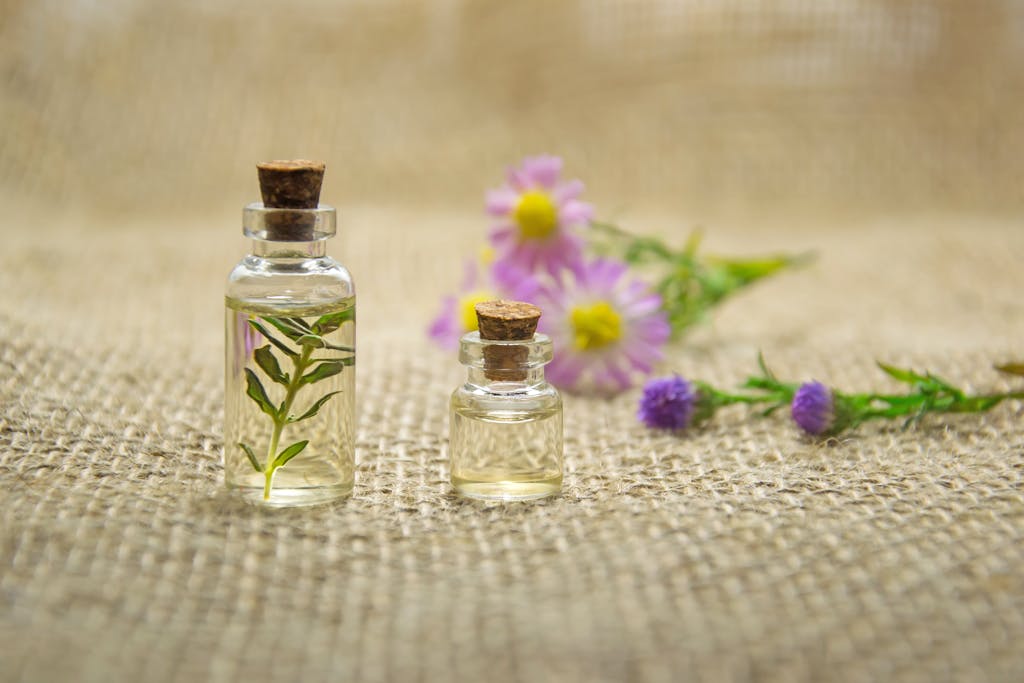
Essential oils have been used for centuries for their therapeutic properties, and when added to your homemade toner, they can offer a myriad of benefits. From reducing inflammation and soothing the skin to rejuvenating and restoring its natural glow, essential oils can elevate your DIY toner to new heights. Whether you have dry, oily, or normal skin, there’s an essential oil blend that can cater to your specific needs.
In this article, we’ll explore the benefits of using a homemade toner, highlight different essential oils for various skin types, provide a simple DIY toner recipe, and offer tips on how to incorporate your toner into your skincare routine. So get ready to embark on a journey of self-care and discover the wonders of essential oils in your quest for radiant and healthy skin.
Key Takeaways:
– Adding essential oils to your homemade toner can provide extra benefits for your skin.
– Essential oils offer a range of properties, from reducing inflammation to soothing and rejuvenating the skin.
– Different essential oils are beneficial for different skin types.
– A simple DIY toner recipe can be customized to target your specific skin concerns.
– Using a toner in your skincare routine can enhance its effectiveness and leave your skin feeling refreshed.
Benefits of Incorporating a Homemade Toner
Using a homemade toner can have several benefits for your skin. It is an essential part of a natural skincare routine, providing various advantages that commercial toners may not offer. Let’s explore the specific benefits of incorporating a homemade toner into your daily skincare regimen.
Restores pH Balance
A homemade toner helps restore the pH balance of your skin. Our skin’s natural pH is slightly acidic, around 5.5, which helps maintain a healthy protective barrier. However, harsh cleansers and environmental factors can disrupt this balance, leaving your skin vulnerable. By using a homemade toner, you can bring your skin back to its optimal pH level and promote healthy skin function.
Tightens Pores and Reduces Inflammation
A homemade toner is effective in tightening pores and reducing inflammation. It efficiently removes excess oil, dirt, and residue from your skin, preventing clogged pores and the formation of blemishes. Additionally, the toner’s natural ingredients help soothe and calm irritated skin, leaving it refreshed and revitalized.
Gently Cleanses and Refreshes
Incorporating a homemade toner into your skincare routine provides a gentle yet effective cleansing process. It helps remove excess dirt, oil, and makeup that your cleanser may have missed, leaving your skin thoroughly clean. The toner also acts as a refreshing mist, providing a burst of hydration and a rejuvenating sensation.
Avoids Harsh Chemicals
One of the major benefits of using a homemade toner is the ability to avoid harsh chemicals commonly found in commercial toners. Many store-bought options contain ingredients that can strip the skin of its natural oils or cause irritation.
By opting for a homemade toner, you can ensure you’re using only natural and safe ingredients on your skin, allowing it to thrive without unnecessary exposure to harsh chemicals.
Take a look at the list below for a summary of the benefits of using a homemade toner:
Benefits of Using a Homemade Toner
- – Restores pH balance
- – Tightens pores and reduces inflammation
- – Gently cleanses and refreshes
- – Avoids harsh chemicals
With these incredible benefits, it’s no wonder that homemade toners have gained popularity in the realm of skincare. Let’s move on to the next section to discover the best essential oils for different skin types.
Essential Oils for Different Skin Types
Different essential oils are beneficial for different skin types. Whether you have dry, oily, or normal skin, there are essential oils that can help improve your skin’s health and appearance.
Essential Oils for Dry Skin
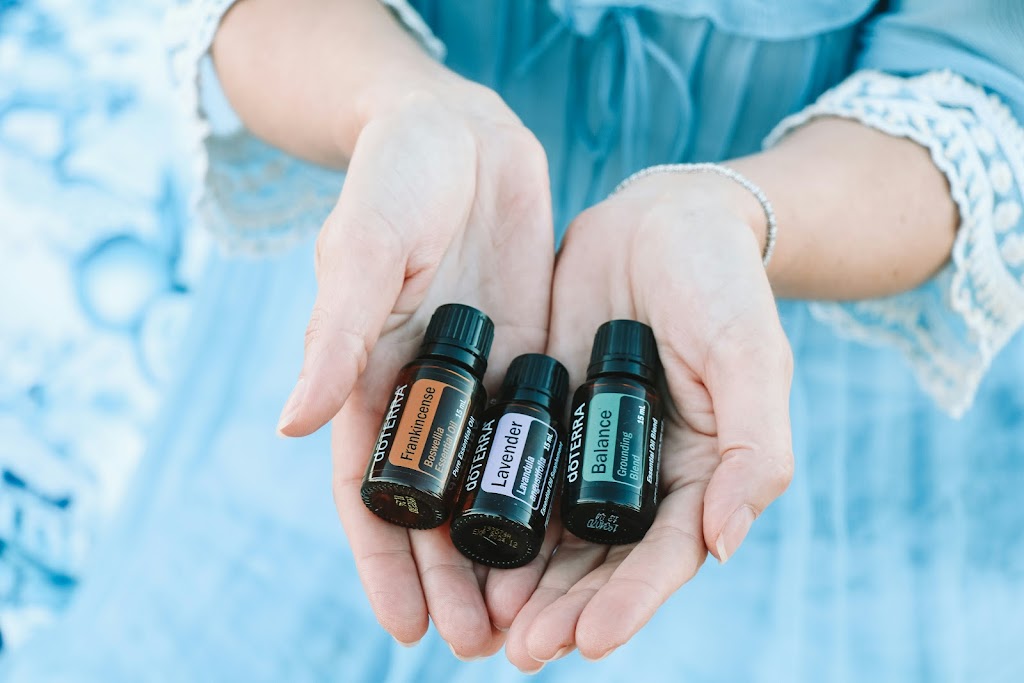
If you have dry skin, essential oils like frankincense, lavender, and geranium can work wonders. These oils provide hydration, nourishment, and help reduce the appearance of wrinkles, leaving your skin looking and feeling more supple.
Essential Oils for Oily Skin
For those with oily skin, essential oils such as frankincense, lavender, and tea tree can be highly beneficial. These oils help regulate excess oil production, control acne, and promote clearer, healthier-looking skin.
Essential Oils for Normal Skin
If you have normal skin, you’re in luck! You can benefit from essential oils that help maintain balance and promote overall skin health. Lavender, cypress, and tea tree oils are excellent choices to incorporate into your skincare routine.
DIY Toner Recipe
Enhance your skincare routine with a personalized DIY toner that caters to your skin type and preferences. This simple toner recipe combines the power of essential oils, witch hazel, rose water, and Vitamin E oil to create a refreshing and nourishing toner for your skin.
Ingredients:
– Essential Oils: 4 drops each of your chosen oils
– Vitamin E Oil: 10 drops
– Rose Water: 2 teaspoons
– Witch Hazel: to fill the rest of the 2-oz fine mist spray bottle
Instructions:
1. Grab a 2-oz fine mist spray bottle to store your toner.
2. Add 4 drops of each essential oil of your choice to the bottle.
3. Next, add 10 drops of vitamin E oil to the mixture.
4. Pour 2 teaspoons of rose water into the bottle.
5. Fill the remaining space in the bottle with witch hazel.
6. Tightly close the bottle and shake well to ensure all the ingredients are thoroughly mixed.
7. Before applying the toner, cleanse your skin to remove any dirt or impurities.
8. To use the toner, you have two options:
– Option 1: Spritz the toner onto your face using the fine mist spray bottle, holding it about 6-8 inches away from your face.
– Option 2: Apply the toner onto a clean cotton pad and gently swipe it across your face in upward motions.
9. Allow the toner to dry completely before applying your serum and moisturizer.
Experience the refreshing and rejuvenating effects of this DIY toner, customized to suit your unique skincare needs.

How to Use DIY Toner
To fully enjoy the benefits of your DIY toner, follow these simple steps:
1. Start by cleansing your skin with your favorite cleanser to remove any impurities and prepare your skin for the toner.
2. To apply the toner, you have two options:
– Spritz Toner: Fill a fine mist spray bottle with your DIY toner. Hold the bottle about 6-8 inches away from your face and spritz the toner evenly across your skin. This method allows for a quick and refreshing application.
– Use a Cotton Pad: Pour a small amount of the toner onto a cotton pad. Gently glide the cotton pad across your face in a circular motion, ensuring that the toner is evenly distributed. This method provides a more controlled and thorough application.
3. After applying the toner, allow it to dry completely. This usually takes a few minutes, during which you can relax and let the toner work its magic.
4. Once the toner has dried, it’s time to continue with the next steps in your skincare routine. Apply your preferred serum to replenish your skin with targeted nutrients and actives. Follow up with a moisturizer to lock in hydration and nourishment.
Incorporating the DIY toner into your regular skincare routine will enhance its effectiveness and leave your skin feeling refreshed and revitalized.
Remember, consistency is key when it comes to skincare. Make it a habit to use your DIY toner daily for optimal results.
Expert Tip:
“When applying toner with a cotton pad, gently pat the toner into your skin instead of rubbing. This helps to ensure better absorption and prevents irritation.”
Other Ingredients for DIY Toners
In addition to essential oils, there are other ingredients you can add to your DIY toner to enhance its benefits.
| Ingredient | Description | Benefits |
| Witch Hazel | A natural astringent | Helps tighten pores |
| Aloe Vera | Soothing and hydrating | Provides hydration to the skin |
| Green Tea | Rich in antioxidants | Offers antioxidant and anti-inflammatory |
| Apple Cider Vinegar | Exfoliating properties | Exfoliates the skin and reduces dark spots |
| Hydrosols | Therapeutic benefits with pleasant scents | Provides therapeutic benefits and adds a pleasant scent |
| Cucumber Water | Cooling and soothing | Helps cool, hydrate, and soothe the skin |
| Rice water | Cooling and hydrating | Offers cooling, hydrating, and soothing properties to the skin |
.
By incorporating these ingredients into your DIY toner, you can further enhance its effectiveness and customize it to address your specific skincare needs.
Store-Bought Toners vs. DIY Toners
When it comes to choosing a toner for your skincare routine, you have two options: store-bought toners or DIY toners. Both options have their advantages, so let’s explore them to help you make an informed decision.
Store-Bought Toners
Store-bought toners are readily available and offer a wide range of options. They often contain preservatives that extend their shelf life, ensuring that they remain effective for longer periods. Additionally, these toners are formulated with various ingredients that target specific skin concerns, providing a solution for a diverse range of skincare needs.
However, it’s important to note that not all store-bought toners may be suitable for everyone. Some toners may contain harsh chemicals or artificial fragrances that can potentially irritate sensitive skin. If you have specific allergies or sensitivities, it’s crucial to carefully read the ingredient list and opt for toners with natural ingredients to avoid any potential reactions.
Another aspect to consider is the cost. Store-bought toners can be more expensive in the long run, especially if you consistently use toner as part of your daily skincare routine. Therefore, if you’re on a budget or prefer a more cost-effective option, DIY toners may be a better choice.
DIY Toners
DIY toners allow you to have complete control over the ingredients you use and tailor them to your specific skin concerns. You can create your own customized toner using natural and safe ingredients, ensuring that you’re providing your skin with the best care possible.
In addition to the benefits of using natural ingredients, DIY toners can be more cost-effective.
Many of the ingredients needed to make homemade toners, such as witch hazel, rose water, and essential oils, can be purchased at affordable prices and provide multiple uses. By making your own toner, you save money and avoid investing in store-bought products that may contain unnecessary additives or fillers.
Furthermore, by making your own toner, you can experiment with different ingredients and discover what works best for your skin. You have the flexibility to adjust the formula as needed to address specific skin concerns, such as acne, dryness, or dullness. This customization ensures that your toner is specifically designed to meet your unique skincare needs.
While DIY toners lack the convenience of pre-packaged toners, the benefits of using natural ingredients and customization make them a popular choice among skincare enthusiasts who prioritize a more personalized approach to their skincare routine.
Homemade Toners for Specific Skin Concerns
If you have specific skin concerns, homemade toners can be tailored to address them effectively. By incorporating natural ingredients into your DIY toners, you can target aging skin, dryness,
acne scars, large pores, combination skin, and hyperpigmentation.
Aging Skin:
To reduce the signs of aging, consider using toners enriched with antioxidants like green tea and pomegranate. These ingredients help protect your skin from free radicals and promote a youthful appearance.
Dry Skin:
If you struggle with dry skin, opt for toners that contain hydrating ingredients such as cucumber and Aloe Vera. These ingredients help replenish moisture and restore your skin’s natural hydration.
Natural Glow:
If you desire a natural glow, try a toner with rice water. Rice water has brightening properties that can help improve your skin’s radiance and leave it looking healthy and glowing.
Acne Scars:
To address acne scars, toners containing apple cider vinegar can be beneficial. Apple cider vinegar has exfoliating properties that help fade scars and promote smoother skin.
Large Pores:
To reduce the appearance of large pores, opt for toners with witch hazel. Witch hazel has astringent properties that can help tighten pores and promote a smoother complexion.
Combination Skin:
If you have combination skin, toners enriched with cranberry and rose water can be effective. These ingredients help balance oil production and maintain overall skin health.
Hyperpigmentation:
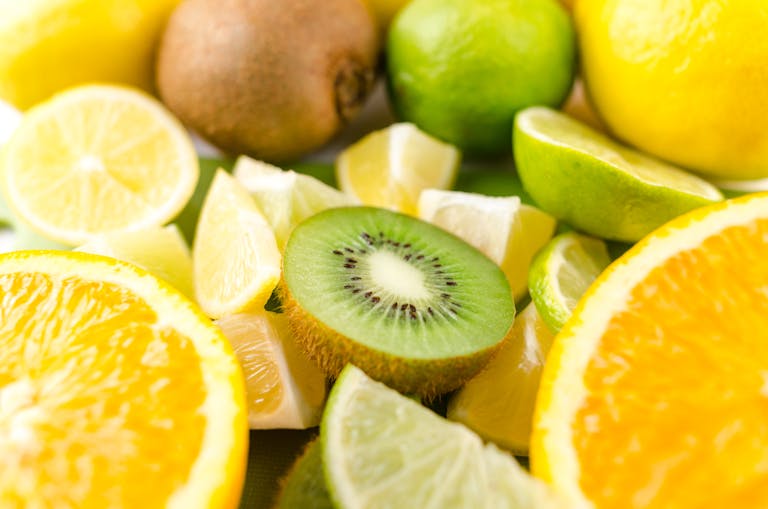
To improve hyperpigmentation, consider toners containing ingredients like lemon juice or coconut water. These ingredients have natural brightening properties that can help even out skin tone and reduce pigmentation.
Remember, homemade toners provide a natural and customizable solution to address your specific skin concerns. By using the right ingredients, you can achieve healthier, more radiant skin.
Safety Precautions and Tips
When using essential oils in your DIY toner, it is important to take certain safety precautions. Follow these tips to ensure your skin’s health and safety.
1. Perform a patch test: Before applying any new ingredient to your skin, especially if you have sensitive skin, always perform a patch test. Apply a small amount of the toner on a discreet area of your skin, such as your forearm, and wait for 24 hours to check for any adverse reactions.
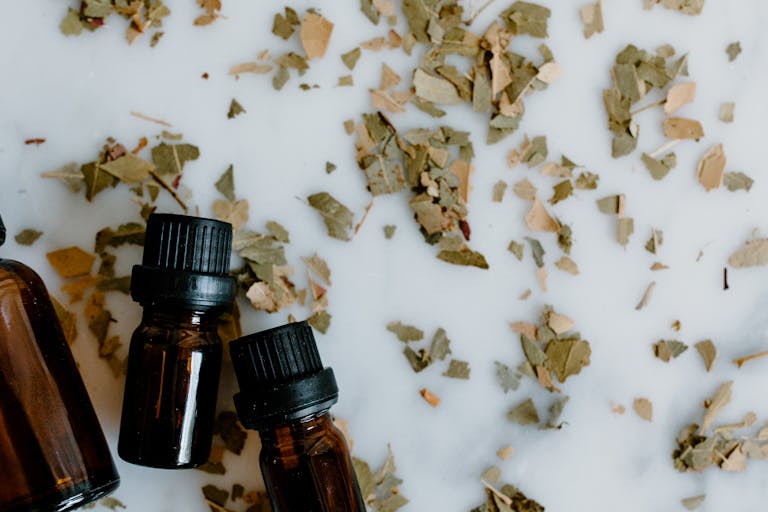
2. Dilute essential oils: Essential oils are potent and can be irritating to the skin when applied directly. To avoid any skin irritation, dilute essential oils with a carrier oil or witch hazel before adding them to your toner recipe.
3. Avoid fragrance oils: When creating your DIY toner, it is best to avoid using fragrance oils. These oils may contain synthetic ingredients that can be harmful to your skin. Instead, opt for pure essential oils derived from plants, which offer natural benefits for your skin.
4. Use high-quality ingredients: To ensure the effectiveness and safety of your DIY toner, use only pure, high-quality essential oils and other ingredients. Research brands and suppliers to ensure that you are using ingredients that are free from additives and contaminants.
By following these safety precautions and tips, you can enjoy the benefits of essential oils in your DIY toner while keeping your skin healthy and protected.
Storing and Using DIY Toners
Proper storage and application are key to ensuring the effectiveness of your homemade toner. Since DIY toners lack preservatives, it is crucial to follow the right steps to maintain their freshness and maximize their benefits.
Firstly, refrigerate your toner to preserve its freshness and extend its shelf life. Storing it in the refrigerator helps prevent bacterial growth and ensures that the toner remains cool and refreshing when applied to your skin.
However, it’s important to note that DIY toners should be discarded after 2-3 days. This precaution is necessary to prevent the accumulation of potentially harmful bacteria that could compromise the quality of the toner and lead to skin irritations or infections. Regularly replacing your toner helps maintain its efficacy and keeps your skincare routine safe.
When it comes to applying the toner, there are a couple of methods you can choose from. One option is to mist the toner onto your face, using a spray bottle. This method ensures an even distribution of the toner and makes it easier to cover larger areas.
Alternatively, you can apply the toner with clean hands or a cotton pad. Using clean hands, gently pat the toner onto your face, allowing it to absorb into your skin. If you prefer using a cotton pad, soak it with the toner and gently swipe it across your face, focusing on areas that require extra attention.
Storage and Application Tips for DIY Toners
1. Refrigerate the toner to maintain freshness and preserve its efficacy.
2. Discard the toner after 2-3 days to prevent bacterial growth and maintain skincare safety.
3. Mist the toner onto your face using a spray bottle for even application.
4. Apply the toner with clean hands or a cotton pad, gently patting or swiping it onto your face.
Considerations for Choosing Ingredients
When it comes to creating your DIY toner, it’s essential to make informed choices about the ingredients you use. Factors such as brand quality, natural ingredients, skin sensitivity, and consulting with a healthcare professional play vital roles in ensuring the safety and effectiveness of your homemade toner.
To start, researching brand quality is crucial. Look for reputable brands that prioritize product quality and transparency in their sourcing and manufacturing processes. Choose brands that use clean, sustainable ingredients without harmful chemicals or additives.
Next, choosing natural ingredients is key to creating a skin-loving toner. Natural ingredients are often more gentle and compatible with different skin types. Look for plant-based extracts, hydrosols, and essential oils that offer specific benefits for your skin concerns.
Considering your skin sensitivity is essential when selecting toner ingredients. If you have sensitive skin or allergies, opt for ingredients that are known to be soothing and hypoallergenic. Conduct a patch test before using new ingredients to ensure they don’t cause any adverse reactions.
Lastly, consulting with a healthcare professional or dermatologist can provide valuable guidance. They can help you make informed decisions about the ingredients that are most suitable for your specific skin type and concerns. They may also offer recommendations or suggest alternatives based on their expertise.
Examples of Skin-Loving Ingredients
| Concern | Ingredients | Benefits |
| Hydration | Aloe Vera | Moisturizes and soothes dry skin |
| Cucumber Water | Cools and hydrates the skin | |
| Rose Water | Calms and Balances the skin | |
| Acne-Prone Skin | Tea Tree Oil | Controls oil production &fights acne-causing bacteria |
| Lavender Oil | Reduces inflammation and promotes healing | |
| Anti-Aging | Rosehip Seed oil | Rich in antioxidants and vitamin C for brighter, firmer skin . |
| Frankincense Oil | Reduces the appearance of wrinkles and fine lines |
These are just a few examples, and there are numerous other ingredients that can address various skin concerns. Remember to conduct thorough research, select high-quality brands, and prioritize natural and safe ingredients to create a DIY toner that nourishes and enhances your skin.
Conclusion
Customizing your DIY toner with essential oils can offer a multitude of benefits for your skin. From hydrating dry skin to controlling excess oil and soothing inflammation, essential oils provide natural solutions for a wide range of skincare concerns.
By creating your own toner, you have the freedom to choose ingredients that cater to your specific needs and preferences, ensuring that your skincare routine is both effective and enjoyable.
Whether you’re new to DIY skincare or a seasoned enthusiast, experimenting with essential oils in your homemade toner is a rewarding journey.
So gather your favorite ingredients, unleash your creativity, and embark on a quest to discover the perfect blend for your skin. With each spritz and swipe, you’re not just treating your skin to a luxurious experience – you’re embracing a holistic approach to self-care and nurturing your skin with the power of nature.
Can I add essential oils to my homemade toner?
Yes, adding essential oils to your homemade toner can provide additional benefits for your skin.
What are the benefits of using a homemade toner?
Using a homemade toner can help remove excess dirt, oil, and makeup, restore the pH balance of your skin, tighten pores, reduce inflammation, and leave your skin feeling clean and refreshed.
Which essential oils are beneficial for different skin types?
For dry skin, essential oils like frankincense, lavender, and geranium are recommended. Oily skin can benefit from essential oils such as frankincense, lavender, and tea tree. Lavender, cypress, and tea tree are suitable for normal skin.
What is a simple DIY toner recipe?
In a 2-oz fine mist spray bottle, combine 4 drops of your chosen essential oils, 10 drops of vitamin E oil, 2 teaspoons of rose water, and fill the rest of the bottle with witch hazel. Shake well and apply to your cleansed face.
How do I use a DIY toner?
After cleansing your face, either spritz the toner onto your face using a spray bottle or apply it with a cotton pad. Allow the toner to dry before applying serum and moisturizer.
What other ingredients can I add to my DIY toner?
You can add ingredients like witch hazel, aloe vera, green tea, apple cider vinegar, hydrosols, cucumber water, and rice water to enhance the benefits of your DIY toner.
What is the difference between store-bought toners and DIY toners?
Store-bought toners may contain preservatives and a wider range of ingredients. DIY toners allow you to have more control over the ingredients used and can be customized to your specific skin concerns.
Are there homemade toners for specific skin concerns?
Yes, homemade toners can be tailored to address specific skin concerns like aging skin, dry skin, natural glow, acne scars, large pores, combination skin, and hyperpigmentation.
What safety precautions should I take when using essential oils in my DIY toner?
Always perform a patch test, dilute essential oils, avoid fragrance oils, and use pure and high-quality essential oils to ensure effectiveness and safety.
How should I store and use my DIY toner?
Store your DIY toner in the refrigerator and discard it after 2-3 days to maintain freshness. You can mist the toner onto your face or apply it with clean hands or a cotton pad.
What should I consider when choosing ingredients for my DIY toner?
Research the brand’s quality, choose natural ingredients, consider your skin sensitivity, and consult with a healthcare professional if needed.
What are the benefits of using essential oils in my homemade toner?
Adding essential oils to your homemade toner can provide numerous benefits for your skin, including targeting specific skin concerns and enhancing the effectiveness of your skincare routine.
Source Links
- DIY Essential Oil Facial Toner Recipe (essentialoilhaven.com)
- DIY Essential Oil Facial Toner Recipe (essentialoilhaven.com)
- 16 DIY Toner Recipes For Every Skin Need (greatist.com)