Backpack Crafting 101: A Newbie’s Guide to Handmade Success
This morning, I put on my old backpack, feeling its importance. This bag was more than just something I made. It’s been with me through so much, holding what I needed for endless adventures. Making a backpack wasn’t just about making something to carry stuff. It was about showing who I am, solving problems, and proving how creative we can be.
Are you good at sewing or just starting with backpack DIY projects? This guide is for you. It helps you make your own backpack that’s perfect for you and shows off your style. We’ll talk about picking the right backpack patterns and backpack materials. Then, we’ll show you how to put it all together just how you like. By the end, you’ll have everything you need to start.
Key Takeaways
- Discover the joy of crafting a backpack from scratch and creating a personalized accessory that fits your lifestyle.
- Learn essential backpack sewing tutorials and backpack construction techniques to build a sturdy, functional, and stylish backpack.
- Explore backpack design ideas and backpack customization options to make your creation truly one-of-a-kind.
- Develop the skills and confidence to tackle future backpack DIY projects and unleash your creativity.
- Discover the satisfaction of creating a beginner backpack sewing guide that meets your unique needs and preferences.
Crafting a Backpack: Conceptualizing Your Backpack Design
Before diving into sewing, think carefully about your backpack’s needs and wants. Consider how you’ll use it, what’s essential, and your design ideas. Look at the size and shape you need. Imagine the ideal backpack for your daily life and make some notes.
Assessing Your Needs and Preferences
Start by drawing your dream backpack. Sketch it from all sides to show how it might look. Then, draw it as if you’re looking at it from an angle. Add different colors or shadings to note materials and techniques. This helps you iron out the details before sewing.
Drawing Your Design
As you draw your design, start to plan how it’s made. Picture all the layers and parts separately, like an exploded diagram. Think about how to put it together, including pockets and other details. This step gets you ready for making the pattern and sewing.
Visualizing the Construction Process
Taking time to think about your design and construction pays off. You’re on your way to a backpack that fits your life. Whether you’re new to sewing or not, good planning is key to a successful DIY backpack.
Backpack DIY: Creating a Pattern
To turn your backpack design into reality, make a pattern. This step is crucial.
First, get the pattern-making tools you need. You’ll use a big sheet of gridded paper, scissors or a rotary cutter, markers, pencils, a triangle, a big ruler, a cutting mat, and your design sketches. These items will help make sure your pattern is the right size and shape.
Translating Sketches into Patterns
Now, it’s time to enlarge your sketches. Pay close attention to detail. Accuracy is important for a good outcome.
Use methods like adding a seam allowance or marking curves. This makes sure your pattern leads to a backpack that fits well and looks professional.
Marking and Labeling Patterns
When your patterns are ready, mark and label them clearly. Put down the piece’s name, what fabric to use, how to cut it, and any other important info. This makes staying organized easier and helps avoid mistakes during crafting.
Prototyping and Refining Your Design
Prototyping your backpack design is a smart step forward. This is crucial, especially if your design is unique or you’ve changed an existing one. It lets you check how the backpack looks, works, and feels without using the final materials right away.
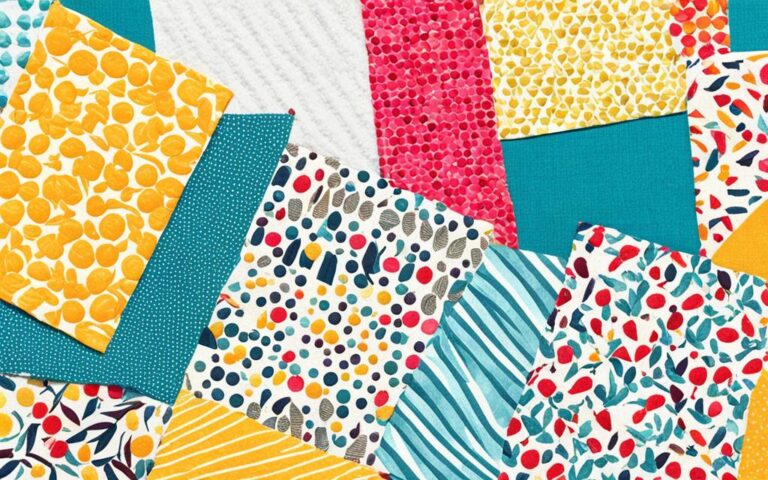
Pick materials that act like your final ones, not necessarily look like them. This is key in making your prototype as close to the real deal as possible.
Choosing Prototype Materials
Building the first version lets you see if there are any flaws or better ways of making your backpack. It’s a chance to learn and improve. Keep detailed notes about what you find as you make your prototype.
Make sure you test the prototype well. Adjust the design as needed.
Testing and Documenting Changes
After you’ve tested and refined your prototype, update your plans accordingly. Make sure your patterns show the latest changes clearly.
These updates are important for preparing to cut your final materials.
Updating Patterns with Alterations
Through making and refining your backpack, you’ll ensure the final product is what you wanted. This approach will make your DIY project more successful. It saves you from wasting materials and time by finding the best design early on.
Do a good job documenting and implementing your improvements. This is key to achieving the best results.
Cutting Fabric Pieces
Ready with your patterns? Now, it’s time to cut your backpack materials. Lay the fabric on a big, flat space. The wrong side should be facing up.
Next, place your pattern pieces on the fabric wisely. This way, you use the fabric well. Use a straight edge and a cutter or scissors. Cut along the pattern lines to get precise pieces.

Designing Back Pad Details
After you cut the fabric for your backpack customization, focus on the back pad. It’s very important for backpack organization and your comfort. Think through how you will build and place it. This ensures it fits well with the backpack’s look and does its job well.
Think about what materials will give the best comfort and support. Adding padding like foam helps keep weight balanced. You might also add ways for air to flow or fabrics that draw sweat away to keep your back dry and cool.
Try different shapes and sizes for the back pad. It should match your body’s shape well and support you properly. You can even add adjustable parts to make sure it fits just right. Doing this makes sure your backpack not only looks good but is comfy too, even when you use it a lot.
Sewing the Front Pocket
You’ll start this step by sewing the front pocket onto the backpack’s main part. Begin with ironing the pocket’s hem. First, fold it by 1 cm, then 3 cm. Next, use textile glue to stick a Velcro strip’s fluffy side at the 3 cm marked part. After that, sew the Velcro in place with a blindstitch foot. Finally, fold the hem over the ironed edges and edgestitch it.
Attaching the Front Pocket
To make a strong closure, attach the Velcro strip’s other half to the backpack’s body. Place the front pocket where you’d like it on the backpack. Then, pull it back and apply textile glue on the backpack’s fabric. Let the glue dry completely before pressing the pocket back into place. Then, edgestitch around it.
Adding Velcro Closures
Velcro closures make it easy to get to the front pocket’s contents. They keep everything inside snug and neat. This means you can quickly grab things like your phone, keys, or small items without messing up the backpack organization.
Creating Buttonholes for Cord Closures
To make your backpack look custom and cool, you’ll need to make buttonholes. First, iron a little piece of interfacing under the fabric’s wrong side. Do this right under the top’s 3 cm fold. Then, find the middle of your fabric. Measure out 2 cm to each side and mark 0.5 cm from the fold edge. These are where your buttonholes will go. Next, use a buttonhole foot on your sewing machine to make the buttonholes. Make them at those marked spots. You’re making places where you can thread a cord through.
| Buttonhole Placement | Measurement |
|---|---|
| Center of fabric | Marked |
| 2 cm to right and left | 0.5 cm from folded edge |
This step isn’t just about looks. It also helps keep your backpack closed and organize. It’s great for adding extra backpack accessories.
Crafting the Flap
To start, make the flap for the backpack’s top. First, put the two pieces of fabric together, right sides facing. Then fold them in half. Next, measure 8 cm along one long side. Draw a curve and cut that corner off. Now, sew the pieces together but keep the straight side open. Cut the seam edge, turn it out, and sew close to the edge.
Attaching the Flap to the Back
With the flap sewn, place it on the backpack’s back. Make sure it’s centered and 6 cm from the ironed hem. Pin it down and sew it onto the backpack really well.

Constructing Backpack Straps
To start, iron the strap fabric pieces with their right sides together. Sew them, but keep one end open. After sewing, use a wooden stick to turn the strap the right way. Then iron it and stitch along the edges. These straps will later go on the front and back of the backpack.
The key to crafting top-notch backpack design ideas and backpack customization is in the details. Making sure the straps are well-made is important. It helps your backpack look good and feel comfy when you wear it.
Assembling the Backpack
Now, let’s put together your special backpack. First, pin the front and back parts together, right sides facing. Make sure the top hem and backpack straps are visible. Then, sew these parts with a 1 cm seam, and if needed, finish the edges with a zigzag stitch.
Attaching Straps
Steps to add the backpack straps come next. Decide on the strap length and fold 1.5 cm at one end. Place it 5 cm under the top piece and sew it firmly. Make a 2 cm high rectangle stitch to neaten the edge.
Adding Cord Closures
Finally, for the backpack finish, thread a cord through the buttonholes. Put cord ends on the ends. This makes the backpack top closeable for security and organization.
Conclusion
You’ve made a backpack that’s uniquely yours, stylish and very useful. Following our guide taught you to come up with a design, make patterns, perfect your creation, and put it all together. You might have created it for daily use, trip adventures, or a hobby.
This process gives you the power and know-how for future sewing. It lets your creativity shine bright.
Now, with your very own backpack in hand, think about showing it off. Your friends might get inspired to craft their own or try a DIY backpack tutorial. Crafting this backpack has been an amazing journey. You should feel proud of the special accessory you’ve made.