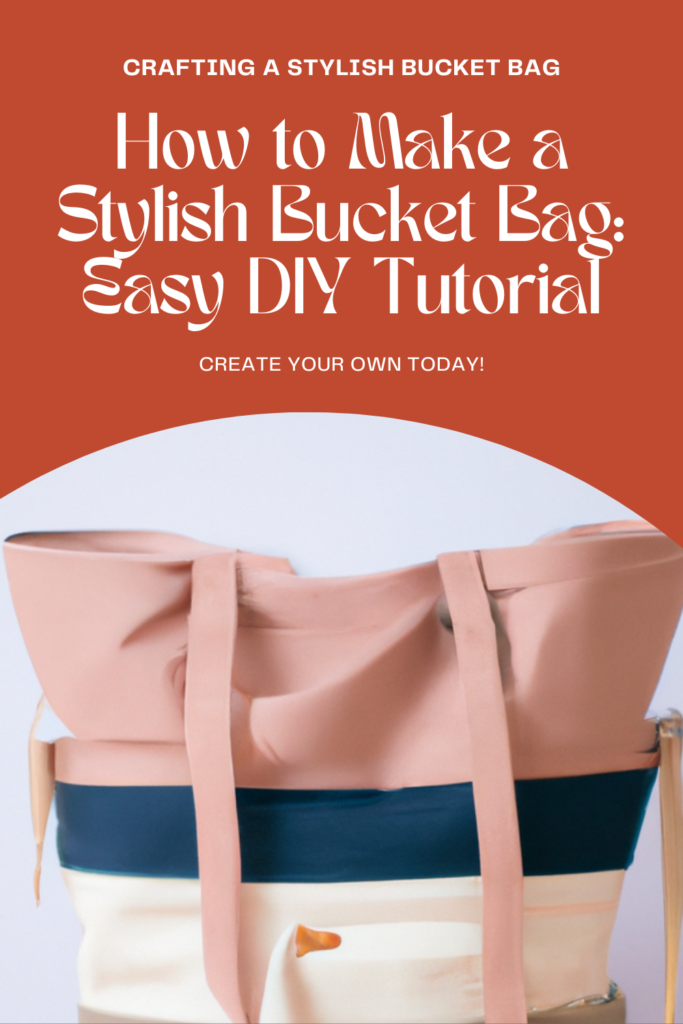
How to Make a Stylish Bucket Bag: Easy DIY Tutorial
The sun set, and I saw a woman with a cool bucket bag. Its shape and ease caught my eye. I thought, “Can I do this too?” This led me on a fun path to making my own bucket bag. Now it’s part of my daily style.
Sound like your thing? Want to make a neat bucket bag just the way you like it? This guide is perfect for you. It’s easy to follow, for both new and old hands at sewing. You’ll end up with a bucket bag that shows your style perfectly.
Key Takeaways
- Learn how to make a stylish and versatile bucket bag through a detailed DIY tutorial
- Discover the history and popularity of the classic bucket bag design
- Gather all the necessary materials, patterns, and tools to create your own personalized bucket bag
- Explore various construction techniques, from sewing the lining and outer bag to adding unique embellishments
- Explore different ways to wear and style your handmade bucket bag, from crossbody to backpack to handbag
Introduction to Bucket Bags
Bucket bags have been around since the early 1900s. They started as simple pouches with strings and hard bottoms for daily use. But it was in the 1960s that they truly caught on. Coach brought out their collection, making the bucket bag popular. Since then, everyone from top designers to smaller brands have made their own take on the bucket bag.
History and Origins
In the 1960s, the bucket bag vintage style became a fashion must-have. Coach led this trend with their first collection. These bags were not just practical but also stylish. Since then, they have remained a key piece in the fashion world.
Versatility and Popularity
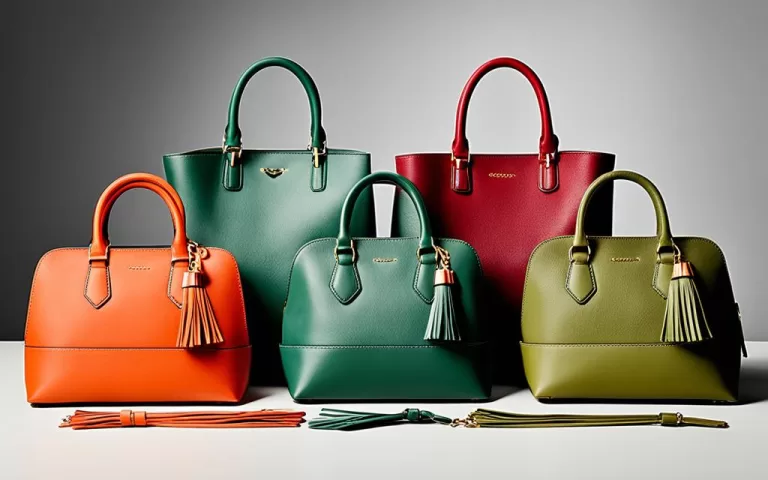
The bucket bag versatility is its main charm. You can wear it different ways, like a crossbody or a backpack. This makes it great for any event. The bag’s simple, yet chic look is another reason for its popularity. It fits in with both everyday outfits and special events.
Materials Needed
To make a cool bucket bag, you’ll need some key items. These include bucket bag fabric, bucket bag material, plus bucket bag sewing supplies. We’ll look at what you need for the fabric requirements, notions and hardware, and the tools required for this fun project.
Fabric Requirements
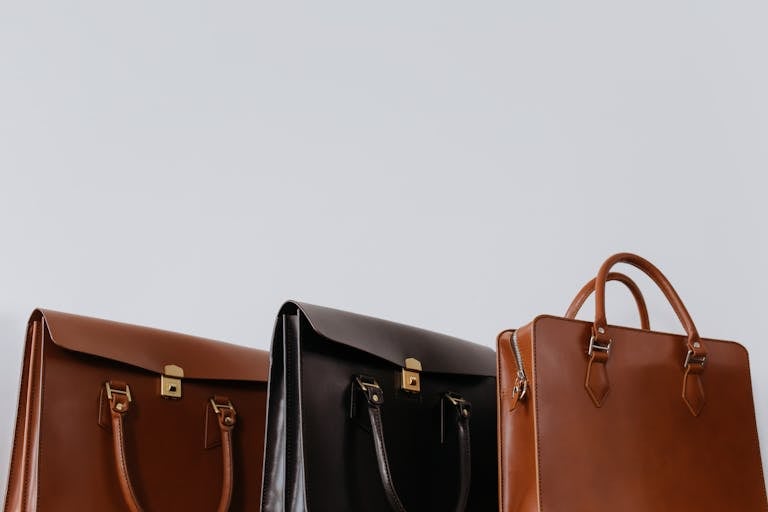
The main part of your bucket bag needs 1/2 yard of 54″ wide bucket bag fabric. You can use things like upholstery fabric, canvas, or even leather. You also need 1/2 yard of bucket bag lining fabric and another 1/2 yard for medium-weight bucket bag sewing supplies.
Notions and Hardware
Along with the fabrics, you’ll need specific bucket bag notions and bucket bag hardware. This includes 2 yards of 1/2″ bucket bag sewing accessories bias tape. Don’t forget the 17mm bucket bag hardware grommets, polyester thread, and 3/8″ double-sided tape. Also, you’ll need a large bead with a 10mm hole for the tassel and maybe a magnetic bag clasp.
Tools Required
To craft your bucket bag, gather a few essential bucket bag sewing tools and bucket bag DIY equipment. You’ll use a Kam tool or similar for setting grommets, a zipper foot, and a jeans needle. Also, an inches to centimeters converter might come in handy. Finally, you’ll need a rotary cutter and an Exacto knife for slicing your fabrics nicely.
Pattern Preparation
First, download and print the bucket bag pattern from a web store called Payhip. You can choose to make a small contribution there. Use Adobe Reader to print the pattern in actual size and in landscape mode. Make sure to follow all the given instructions. Then, cut your fabric straight as per the pattern pieces.
Fabric Cutting Instructions
Here are the fabric cutting instructions from the pattern:
- Main fabric: Cut 2 pieces at 13 1/4″ x 8 3/4″, and 1 piece at 13 1/4″ x 10 1/4″
- Accent fabric: You’ll need 1 piece at 25 5/8″ x 2 3/4″ and another at 8 3/4″ x 8 3/4″
- Lining fabric: Cut 2 pieces at 13 1/4″ x 9″, and 1 piece at 8 3/4″ x 8 3/4″
- For fusible interfacing or fleece, cut the pieces as instructed in the pattern
Constructing the Lining
Start by attaching the bucket bag interfacing or bucket bag fusible fleece to the lining and outside fabric. It adds form and strength to the bag. Use a medium-weight one, not too rigid, for a softer feel.
Creating the Pockets
Then, sew the bag’s pockets. Connect the lining and outer fabric, keeping an edge open. This lets you make six pockets for keeping things organized.
Assembling the Lining
After the pockets are done, sew the sides of the bag’s lining, but not completely. Leave a part in the center unsown. Sew the bottom too, just like the outer bag. This helps put the lining in smoothly later.

Bucket Bag Tutorial
Sewing the Outer Bag
The outer part of the bucket bag is sewn first. You sew the sides of the main fabric, not the bottom. This method makes the bag look like a bucket. Then, you add bias tape to the top. It makes the bag look neat and tidy.
Attaching the Bottom
Now, let’s attach the bottom using a special sewing foot to tackle the curved shape. Start by placing the circle bottom piece at the side seam. Then, work around the bag’s bottom edge. Sewing is done with a 1/4″ seam, then topstitched. This step keeps everything neat and reduces the bulk.
Adding the Drawstring Casing
For the top of the bucket bag, a 3″ fabric strip is folded in half and attached. This strip creates a casing for a drawstring. The drawstring makes it easy to open and close the bag with a gentle tug.
Joining the Lining and Outer Bag
Now that the bucket bag lining and outer bag are done, it’s time to bring them together. First, the lining goes inside the bag carefully. Top edges must match, and side seams are lined up. A 3/8″ seam allowance sews them together at the top, creating the bucket bag assembly we want.
After sewing, flip the bag outside in through the lining’s opening. This finishes putting together the bucket bag construction. Then, the bag just needs a few final details before it’s ready.
To wrap it up, sew the lining’s opening by hand. This gives your bucket bag a neat, professional ending.

Adding Embellishments
To make the bucket bag more useful, you can add a zippered pocket inside. This bucket bag interior pocket is made from a piece of lining fabric and a small metal zipper. It’s sewn in, giving you a safe spot for your small stuff. This also makes the bucket bag organization better.
Zippered Pocket
To finish the bag off, you might want to add a magnetic clasp. You sew the magnetic snaps on each side of the bag. This creates a neat and handy bucket bag closure. The magnetic snap keeps your bag shut but easy to open.
Magnetic Closure
Adding these extra features like the zipper pocket and magnetic clasp can really upgrade your bucket bag. It makes it look nice, work well, and have some cool hardware.
Bucket Bag Tutorial
The full bucket bag DIY guide is here. It shows you every step to make this handy bag. You’ll pick the materials, make the pattern, sew the inside and outside, and finish off with style. This guide gives you everything you need for a cool bucket bag sewing tutorial.
This guide is for everyone, from those just starting to sew to the pros. It will help you make a special bag you can wear many ways. With careful steps, you’ll create a bag that looks awesome and is very useful. It will be a perfect fit for your style and wardrobe.
- Selecting the appropriate fabrics, notions, and hardware
- Preparing the pattern and cutting the necessary pieces
- Constructing the lining, including the pockets and organization features
- Sewing the outer bag, attaching the bottom, and creating the drawstring casing
- Joining the lining and outer bag together for a polished, finished look
- Adding optional embellishments like a zippered pocket and magnetic closure
With this detailed bucket bag sewing tutorial, you’ll make a bag that shows off your style. Whether you want a bag for everyday use or standout occasions, this bucket bag making process will help you. It’s your guide to the perfect bucket bag.
Styling and Carrying Options
The bucket bag is great because you can carry it in many ways. Wear it across your body with the strap going from one shoulder to the opposite hip. This way, it’s easy to move around.
Backpack Style
Use it like a backpack for times when you’re busy. Just adjust the straps and put it over your shoulders. This is ideal for outdoor adventures or when you need to be hands-free.
Handbag Style
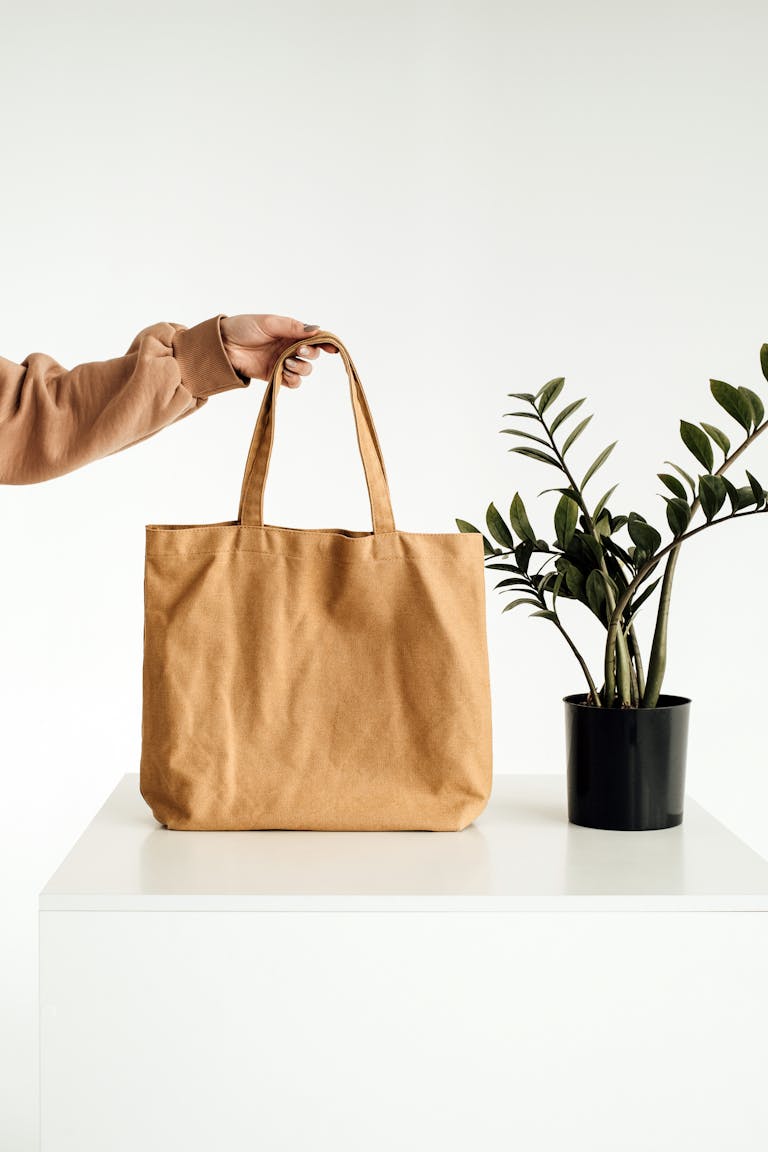
Carry it by the strap over your shoulder or just hold it like a traditional bag. It’s perfect for fancy nights out or daily work trips.
Conclusion
This detailed guide teaches you how to make your own bucket bag project. It includes easy-to-follow steps. You can sew a cool bucket bag that suits any outfit. No matter your sewing level, this DIY adds a special touch to your look.
You’ve learned a lot from this bucket bag tutorial recap. This includes its history and how popular it is. You also know what materials and tools you need. You’re now ready to craft a bag that’s both trendy and serves its purpose well.
Get ready to use your creativity to make a bucket bag. This project is fun and rewarding. It doesn’t just enhance your wardrobe. It also shows off your skill in creating things. So, pull together the items you need and start making your own bucket bag today.