The Ultimate Face Washing Routine: 6 Steps to Glowing Skin
Ever wake up in the morning wishing your reflection looked a little brighter, a little clearer? We’ve all been there. Let’s face it (pun intended!), achieving that coveted “glow” isn’t just about genetics. It’s about having a solid skincare routine in place, and the foundation of any good routine is a flawless face washing process.
Remember that time you spent the whole day at the beach, swimming in the ocean and soaking up the sun? When you finally got home, your skin probably felt amazing – soft, smooth, and oh-so-clean. That’s the power of a good cleansing routine! But unlike a day at the beach, a consistent face washing practice is what truly unlocks the secrets to clear, radiant skin.
Now, before we dive into the steps, let’s get a quick overview of what you can expect. We’ll be breaking down the ultimate face washing routine into a simple 6-step process. This isn’t rocket science, but it is the key to giving your skin the TLC it deserves.
Ready to ditch the dullness and embrace a brighter you? Let’s get started!

Step 1: Choosing Your Cleansing Champion (Face Washing Routine)
Just like your favorite superhero needs the right tools to fight crime, your skin needs the perfect cleanser to tackle its battles – dirt, oil, and dead skin cells. But here’s the thing: not all cleansers are created equal. The secret lies in finding one that’s a perfect match for your unique skin type.
Skin Type Smackdown:
- Oily Skin: If your skin tends to shine brighter than a disco ball at night, you need a cleanser that cuts through oil without stripping away moisture. Look for foaming cleansers with ingredients like salicylic acid or benzoyl peroxide (Mayo Clinic: [invalid URL removed]).
- Dry Skin: Feeling like a flakey pastry? Dry skin craves a gentle, hydrating cleanser. Cream cleansers with hyaluronic acid or ceramides are your best bet (American Academy of Dermatology Association: [invalid URL removed]).
- Sensitive Skin: Does your skin throw a tantrum at the slightest touch? Opt for a fragrance-free, hypoallergenic cleanser to avoid irritation. Look for cleansers labeled “sensitive skin” or those containing soothing ingredients like oatmeal or calendula.
- Combination Skin: You’re not alone! Many people have a combination of skin types – oily in the T-zone (forehead, nose, and chin) and dry elsewhere. Use a gentle foaming cleanser for the oily areas and follow up with a hydrating toner or moisturizer for the drier zones.
Pro Tip: Still unsure about your skin type? Don’t hesitate to consult a dermatologist. They can assess your skin and recommend the perfect cleanser to get you glowing.
Step 2: Prepping for Takeoff (Exfoliation)
Imagine trying to paint a masterpiece on a dirty canvas. It wouldn’t look its best, right? The same goes for your face! Before applying any products, you need to remove the layer of dead skin cells that can build up and make your complexion look dull. This is where exfoliation comes in. There are two main players in the exfoliation game:
- Chemical Exfoliation: These products use gentle acids (like glycolic or lactic acid) to dissolve dead skin cells. They’re great for sensitive skin and for targeting specific concerns like acne or uneven skin tone.
- Physical Exfoliation: Think scrubs with tiny beads or cloths. These physically buff away dead skin cells. While effective, be gentle! Over-exfoliation can irritate your skin.
How Often Should You Exfoliate?
The frequency depends on your skin type:
- Oily Skin: 2-3 times a week
- Dry Skin: 1-2 times a week
- Sensitive Skin: Once a week (or even less) – always patch test first!
Remember: Listen to your skin. If it feels irritated, it’s time to back off on the exfoliation.
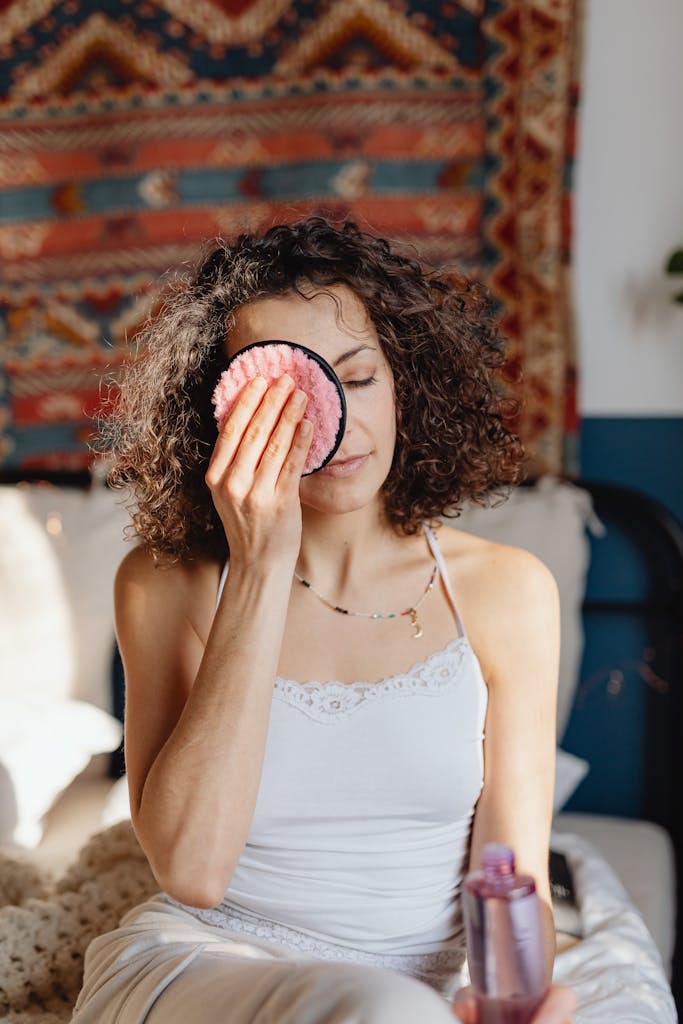
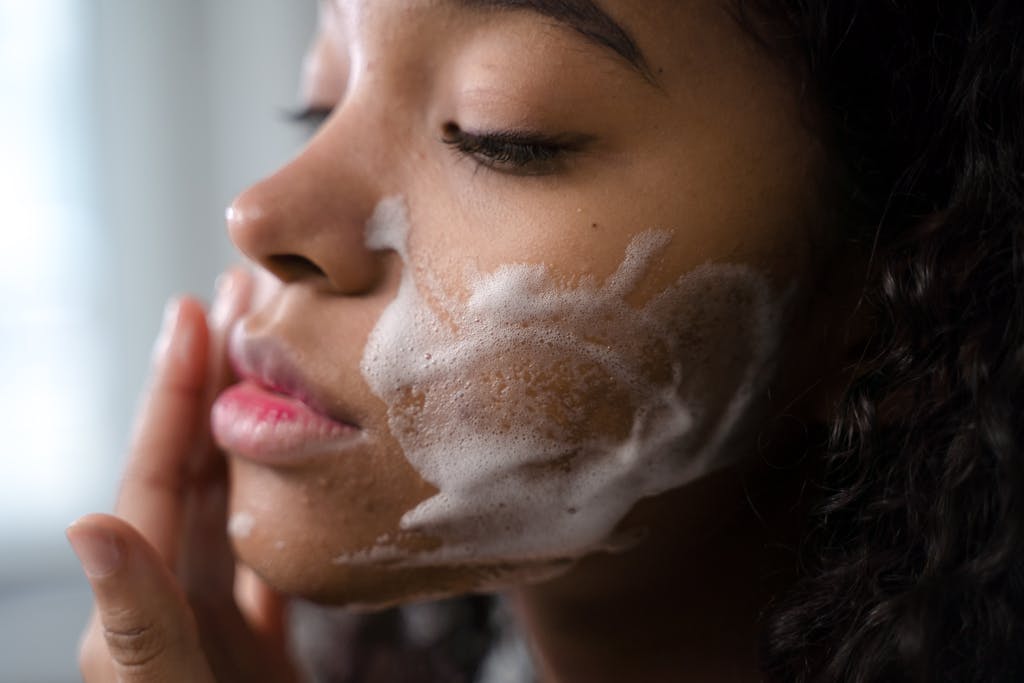
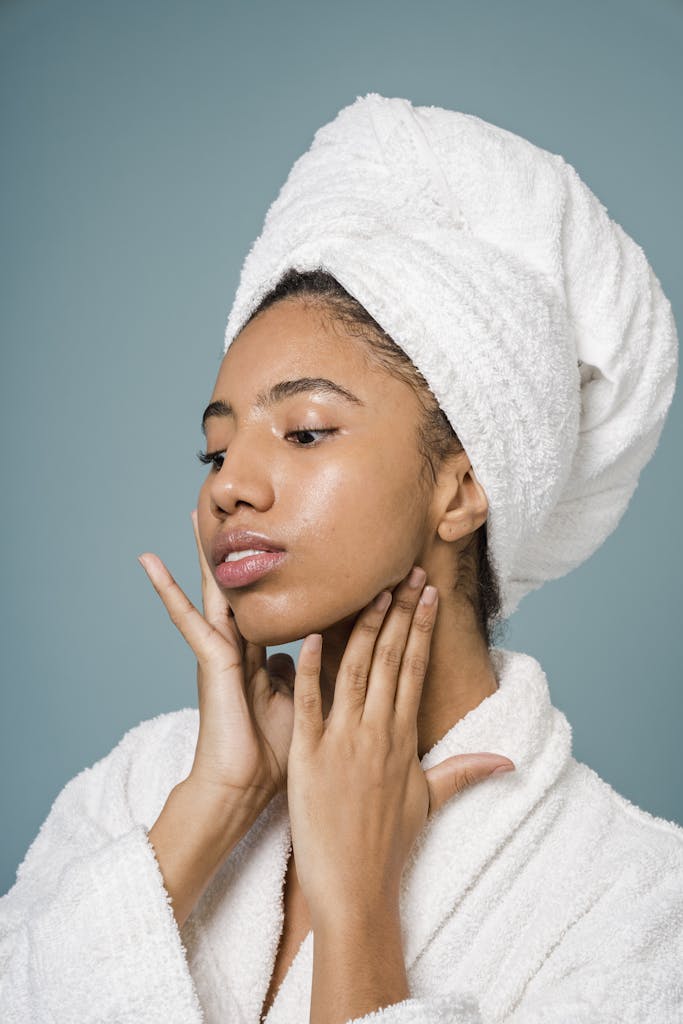
Step 3: Mastering the Cleansing Technique
Now for the fun part (well, maybe not as fun as bubble bath, but still important!). Here’s how to wash your face like a pro:
- Wet your face with lukewarm water. Hot water can strip your skin of its natural oils.
- Apply a dime-sized amount of cleanser to your damp hands. Don’t go overboard – you don’t need a lot to get the job done.
- Massage the cleanser gently onto your face in circular motions. Think of it like giving your skin a mini massage, focusing on areas prone to oil or congestion (like your T-zone). Spend about 30-60 seconds cleansing your entire face – don’t forget your neck!
- Rinse thoroughly with lukewarm water. Splash your face until all traces of cleanser are gone.
- Pat your face dry with a clean, soft towel. Don’t rub – rubbing can irritate your skin.
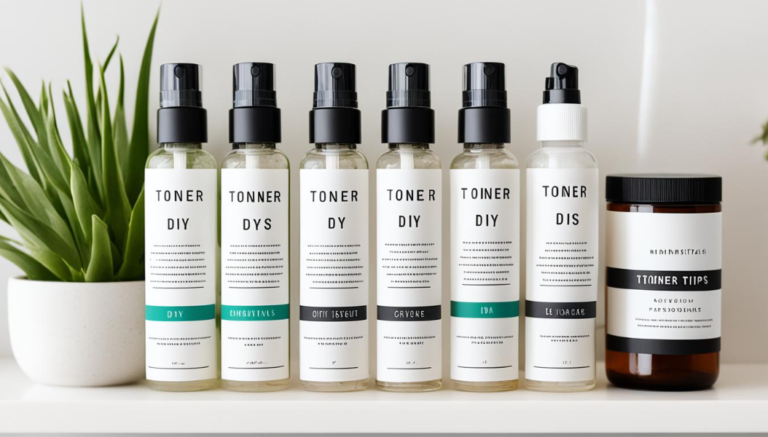
Step 4: Toning Up Your Routine (Optional)
Toners have gotten a bit of a bad rap in recent years, but they can still be a helpful step for some skin types. Toners typically come in liquid form and are applied after cleansing. Their main purpose is to:
- Restore your skin’s pH balance: Cleansing can sometimes disrupt your skin’s natural pH level. Toners help bring it back to normal.
- Remove any leftover cleanser residue: Even after rinsing, a little cleanser might linger. Toners can help remove those last traces.
- Prep your skin for further products: Toners with specific ingredients can also prep your skin for serums or moisturizers.
Choosing the Right Toner:
- Alcohol-free toners: Perfect for dry or sensitive skin. Look for ingredients like rosewater or witch hazel.
- Hydrating toners: Great for all skin types, especially those prone to dryness. Look for ingredients like hyaluronic acid or glycerin.
How to Apply Toner:
There are two ways to go about it:
- Cotton pad method: Apply a few drops of toner to a cotton pad and swipe it gently across your face, avoiding the eye area.
- Fingertip method: Pour a small amount of toner into your palms and pat it gently onto your face.
Important Note: Toners aren’t essential for everyone. If your skin feels fine without it, you can skip this step.
Step 5: Sealing the Deal with Moisturizer
Here’s the truth: even oily skin needs moisture! Moisturizer is like a superhero’s shield, protecting your skin from dehydration and environmental aggressors. It also helps maintain a healthy skin barrier, which is crucial for keeping out irritants and preventing breakouts.
Finding Your Perfect Moisturizer:
- Lotion: A lightweight option for oily or combination skin.
- Cream: A thicker formula that’s perfect for dry or mature skin.
- Gel: A refreshing option for oily skin that provides hydration without feeling greasy.
Moisturizer Application Tips:
- Apply moisturizer to your damp face after cleansing and toning (if using). This helps trap water in the skin for better hydration.
- Use a pea-sized amount for your face and neck.
- Gently pat the moisturizer into your skin, don’t rub.
Step 6: Suit Up for Sun Protection (Every Single Day!)
This isn’t a drill, folks! Sunscreen is the absolute non-negotiable step in any skincare routine. Sun damage is the number one cause of premature aging, wrinkles, and hyperpigmentation. Here’s why sunscreen is your BFF:
- Prevents sunburn: Ouch! Sunburn is not only painful, but it can also damage your skin cells and increase your risk of skin cancer.
- Slows down signs of aging: Sun exposure breaks down collagen, leading to wrinkles and loss of elasticity. Sunscreen helps prevent this.
- Reduces hyperpigmentation: Sun can cause dark spots and uneven skin tone. Sunscreen helps keep your complexion even and bright.
Choosing the Right Sunscreen:
- Broad-spectrum SPF 30 or higher: This protects against both UVA and UVB rays. UVA rays penetrate deep into the skin and cause wrinkles, while UVB rays cause sunburn.
- Oil-free: Great for oily or acne-prone skin.
- Non-comedogenic: This means it won’t clog your pores.
Sunscreen Application Tips:
- Apply sunscreen generously to your face and neck every single day, even on cloudy days.
- Don’t forget your ears, lips, and the tops of your feet!
- Reapply sunscreen every two hours, or more often if you’re sweating or swimming.

Conclusion: Glowing Skin is Just a Routine Away
There you have it! The ultimate 6-step face washing routine for clear, radiant skin. Remember, consistency is key. Stick to this routine morning and night, and be patient. It takes time for your skin to adjust and show results. But with dedication and the right products, you’ll be well on your way to achieving that coveted glow.
Pro Tip: Take a selfie before you start this routine and another one after a few weeks of consistent
Call to Action
Ready to ditch the dullness and embrace a brighter you? Put this 6-step face washing routine into action today! Remember, healthy skin starts with the right products and a consistent routine. But don’t just take our word for it, try it yourself and see the difference!
Here are some additional resources to help you on your glowing skin journey:
- American Academy of Dermatology Association: https://www.aad.org/
- Mayo Clinic: https://www.mayoclinic.org/
Don’t forget to share your skincare journey with us! Tag us on social media and let us know how this routine is working for you.
FAQ
Q: I don’t know my skin type. How can I find out?
A: There are several ways to determine your skin type. You can try a blotting paper test at home or consult a dermatologist for a professional assessment.
Q: Can I use the same cleanser in the morning and at night?
A: In most cases, yes! However, if you wear a lot of makeup or have very oily skin, you might consider a stronger cleanser at night to remove makeup and excess oil.
Q: What if I have a breakout? Should I change my routine?
A: Minor breakouts are normal. However, if you experience frequent or severe breakouts, it’s best to consult a dermatologist. They can recommend products and treatments specifically formulated for acne-prone skin.
Q: Is it okay to use a washcloth when washing my face?
A: Washcloths can be too harsh for some skin types. If you do use one, make sure it’s super soft and clean. However, gently massaging your cleanser with your fingertips is generally the most recommended method.
Q: Are there any natural ingredients I can use for my skincare routine?
A: Absolutely! There are many natural ingredients that can benefit your skin. However, it’s important to patch test any new product before applying it to your entire face. This helps ensure you don’t have any allergic reactions.