DIY Body Butter Recipe: Tips and 5 Easy Homemade Recipes
Ever wondered why your skin craves that luxurious feel of a high-end moisturizer but you’re tired of the endless list of unpronounceable ingredients in store-bought products? Creating your very own DIY body butter recipe at home isn’t just a fun project — it’s a game-changer for your skincare routine. Not only do you get to know exactly what goes into your concoction, but you also end up with something that’s far superior to any commercial product.
In this post, you’ll discover the secrets to whipping up the perfect natural body butter. Think creamy textures, rich hydration, and heavenly scents, all made with ingredients you probably already have in your kitchen! We’ll cover essential tips to ensure your body butter is a hit every single time and share some amazing recipes that your skin will thank you for.
By the end of this guide, you’ll be ready to toss out those chemical-laden moisturizers and embrace the pure goodness of homemade skincare. Ready to dive in? Let’s get crafting!
Why Choose Natural Body Butter?
Using natural body butter can transform your skincare routine. Natural body butters offer numerous benefits, making them a top choice for those seeking healthier, more effective skincare solutions. Let’s explore why switching to natural body butter is a great idea.
Free from Harsh Chemicals and Synthetic Fragrances
One of the biggest advantages of natural body butter is that it doesn’t contain harsh chemicals or synthetic fragrances. Many commercial moisturizers are filled with additives that can irritate sensitive skin and contribute to long-term damage. Natural body butter, on the other hand, uses ingredients like shea butter and coconut oil that are gentle and nourishing.
This means:
- No parabens or phthalates
- Avoidance of artificial dyes and fragrances
- Reduction in skin irritation and allergic reactions
Choosing products free from these substances ensures your skin only absorbs beneficial ingredients, leading to healthier skin.

Deeply Moisturizing and Nourishing for Your Skin
Natural body butters are known for their deeply hydrating properties. They penetrate the skin to provide moisture that lasts all day, making them perfect for dry and flaky skin. Ingredients such as cocoa butter and mango butter are packed with vitamins and fatty acids that restore the skin’s natural glow.
Benefits include:
- Long-lasting hydration
- Nutrients that nourish and restore the skin
- Smooth and supple skin texture
This deep moisturization makes natural body butters a great addition to any skincare routine, especially for those with dry skin conditions.
Customizable to Your Skin’s Unique Needs
One of the best things about DIY body butter recipes is that they can be customized to fit your unique skin needs. Whether you have oily, dry, or sensitive skin, you can adjust the ingredients to create a formula that works perfectly for you.
Here’s how you can customize it:
- Add essential oils for specific skin concerns
- Choose different butters like shea, cocoa, or mango based on skin type
- Mix in natural extracts like aloe vera or vitamin E for extra benefits
Customizing your body butter allows you to tailor your skincare routine to meet your individual needs and address specific concerns.
Cost-Effective Compared to Store-Bought Options
While it might seem like making body butter at home would be more costly, it’s actually quite budget-friendly in the long run. The ingredients for DIY body butter recipes are often cheaper per ounce than commercially prepared products, and you likely already have some at home.
Consider the savings:
- Buy in bulk for cost efficiency
- Use household ingredients like coconut oil and olive oil
- Save money by avoiding high-priced commercial brands
Making your own body butter helps you control costs while ensuring the quality of the product.
Eco-Friendly and Sustainable Skincare Choice
Natural body butters are not only good for your skin, but also for the environment. By choosing ingredients that are sustainably sourced and avoiding chemical additives, you contribute to a healthier planet.
Eco-friendly benefits include:
- Reduced plastic waste by using your own containers
- Avoiding toxic chemicals that harm the environment
- Supporting sustainable practices by choosing ethically sourced ingredients
Switching to natural body butter is a great way to enhance your skincare routine while staying committed to environmental sustainability.
For more details on the advantages of natural body butters, check out this detailed guide and understand how they can benefit your skin.
5 Benefits of Using Homemade Body Butter
Homemade body butter isn’t just a luxury; it’s a necessity for many looking to boost their skincare routine. Free from chemicals and packed with natural goodness, it offers numerous benefits that can leave your skin feeling pampered and nourished.
Intense Hydration for Dry, Rough Skin
One of the standout benefits of homemade body butter is its ability to provide intense hydration. Unlike traditional lotions, body butters contain high levels of natural fats and oils that penetrate deeply into the skin. This ensures your skin remains moisturized longer. Whether you struggle with dry patches in the winter or tough, cracked skin from outdoor activities, body butter can be your go-to solution.
It’s like giving your skin a tall glass of water! 💧
Improved Skin Elasticity and Texture
Ever noticed those tiny lines or lack of firmness? Homemade body butter is here to help! Packed with nutrients, ingredients like shea butter and cocoa butter are known to improve skin elasticity. This means fewer stretch marks, smoother skin texture, and an overall youthful appearance.
Think of it as a workout for your skin—keeping it toned and fit!
For more insights on how body butters can improve skin health, check out this detailed guide.
Natural Protection Against Environmental Stressors
Your skin faces a lot throughout the day – pollution, UV rays, dry winds. Homemade body butter acts like a protective shield. The natural oils act as barriers, locking in moisture and keeping out harmful elements.
It’s like wearing armor, but for your skin. 🛡️
Soothing Relief for Irritated or Sensitive Skin
Sensitive skin can be a nightmare to manage. The rich, soothing properties of homemade body butter make it ideal for those with skin issues like eczema or psoriasis. Ingredients like calendula oil and chamomile can provide soothing relief, reducing redness and itching without the need for steroids or synthetic chemicals.
Imagine a calming spa day for your skin every single day.
Aromatherapy Benefits from Essential Oils
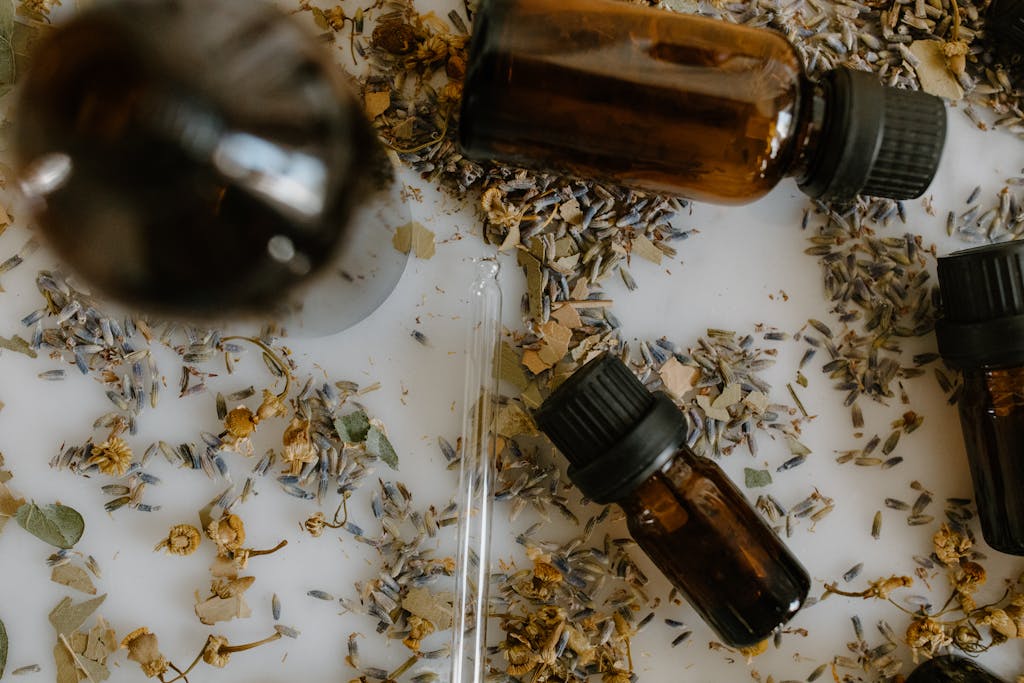
Who doesn’t love a little spa treatment at home? By adding essential oils to your body butter, you not only get the skin benefits but also the aromatherapy effects. Lavenders for relaxation, peppermint for a refreshing feel, or citrus for a mood boost—the choices are endless!
It’s a treat for your skin and your senses. 🌸
Implementing homemade body butter into your skincare routine provides a wealth of benefits. From deep hydration and improved skin texture to natural protection and soothing relief, there’s much to gain. And let’s not forget the added bonus of a little aromatherapy to elevate your day!
Curious about more benefits? Check out this comprehensive guide to see why body butters are a must-have in every skincare routine.
Essential Ingredients for Natural Body Butter
Crafting the perfect natural body butter starts with choosing the right ingredients. These ingredients not only determine the texture and smell but also the benefits for your skin. Here are the essential components you’ll need for a luxurious and effective body butter that your skin will love.
Shea Butter: Rich in Vitamins and Fatty Acids
Shea butter is a staple in natural body butters. It’s packed with vitamins A and E, which are known for their skin-healing properties. The fatty acids in shea butter help to lock in moisture, keeping your skin hydrated for longer periods.
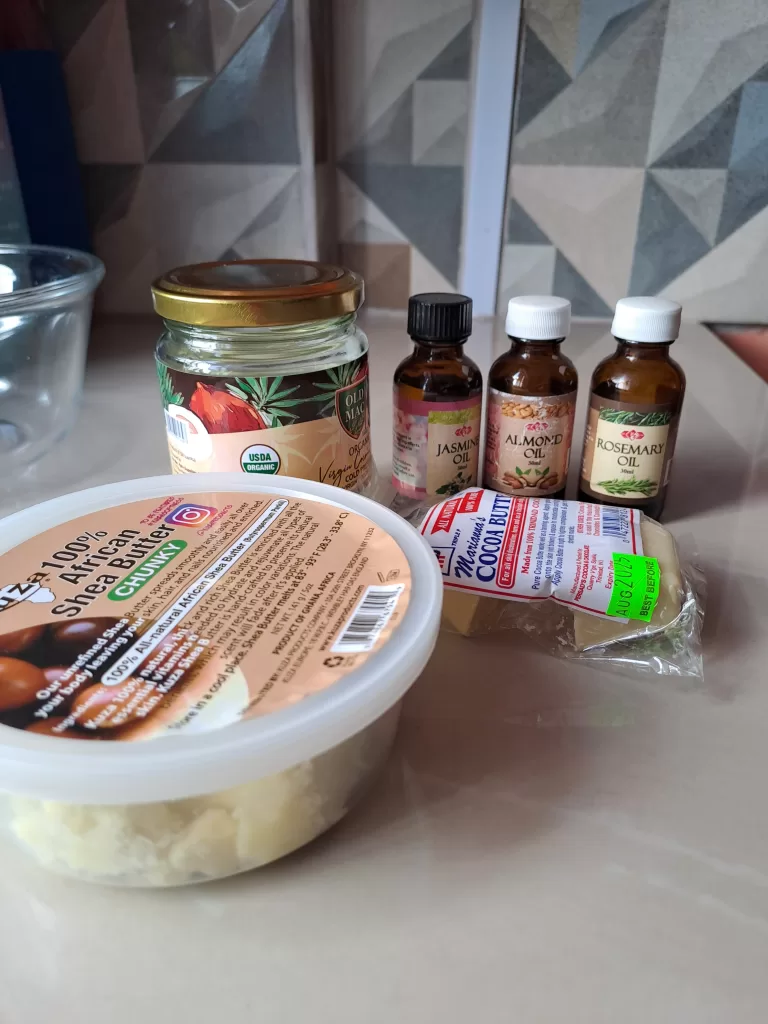
Benefits of Shea Butter:
- Deeply moisturizes and nourishes the skin
- Contains anti-inflammatory properties
- Helps in healing minor cuts and sunburns
Adding shea butter to your DIY body butter recipe ensures that your skin remains soft, smooth, and well-hydrated.
Cocoa Butter: Natural Antioxidant and Emollient
Cocoa butter is another popular ingredient due to its emollient properties and delightful smell. This natural butter contains antioxidants that help fight free radicals, which can cause skin aging.
Benefits of Cocoa Butter:
- Provides a protective barrier over the skin
- Rich in antioxidants to combat signs of aging
- Helps soothe sensitive skin
Cocoa butter adds a creamy texture to your body butter and imparts a subtle, chocolate-like scent, making it a wonderful addition.
Coconut Oil: Deeply Moisturizing and Antibacterial
Coconut oil is known for its deeply moisturizing properties. It’s full of fatty acids that penetrate the skin easily, leaving it moisturized and soft. Additionally, coconut oil has natural antibacterial and antifungal properties.
Benefits of Coconut Oil:
- Enhances skin’s moisture retention
- Contains antibacterial and antifungal properties
- Smoothens the skin, leaving it silky-soft
Using coconut oil in your body butter ensures your skin stays hydrated and protected against bacteria and fungi.
Sweet Almond Oil: Lightweight and Easily Absorbed
Sweet almond oil is a favorite in skincare for its lightweight texture and ability to be easily absorbed by the skin. It’s rich in vitamins A, B, and E, which are essential for maintaining healthy skin.
Benefits of Sweet Almond Oil:
- Quickly absorbs, leaving no greasy residue
- Rich in vitamins for skin nourishment
- Helps improve complexion and skin tone
Sweet almond oil’s non-greasy feel makes it perfect for those who prefer a lighter body butter.
Beeswax: Helps Create a Protective Barrier on Skin
Beeswax is an excellent addition to natural body butter. It helps to create a protective barrier on the skin, preventing moisture loss while allowing the skin to breathe.
Benefits of Beeswax:
- Locks in moisture by creating a protective layer
- Contains vitamin A, promoting cell regeneration
- Has anti-inflammatory and antibacterial properties
Incorporating beeswax into your body butter will not only improve its texture but also provide your skin with long-lasting hydration and protection.
Using these essential ingredients in your DIY body butter recipe will ensure that your skin receives the care and nourishment it deserves. By understanding the unique benefits of each component, you can create a blend tailored to your skin’s specific needs and transform your skincare routine with natural, homemade products.
For more insights on how to use these ingredients, check out this easy homemade body butter guide.
5 Easy Natural Body Butter Recipes
Creating your own body butter at home is a great way to pamper your skin without worrying about harsh chemicals. Here are five simple and luxurious recipes you can try. Each one uses natural ingredients to nourish and hydrate your skin, making them perfect for different needs and preferences.
Classic Shea and Cocoa Butter Blend
This classic blend combines the rich, creamy textures of shea butter and cocoa butter. It’s perfect for deep hydration and leaves your skin feeling soft and smooth.
Ingredients:
- 1/2 cup shea butter
- 1/2 cup cocoa butter
- 1/2 cup coconut oil
- 1 teaspoon vitamin E oil
Instructions:
- Melt shea butter, cocoa butter, and coconut oil in a double boiler.
- Once melted, remove from heat and let it cool slightly.
- Add vitamin E oil and mix well.
- Refrigerate until partially solidified.
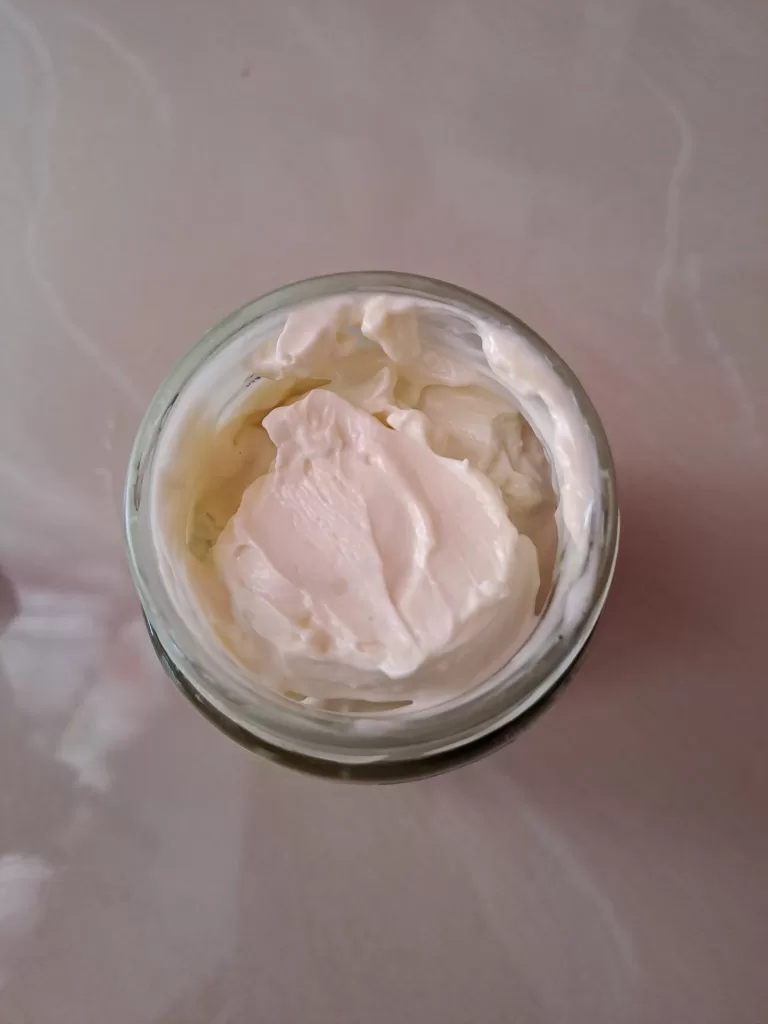
- Whip the mixture with a hand mixer until it becomes light and fluffy.
- Store in a glass jar and use as needed.
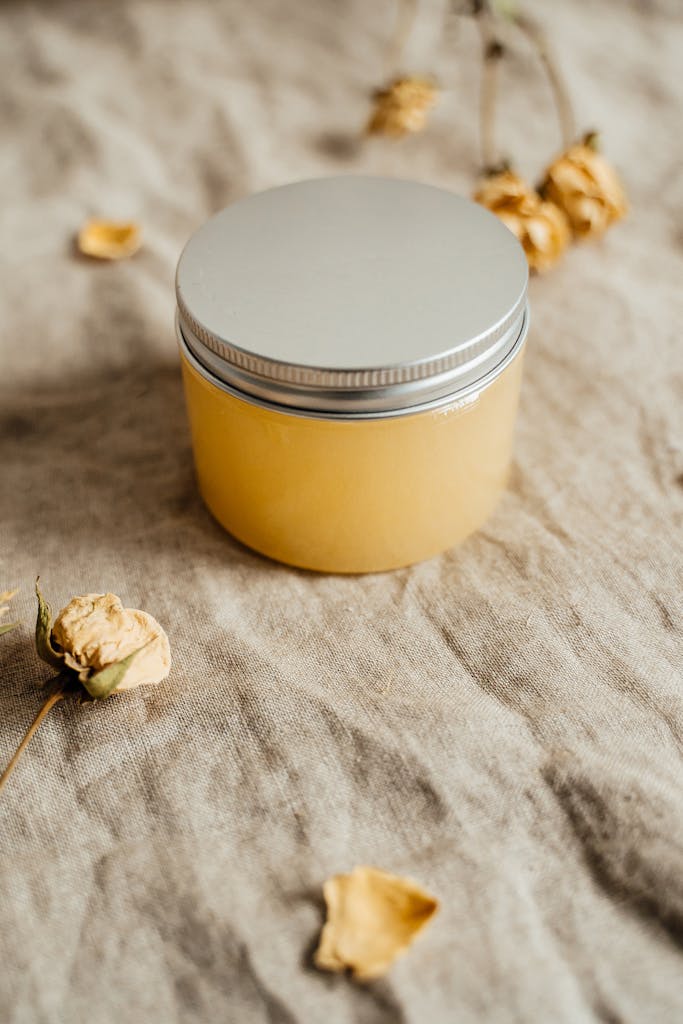
 Photo by Sora Shimazaki
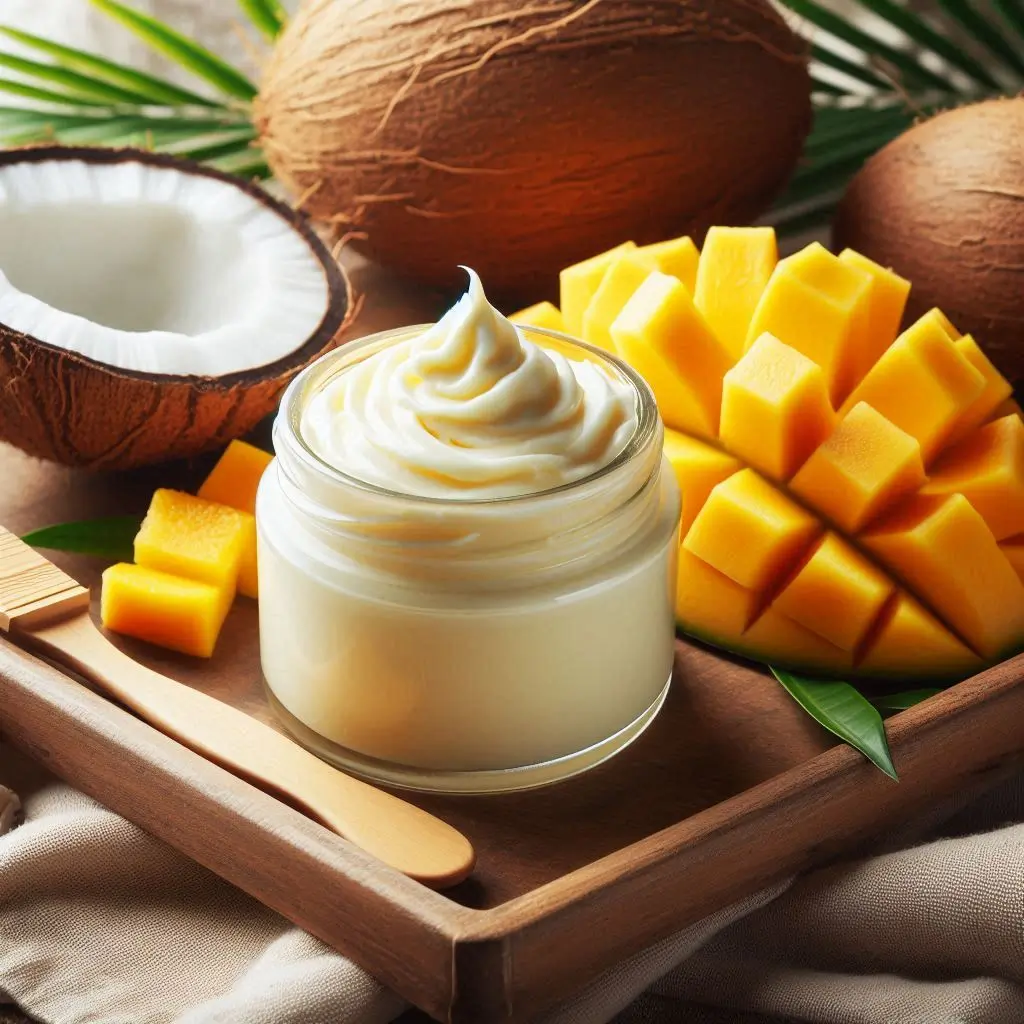
Tropical Coconut Mango Body Butter
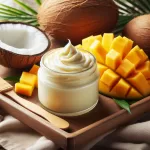
Transport yourself to a tropical paradise with this delightful coconut mango body butter. It’s light, non-greasy, and smells amazing.
Ingredients:
- 1/2 cup mango butter
- 1/4 cup coconut oil
- 1/4 cup jojoba oil
- 10 drops mango essential oil
Instructions:
- Melt mango butter and coconut oil in a double boiler.
- Remove from heat and let it cool slightly.
- Add jojoba oil and essential oil.
- Refrigerate until partially solidified.
- Whip the mixture until it becomes fluffy.
- Store in a cool, dry place and enjoy!
Lavender Dream Sleep Butter
This lavender-infused body butter is perfect for bedtime. Its calming scent helps you unwind and relax, promoting a good night’s sleep.
Ingredients:
- 1/2 cup shea butter
- 1/4 cup coconut oil
- 1/4 cup sweet almond oil
- 15 drops lavender essential oil
Instructions:
- Melt shea butter and coconut oil in a double boiler.
- Remove from heat and cool slightly.
- Add sweet almond oil and lavender essential oil.
- Refrigerate until the mixture starts to solidify.
- Whip until light and airy.
- Apply before bedtime for a relaxing experience.
Energizing Citrus Burst Body Butter
Brighten your day with the refreshing scent of citrus! This body butter is perfect for a morning pick-me-up, leaving your skin feeling energized and fresh.
Ingredients:
- 1/2 cup shea butter
- 1/4 cup coconut oil
- 1/4 cup grapeseed oil
- 10 drops orange essential oil
- 5 drops lemon essential oil
Instructions:
- Melt shea butter and coconut oil together in a double boiler.
- Allow the mixture to cool slightly before adding grapeseed oil and essential oils.
- Mix well and refrigerate until it begins to set.
- Whip the mixture until it reaches a fluffy consistency.
- Store in a container and use in the morning for a zesty boost!
Soothing Chamomile and Calendula Butter
This soothing blend is perfect for sensitive skin. Chamomile and calendula are known for their calming properties, making this butter ideal for irritated skin.
Ingredients:
- 1/2 cup shea butter
- 1/4 cup coconut oil
- 1/4 cup calendula-infused olive oil
- 10 drops chamomile essential oil
Instructions:
- Melt shea butter and coconut oil in a double boiler.
- Once melted, allow to cool slightly.
- Add calendula-infused olive oil and chamomile essential oil.
- Refrigerate until partially solidified.
- Whip until light and fluffy.
- Store in a jar and apply to soothe irritated skin.
These easy natural body butter recipes are a wonderful way to take care of your skin using simple, organic ingredients. Customize the recipes with your favorite essential oils or add-ins to make them uniquely yours. Enjoy the luxury of natural skincare without the hefty price tag! For more detailed instructions, check out this easy homemade body butter guide.
Step-by-Step Guide to Making Body Butter
Creating your own body butter at home can be both fun and rewarding. Not only can you control the ingredients, but you can also tailor it to your skin’s needs. Let’s break down the process into simple steps:
Gather Your Ingredients and Equipment
Before you start, make sure you have all the necessary ingredients and equipment. You won’t need anything too fancy, and you might already have most of these at home:
- Ingredients:
- 1/2 cup of shea butter
- 1/2 cup of cocoa butter
- 1/2 cup of coconut oil
- Essential oils (such as lavender, peppermint, or citrus)
- 1 teaspoon of vitamin E oil (optional)
- Equipment:
- Double boiler or a heat-safe bowl and saucepan
- Hand mixer or whisk
- Measuring cups and spoons
- Clean, airtight containers for storage
Having everything ready before you start will make the process smoother.
Melt the Butters and Oils Using a Double Boiler
The next step is melting the butters and oils together. Here’s how:
- Fill the bottom of a double boiler with about two inches of water and place it on the stove over medium heat.
- Add the shea butter, cocoa butter, and coconut oil to the top part of the double boiler.
- Stir occasionally until everything melts together into a smooth liquid.
Using a double boiler helps ensure that the butters melt evenly without burning.
Add Essential Oils and Vitamin E (Optional)
Once your butters and oils are melted, it’s time to add some extra benefits.
- Remove the mixture from heat.
- Add your chosen essential oils (about 10-15 drops). This is where you can get creative. Lavender for relaxation, peppermint for a refreshing zing, or citrus for a lively kick.
- Stir in the vitamin E oil if desired. This adds an extra boost of antioxidants and helps extend the shelf life of your body butter.
These additions not only enhance the benefits but also give your body butter a delightful scent.
Whip the Mixture Until Light and Fluffy
Now comes the fun part: whipping your body butter.
- Allow the mixture to cool slightly but not completely solidify. You can speed this up by placing it in the refrigerator for about 20-30 minutes.
- Use a hand mixer or whisk to whip the mixture until it’s light and fluffy. This may take a few minutes, so be patient.
Whipping adds air to the mixture, giving it a creamy and luxurious texture, similar to whipped cream.
Store in Clean, Airtight Containers
Finally, you’ll want to store your freshly made body butter properly to keep it at its best.
- Spoon the whipped body butter into clean, airtight containers.
- Label your containers with the date and contents, especially if you made different batches with varied scents.
Keeping it in an airtight container helps maintain the consistency and prevents contamination. Store it at room temperature, away from direct sunlight.
Creating your own body butter at home is a simple yet effective way to pamper your skin with natural ingredients. When you follow these steps, you’ll have a luxurious product ready to nourish and hydrate your skin whenever needed.
For more detailed instructions and recipe variations, you can check out this easy homemade body butter guide.
Tips for Perfecting Your Homemade Body Butter
Creating your own body butter can be a rewarding experience. There’s a special joy in knowing exactly what you’re putting on your skin. To help you craft that perfect body butter, here are crucial tips to keep in mind.
Choose High-Quality, Organic Ingredients When Possible
When making body butter at home, starting with high-quality organic ingredients is key.
- Organic Shea Butter: Rich in vitamins and fatty acids, perfect for moisturizing and healing.
- Organic Coconut Oil: Provides excellent hydration and has antibacterial properties.
- Organic Beeswax: Helps create a protective barrier over the skin without clogging pores.
Opting for organic ingredients means fewer pesticides and harmful chemicals on your skin. Learn more about the benefits of organic ingredients for skincare.
Experiment with Different Oil Ratios to Find Your Perfect Texture
Finding the perfect texture for your body butter can be a bit trial and error. The ratio of solid to liquid oils affects the final product.
- For a Firmer Butter: Increase the solid butters like shea or cocoa butter.
- For a Softer Texture: Add more liquid oils such as almond or olive oil.
Experiment with small batches first. Too much liquid oil can make it greasy, while too much solid butter can make it hard to spread. Here’s more on achieving the right consistency.
Add a Natural Preservative for Longer Shelf Life
Homemade body butter doesn’t have the preservatives found in commercial products, so it can spoil faster. Adding a natural preservative extends its shelf life.
- Vitamin E Oil: Acts as an antioxidant, prolonging the freshness.
- Essential Oils: Some, like tea tree or rosemary oil, have preservative qualities.
Using natural preservatives helps maintain the butter’s quality and keeps it safe for use.
Use Body Butter on Damp Skin for Maximum Absorption
For best results, apply your body butter to damp skin. This helps to lock in moisture.
- After Shower: The best time to apply is right after a warm shower.
- Damp Skin: If not applying after a shower, mist your skin lightly with water before using.
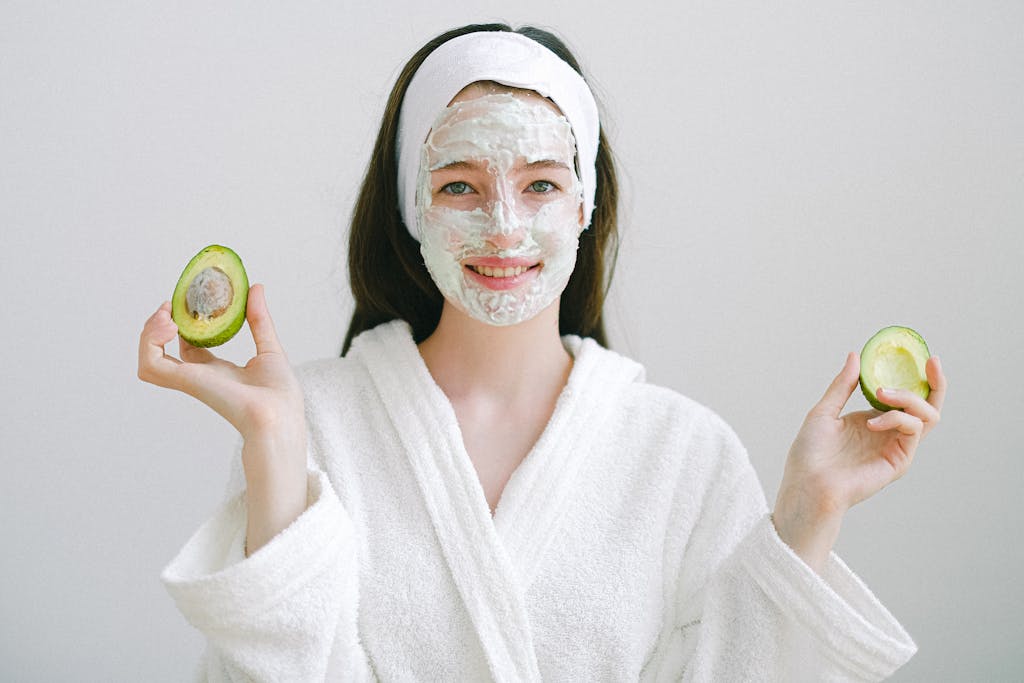
Applying to damp skin ensures better absorption, leaving your skin soft and hydrated.
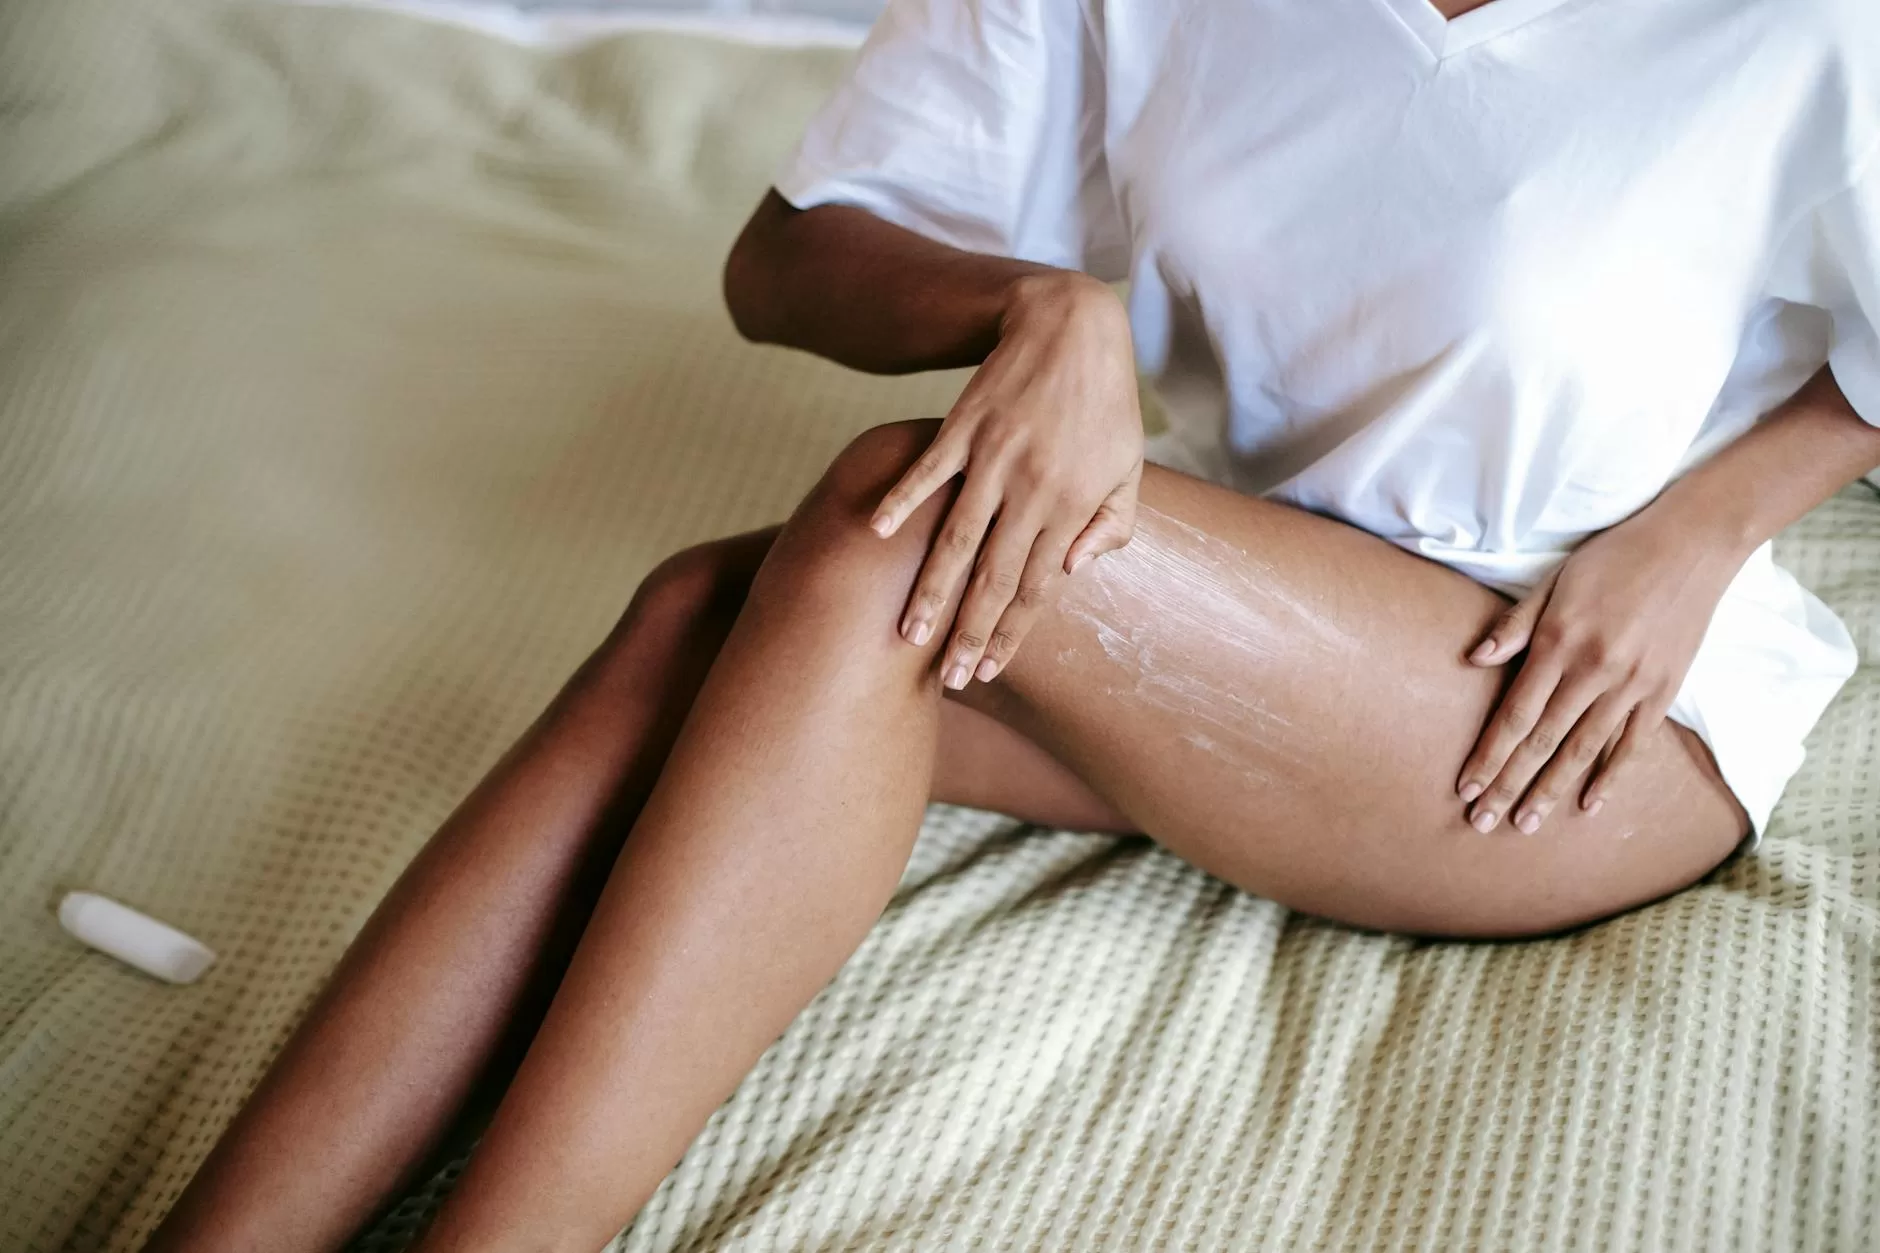
Photo by Sora Shimazaki
Store in a Cool, Dry Place Away from Direct Sunlight
Proper storage is crucial for maintaining the quality of your homemade body butter.
- Cool and Dry Area: Store it in a place away from heat and humidity.
- Airtight Containers: Use airtight jars to prevent contamination and keep out moisture.
Direct sunlight can degrade the oils and affect the consistency. For added longevity, keep it somewhere dark and cool. Read more storage tips.
By following these tips, you’ll be on your way to creating the perfect homemade body butter. Whether it’s fine-tuning the texture or ensuring a longer shelf life, each tip brings you closer to skincare perfection. Don’t hesitate to experiment and find what works best for your skin!
Troubleshooting Common Body Butter Issues
Creating your own body butter is a satisfying experience, but it’s not always smooth sailing. You might encounter some common issues like graininess, excessive oiliness, or troubles with consistency. Let’s tackle these common problems so you can achieve the perfect body butter every time.
Too Grainy? Try Tempering Your Butters Before Whipping
Graininess in body butter often comes from the crystallization of certain butters, especially shea butter. This can occur if the butters are not properly tempered before whipping.
Steps to Temper Butters:
- Melt your butters completely using a double boiler.
- Let them cool back to a solid state naturally.
- Reheat slightly, just until they begin to melt again.
- Whip them into the desired consistency.
Tempering helps to break down the crystals that cause graininess, ensuring a smooth, creamy texture. For more details, you can check this guide on troubleshooting grainy balms and butters.
Too Oily? Increase the Ratio of Harder Butters like Cocoa Butter
If your body butter feels too oily, the balance of ingredients might be off. Specifically, you might need to increase the ratio of harder butters, such as cocoa butter, to your liquid oils.
Tips to Fix an Oily Body Butter:
- Add more cocoa butter or shea butter to your recipe.
- Reduce the amount of liquid oils like coconut or olive oil.
Adjusting the ratios will help achieve the desired texture, making your body butter less greasy and more stable. Humblebee & Me offers insights on dealing with oily body butter.
Not Whipping Up? Make Sure Your Mixture is Cool Enough
A common mistake is trying to whip the body butter before it’s cool enough. If the mixture isn’t cool, it won’t whip up into the light, fluffy texture you’re aiming for.
How to Ensure Proper Whipping:
- Cool the mixture in the refrigerator for 20-30 minutes after melting the ingredients.
- Check the consistency—it should be starting to solidify but still be soft.
- Whip using a hand mixer until it becomes light and airy.
Cooling provides the right conditions for whipping, ensuring a creamy, spreadable body butter. Check out more tips on why body butter isn’t whipping.
Melting Too Quickly? Add a Bit More Beeswax for Stability
If your body butter melts too quickly, it might not have enough stabilizing agents. Beeswax is an excellent addition for improving the melting point.
Fixing Quick Melting Body Butter:
- Add 1-2 tablespoons of beeswax to the melted mixture.
- Stir well to incorporate it evenly.
Beeswax adds a layer of stability, making your body butter more resilient to warmer temperatures. Learn more about fixing melting issues.
Skin Reaction? Always Patch Test New Ingredients First
Experiencing a skin reaction from your body butter can be alarming. It’s essential to patch test any new ingredients before using them extensively.
Steps for Patch Testing:
- Apply a small amount of the body butter or new ingredient to a patch of skin, like your inner wrist.
- Wait for 24 hours to check for any reactions like redness, itching, or irritation.
- Proceed with caution if no reaction occurs.
Always testing first helps ensure your body butter is safe and suitable for your skin type. For more guidance, you might find this helpful discussion informative.
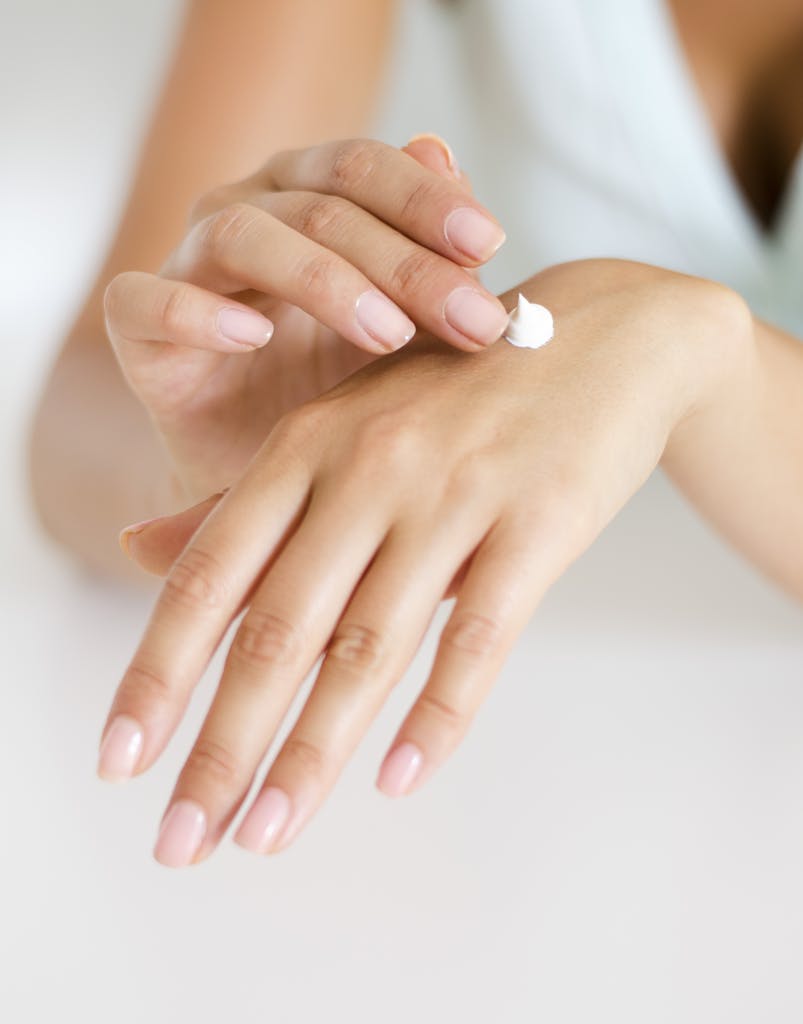
By addressing these common issues, you’ll be better equipped to create a flawless batch of body butter. Whether you’re tweaking the ratios or ensuring the correct temperature, these tips will help you troubleshoot and perfect your homemade skincare products. Ready to move forward? Let’s conquer these body butter challenges together!
Conclusion
Crafting the perfect natural body butter isn’t just a skincare routine—it’s a journey into healthier, happier skin. Making your own DIY body butter recipe lets you tailor each ingredient to your skin’s unique needs, ensuring maximum benefits.
The advantages are clear: from intense hydration and skin protection to the eco-friendly and cost-effective aspects, homemade body butter outshines commercial products. Plus, the joy of mixing essential oils makes it a sensory delight each time you use it.
Try out the recipes and tips provided, and see how your skin transforms. Share your experiences and questions in the comments below—we’d love to hear from you! Happy crafting!
Tropical Coconut Mango Body Butter
Equipment
- 1 Double boiler or heat-safe bowl and saucepan
- 1 Whisk or electric hand mixer
- 1 Spatula
- 1 Glass or ceramic storage container
Materials
- 1/2 cup 120 g mango butter
- 1/4 cup 60 ml coconut oil
- 1/4 cup 60 ml jojoba oil
- 10 drops mango essential oil
Instructions
- Set up a double boiler by placing a heat-safe bowl over a saucepan filled with a few inches of water. Ensure the bottom of the bowl doesn’t touch the water.
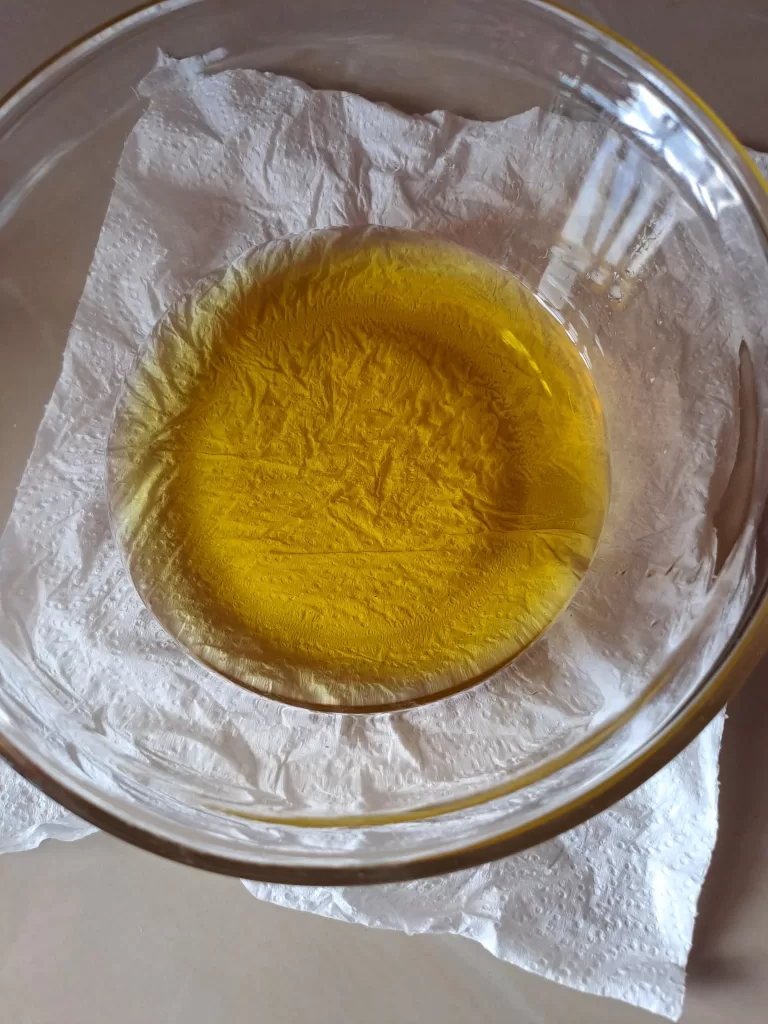
- Add the mango butter and coconut oil to the bowl. Heat gently, stirring occasionally, until both are completely melted and well combined.
- Remove the bowl from heat and let the mixture cool slightly for about 5 minutes.
- Stir in the jojoba oil and mango essential oil until well incorporated.
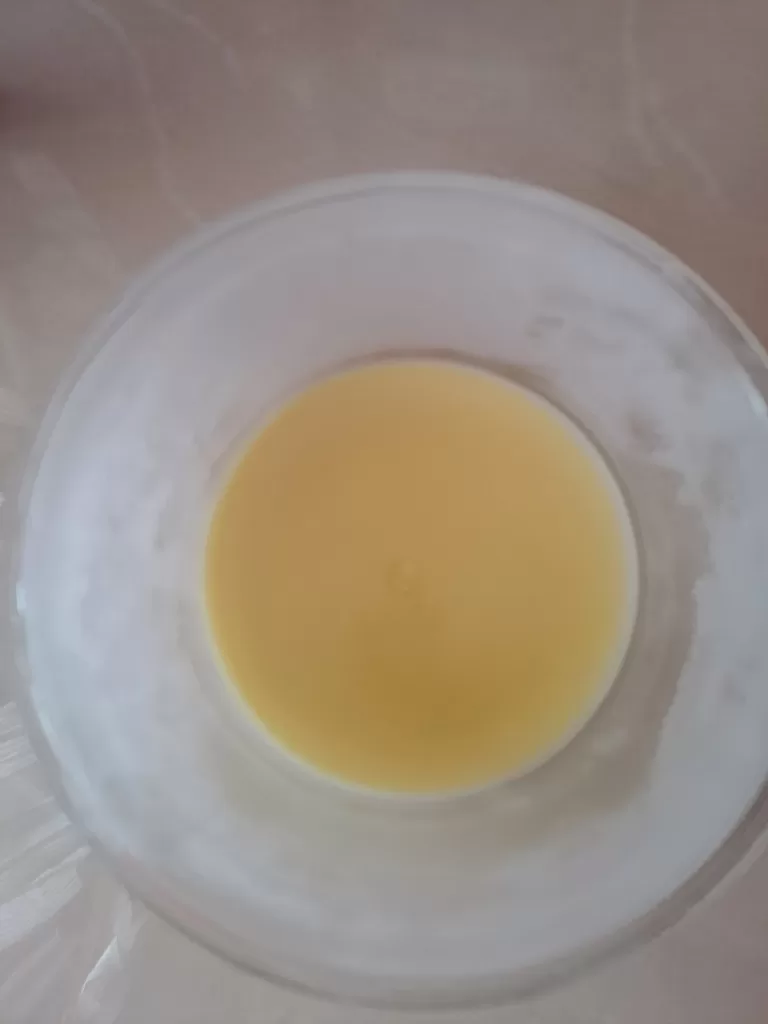
- Place the mixture in the refrigerator for 1-2 hours, or until it starts to solidify around the edges but is still soft in the center.
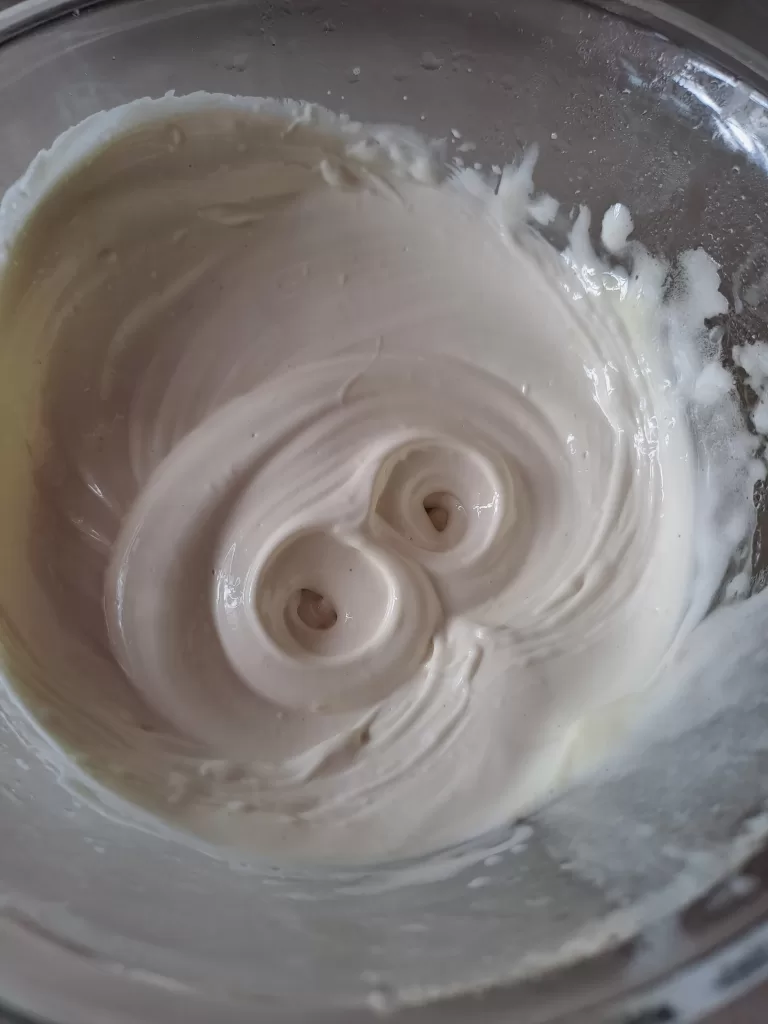
- Remove from the refrigerator and whip the mixture using a whisk or electric hand mixer. Start on low speed and gradually increase to high. Whip for 5-10 minutes or until the butter becomes light, fluffy, and doubles in volume.
- Transfer the whipped body butter to a clean, dry glass or ceramic container.
- Store in a cool, dry place away from direct sunlight.
Estimated Cost:
- $15-$20 USD, depending on the quality and source of ingredients.
Storage:
- Store at room temperature in a cool, dry place for up to 6 months. If your home is very warm, you may prefer to store it in the refrigerator to maintain its whipped texture.

